
Concept:
Keeping in mind that we’re supposed to include oscillation, sine waves, and harmonic motion into this assignment, I went through a few examples that demonstrated each one to get a better grasp of each concept, such as the oscillation examples, sine waves example, and harmonic motion video. And taking inspiration from Memo Atken, I also wanted to give a glowing, echoing, almost a “neon” effect like how it’s shown below: 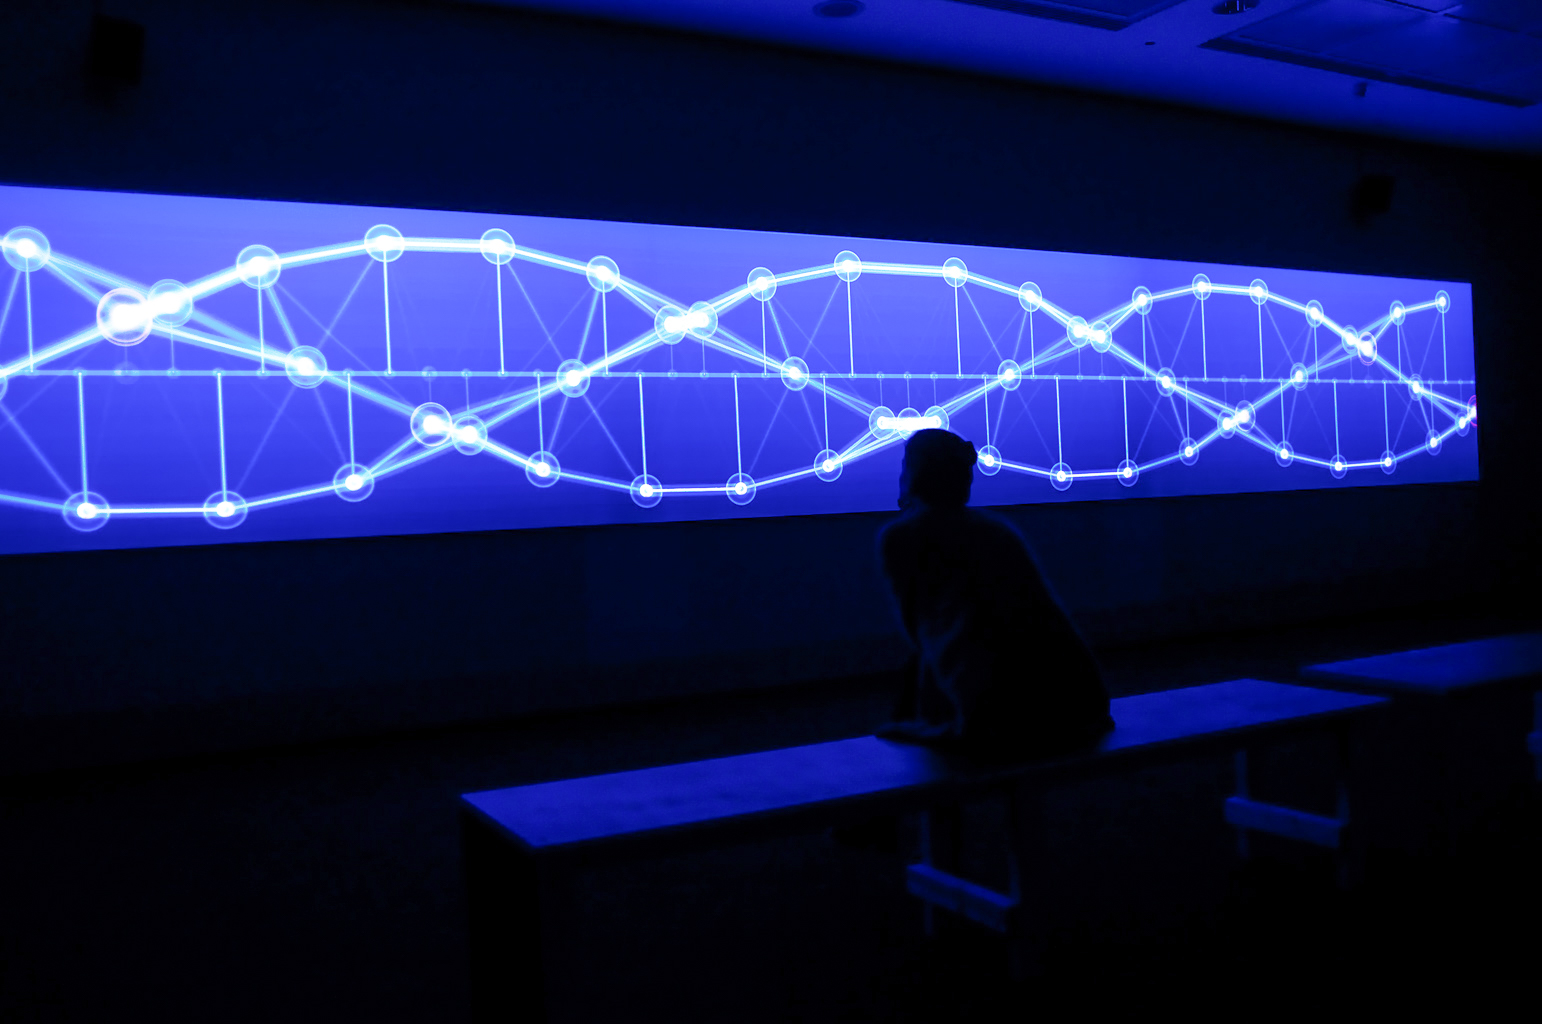
After watching the tutorials and doing a few practice examples, I really liked the idea of creating x-oscillation and y-oscillation and playing with properties of the two, and the image that I could produce with that.
Highlights:
In order to create the yo-yo effect, I learned that I need to map the y-position instead of mapping the size of the circle itself.
I ended up trying a few different combinations with the x-oscillation and the y-oscillation and creating x1, x2, y1, y2 for each amplitude and angle.
Here are some pictures of the trials I had:
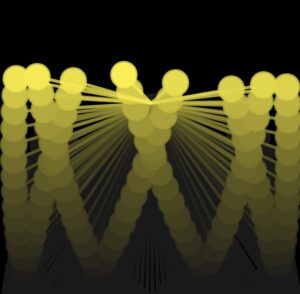

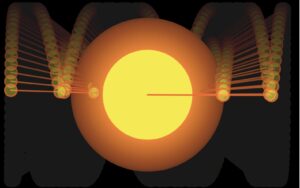
Finally, I decided to try to portray the sun and our solar system by altering this part of the code, which I can say is the biggest highlight from my entire coding process:
let x1 = map(cos(angle2), -1, 1, -ampx1, ampx1);
  let x2 = map(cos(angle1), -1, 1, -ampx2, ampx2);

let y1 = map(sin(angle2), -1, 1, -ampy1, ampy1);
  let y2 = map(sin(angle1), -1, 1, -ampy2, ampy2);
Some of the key variables in my code are:
angle1, angle2, angle3 –> represent the initial angles for the motion of the elements.
angleV1, angleV2, angleV3 –> control the speed and proximity of each “yo-yo.”
I played around by switching whether to put angle1 or angle2 into the x and y coordinates, and they all gave me different results and patterns, but this was the combination (x1 – angle2, x2 – angle1, y1 – angle2, y2 – angle1) that gave me the “spinning” or “orbiting” design.
Then I also added a oscillating/”breathing” circle in the middle of the canvas, which I took inspiration and made alterations from the class example that we did. This acted as my “sun,” for it is placed at the center of the orbit system; moreover, the “glowing” effect that I achieved through this snippet of code below was also helpful in making the circle look more like a sun.
background(0, 4); //gives that glowing effect
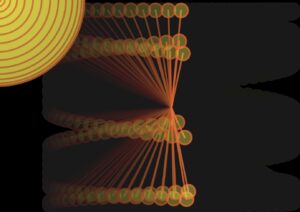
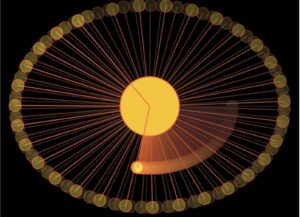
I also altered the number times the width or height of each ampx1, ampx2, ampy1, and ampy2 to set how big they will draw the patterns – setting both ampx1 and ampy1 to 0.55 * width or height resulted in the drawing of the smaller orbit that’s closer to the sun, as shown below.
let ampx1 = (0.55 * width) / 2;
let ampx2 = (0.9 * width) / 2;

let ampy1 = (0.55 * height) / 2;
let ampy2 = (0.9 * height) / 2;
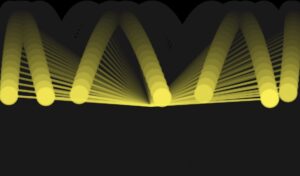
Finally, the last highlight of my code was altering the angleV function, which I realized controls the speed and proximity of each “yo-yo.” For example, when I set angleV1 to a small number (i.e. 0.2), it resulted in this visual outlook, which proved that it was moving in a much faster speed and also in a more spread out manner from each other. Below is the code snippet and the image of how it looked:
let angleV1 = 0.9;
let angleV2 = 0.015;


And here’s the final sketch:
Reflection:
Professor Aya suggested that I change the middle linear element that currently has a circular motion to behave as a pendulum or some sort of a spring to add further variation to my sketch, but unfortunately I didn’t have enough time or the brains to figure that out in time. However, I do think that would be a fun improvement that I can add to the sketch!
Another question I had was figuring out how to make the circle in the middle expand in a consistent speed, because I realized that the longer the code runs, the faster the circle expands and shrinks. However, as for the time being, I’m happy with the result that I have!