
Digital Print

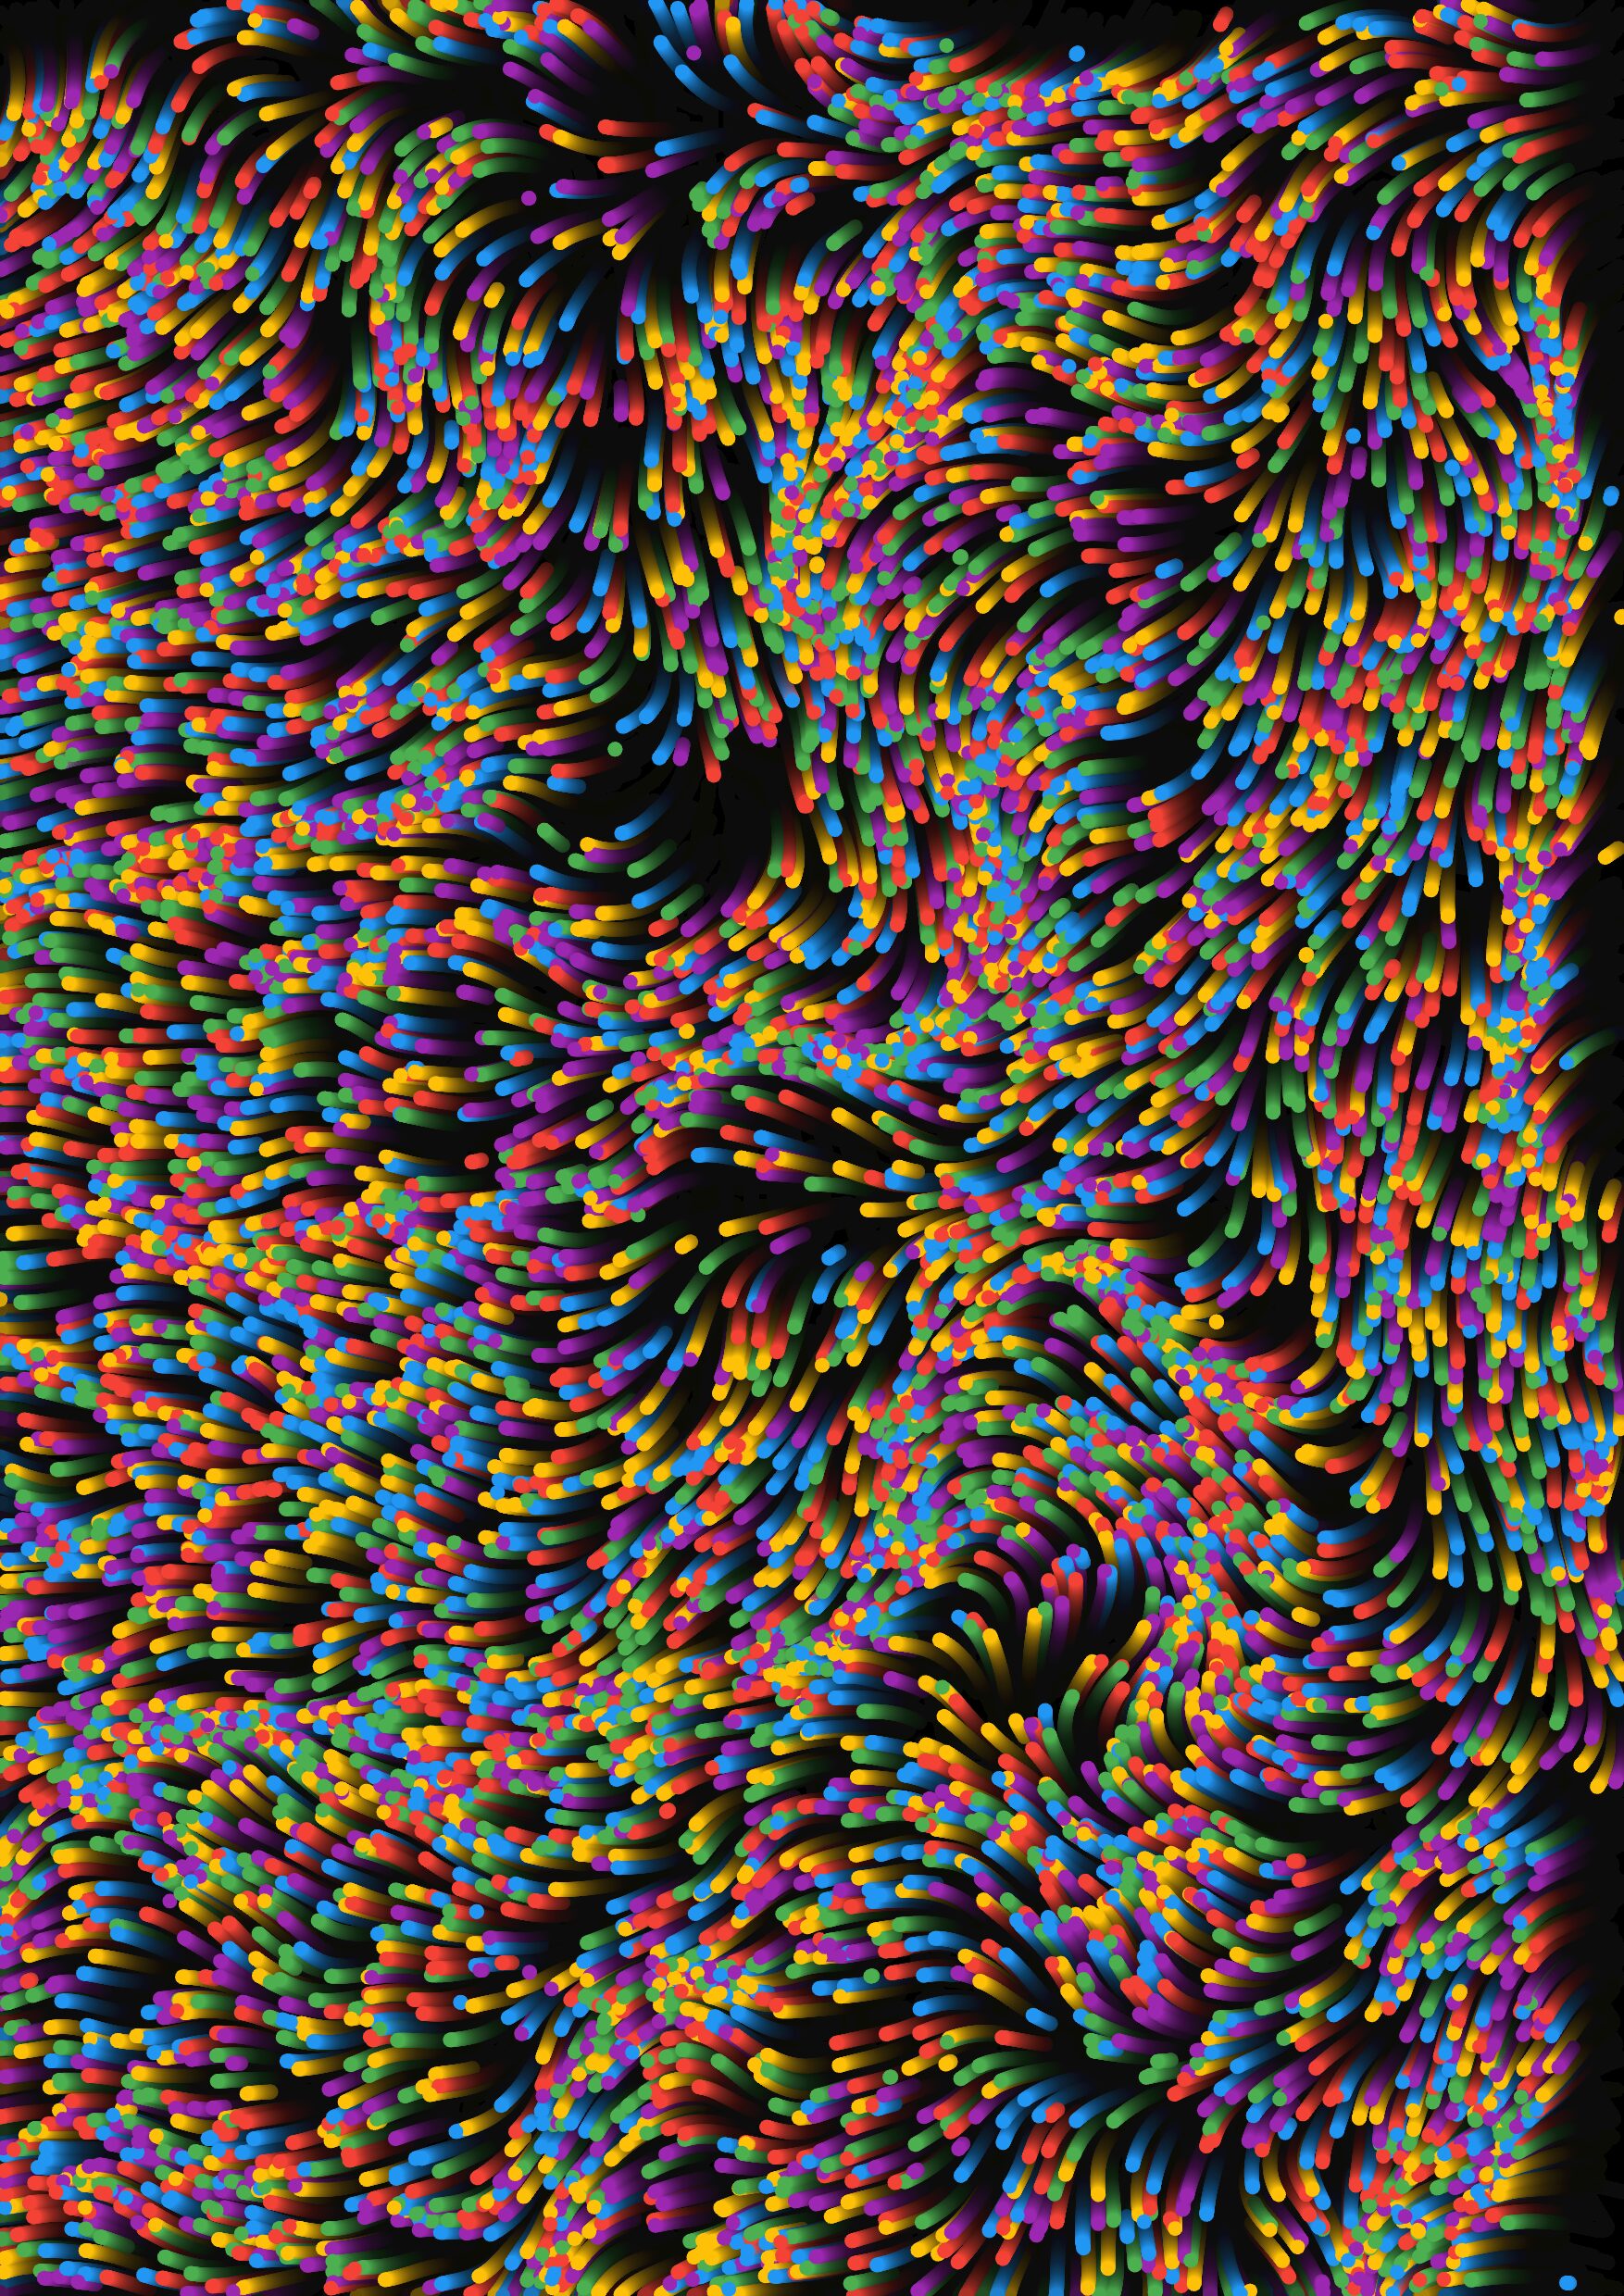
These are the A3 digital prints of the visualization.
Pen Plotting
Concept and Inspiration
Initially, I had a different idea for my midterm project in mind, but after several attempts to implement it, I realized it wasn’t working as expected. I was looking for something fresh yet technically challenging to help me express my creativity. During my search, I stumbled upon a YouTube video about Perlin flow fields, which instantly clicked with my vision.
What is a Perlin Flow Field?
Perlin noise, developed by Ken Perlin, is a type of gradient noise used in computer graphics to create natural-looking textures, movement, and patterns. Unlike purely random noise, Perlin noise produces smoother transitions, making it ideal for simulating natural phenomena like clouds, terrain, or, in this case, particle motion.
A flow field, on the other hand, is a vector field that controls the movement of particles. When combined with Perlin noise, it creates a smooth, organic movement that feels like the particles are being guided by invisible forces.
Features
To add more interactivity for the project I added an expllosion and attraction effects. I took this from my previous project on super novas (exploding starts). These are the features contained in the project:
- Mouse click: triggers attraction to the point on the screen where you cliked the mouse
- Mouse release: triggers repulstion from the point on the screen where you are releasing the mouse
- p: triggers a perlin noise i.e chnages the attraction or repusion motions to a smooth perlin noise.
- a: adds 500 particles at random position
- r: removes 500 particles
Code
let particles = [];
const initialNumParticles = 9000;
let numParticles = initialNumParticles;
let noiseScale = 0.005; // adjust for smoother noise transitions
let speed = 0.1; // lower the speed multiplier to slow down particles
let particleSize = 4;
const maxParticles = 9000; // set the maximum number of particles
const maxSpeed = 0.5; // limit maximum speed for each particle
let colorPalette = []; // define a color palette
let targetFlow = false; // control if flow should go towards the mouse
let targetPosition; // position of the mouse when pressed
let explode = false; // control the explosion effect
let perli = true;

// variables for high-resolution export
let scaleRatio = 1;
let exportRatio = 4; // scale down by 4x for working, export at 4x full resolution
let buffer;
let canvas;
let a3Paper = {
  width: 3508,   // a3 width in pixels at 300 PPI
  height: 4960   // a3 height in pixels at 300 PPI
};

// initialize a color palette (e.g., warm, cool, or any themed palette)
function createColorPalette() {
  colorPalette = [
    color(244, 67, 54),  // red
    color(255, 193, 7),  // yellow
    color(33, 150, 243), // blue
    color(76, 175, 80),  // green
    color(156, 39, 176)  // purple
  ];
}

// particle class definition using vector methods
class Particle {
  constructor(x, y) {
    this.position = createVector(x, y); // particle's position
    this.velocity = createVector(random(-0.5 / 16, 0.5 / 16), random(-0.5 / 16, 0.5 / 16)); // smaller initial velocity
    this.size = particleSize;
    this.color = random(colorPalette); // assign color from the color palette
  }

  // update the position of the particle using Perlin noise or towards the mouse
  update() {
    if (explode && targetPosition) {
      let repulsion = p5.Vector.sub(this.position, targetPosition).normalize().mult(0.3); // stronger repulsion force
      this.velocity.add(repulsion);
    } else if (targetFlow && targetPosition) {
      let direction = p5.Vector.sub(targetPosition, this.position).normalize().mult(speed * 10); // stronger force towards the mouse
      this.velocity.add(direction);
    } else if (perli) {
      let noiseVal = noise(this.position.x * noiseScale, this.position.y * noiseScale, noiseScale);
      let angle = TAU * noiseVal;
      let force = createVector(cos(angle), sin(angle)).normalize().mult(speed); // normal flow
      this.velocity.add(force);
    }

    this.velocity.limit(maxSpeed);
    this.position.add(this.velocity);
  }

  // respawn the particle if it hits the canvas edges
  checkEdges() {
    if (this.position.x >= width || this.position.x <= 0 || this.position.y >= height || this.position.y <= 0) {
      this.position = createVector(random(width), random(height)); // respawn at a random position
      this.velocity = createVector(random(-0.5 / 16, 0.5 / 16), random(-0.5 / 16, 0.5 / 16)); // reset velocity with lower values
    }
  }

  // render the particle on the canvas
  render() {
    fill(this.color); // use the particle's color
    noStroke();
    ellipse(this.position.x, this.position.y, this.size * 2, this.size * 2); // draw particle as an ellipse
  }
}

// setup function to initialize particles and canvas
function setup() {
  let w = a3Paper.width / exportRatio; // scaled-down width
  let h = a3Paper.height / exportRatio; // scaled-down height

  buffer = createGraphics(w, h); // create off-screen buffer for scaled drawings
  canvas = createCanvas(w, h); // create main canvas

  exportRatio /= pixelDensity(); // adjust export ratio based on pixel density of screen
  createColorPalette(); // initialize color palette
  for (let i = 0; i < numParticles; i++) {
    particles.push(new Particle(random(width), random(height))); // create particles
  }
  stroke(255);
  background(0);
}

// draw function to update and render particles
function draw() {
  background(0, 10); // lower opacity for longer fading trails

  // clear buffer and render particles to buffer
  buffer.clear();
  for (let i = 0; i < numParticles; i++) {
    particles[i].update();
    particles[i].checkEdges();
    particles[i].render();
  }

  // draw buffer to the canvas
  image(buffer, 0, 0);
}

// add particles dynamically (with maximum threshold)
function addParticles(n) {
  let newCount = numParticles + n;
  if (newCount > maxParticles) {
    n = maxParticles - numParticles; // limit to the maxParticles threshold
  }

  for (let i = 0; i < n; i++) {
    particles.push(new Particle(random(width, height))); // add new particles
  }
  numParticles += n;
}

// remove particles dynamically
function removeParticles(n) {
  numParticles = max(numParticles - n, 0); // prevent negative number of particles
  particles.splice(numParticles, n); // remove particles
}

// key press handling for dynamic control
function keyPressed() {
  if (key === 'a') {
    addParticles(500); // add 500 particles
  } else if (key === 'r') {
    removeParticles(500); // remove 500 particles
  } else if (key === 'p') {
    perli = true;
    explode = false;
    targetFlow = false;
  } else if (key === 's') {
    save('Wagaye_FlowField.png'); // save canvas as PNG
  } else if (key === 'e') {
    exportHighResolution();
  }
}

// mouse press handling to redirect flow towards mouse position
function mousePressed() {
  targetFlow = true; // activate flow towards mouse
  explode = false; // no explosion during mouse press
  targetPosition = createVector(mouseX, mouseY); // set the target position to the mouse press location
}

// mouse release handling to trigger explosion
function mouseReleased() {
  targetFlow = false; // disable flow towards mouse
  explode = true; // trigger explosion effect
  targetPosition = createVector(mouseX, mouseY); // use the mouse release position as the repulsion center
}

// export high-resolution A3 print
function exportHighResolution() {
  scaleRatio = exportRatio; // set scaleRatio to the export size

  // create a new buffer at the full A3 size
  buffer = createGraphics(scaleRatio * width, scaleRatio * height);

  // redraw everything at the export size
  draw();

  // get current timestamp for file naming
  let timestamp = new Date().getTime();

  // save the buffer as a PNG file
  save(buffer, `A3_Print_${timestamp}`, 'png');

  // reset scale ratio back to normal working size
  scaleRatio = 1;

  // re-create buffer at the original working size
  buffer = createGraphics(width, height);
  draw();
}
As you can see from the code the plot has three states explosion, target flow and perlin flow. And depending on the users interaction the plot changes. Maybe the most important part of this code is the perlin noise snippet. The code takes the particle’s coordinates, scales them down to control the smoothness of the transitions, and feeds them into the Perlin noise function. The result is a value between 0 and 1, which is then mapped to an angle in radians to determine the particle’s direction. This angle is used to create a vector, setting the direction and speed at which the particle moves. By continuously updating the particle’s velocity with these noise-driven vectors, the particles move in a way that feels organic, mimicking natural phenomena like wind currents or flowing water.
Challanges
The main challange was finding an otimal value eof noise scale and particle numbers to make the flow natural. Creating the explosion and attraction feature was also a bit challanging.
Future Improvments
A potential improvement to this project is the integration of music to make the flow fields react dynamically to beats. By incorporating an API or sound analysis tool that extracts key moments in the music, such as the kick drum or snare, the flow fields could “dance” to the rhythm. For instance, when a kick is detected, the particles could explode outward, and when the snare hits, they could contract or move toward a central point. During quieter sections, the particles could return to a smooth, flowing motion driven by Perlin noise. This interaction would create a synchronized visual experience where the flow fields change and evolve with the music, adding an extra layer of engagement and immersion.