CONCEPT
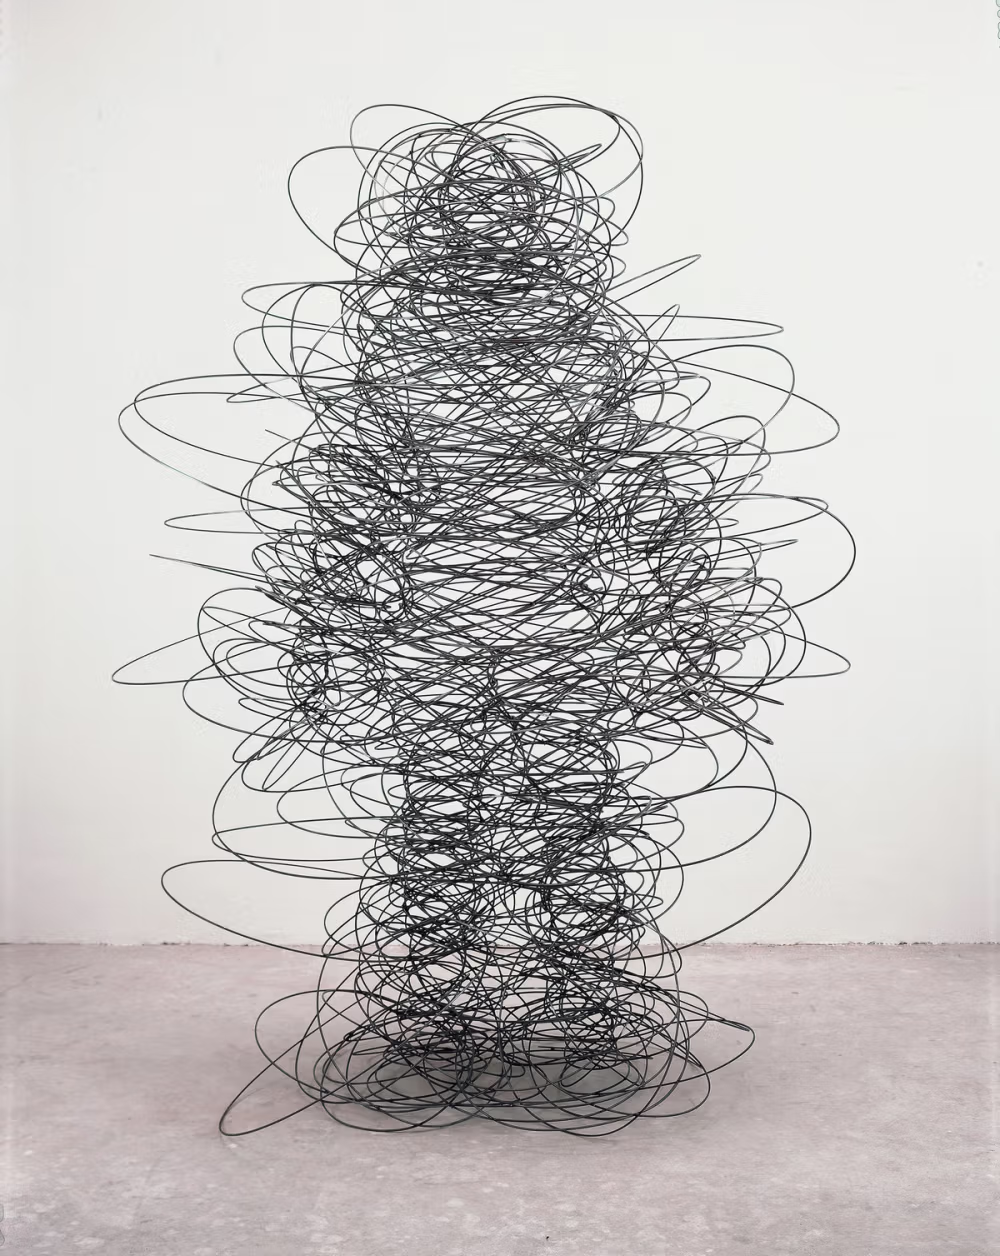
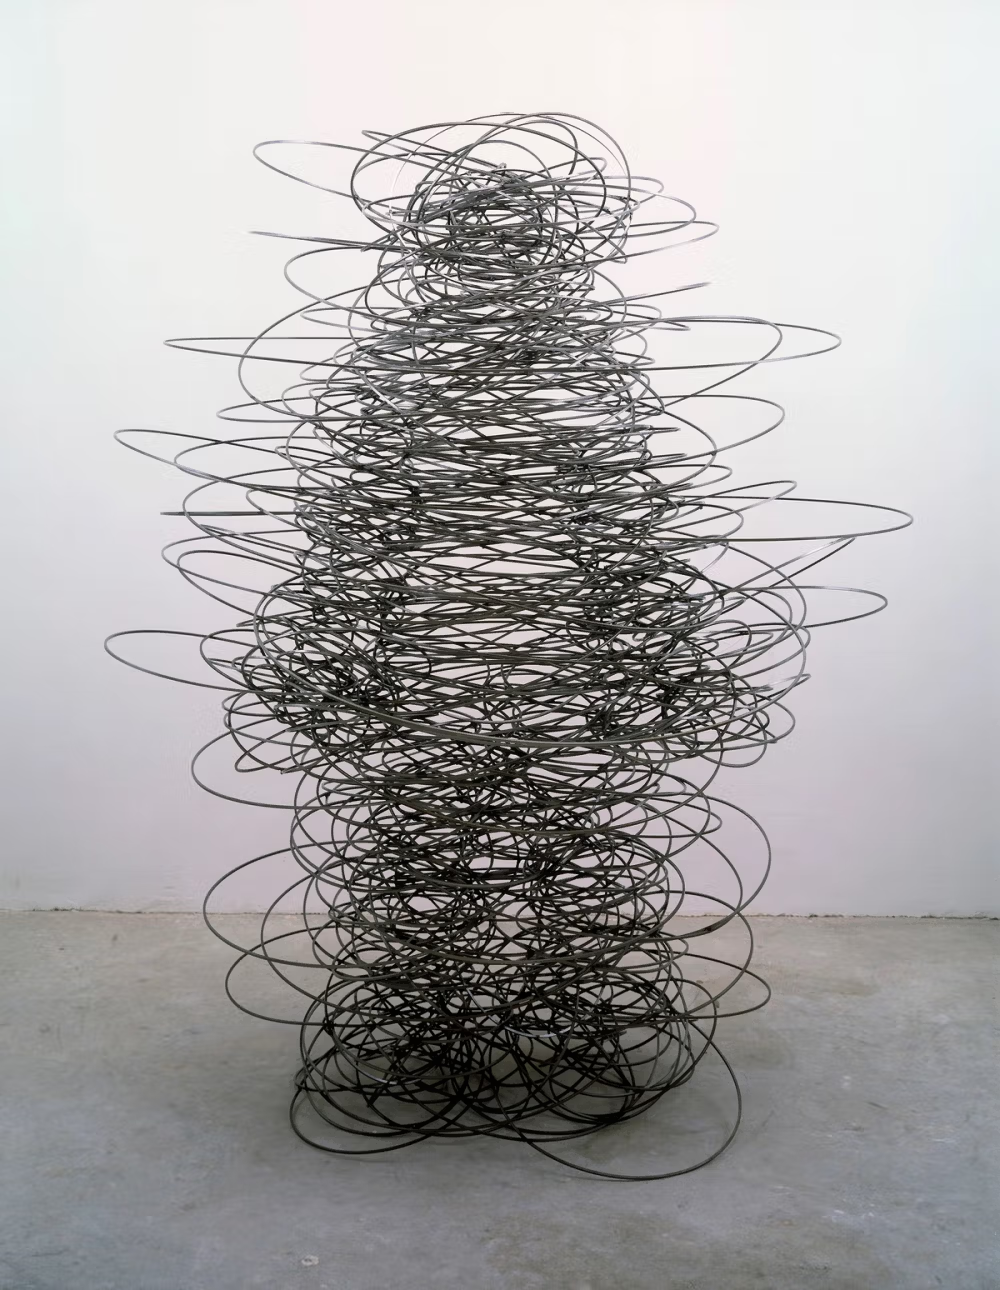
For my final project, I aimed to capture the profound interplay between energy, emotion, and human existence, drawing inspiration from Antony Gormley’s exploration of quantum physics. Gormley’s idea that we are not merely particles but waves resonates deeply with me. It reflects the fluid, ever-changing nature of our emotions and experiences, which form the basis of this project.


This project visualizes the human form and its emotional states as both wave-like entities and particles to highlight their contrast, a choice influenced by the availability of two distinct options. The waves reflect the fluidity of human emotions, while the particles emphasize discrete, tangible aspects of existence. Together, they offer an abstract interpretation of the quantum perspective.
By embracing infinite possibilities through motion, interaction, and technology, my goal is to immerse users in a digital environment that mirrors the ebb and flow of emotions, resonating with the beauty and complexity of our quantum selves. Blending art and technology, I create a unique experience that integrates body tracking, fluid motion, and real-time interactivity. Through the medium of code, I reinterpret Gormley’s concepts, building an interactive visual world where users can perceive their presence as both waves and particles in constant motion.
Embedded Sketch:
Interaction Methodology
The interaction in this project is designed to feel intuitive and immersive, connecting the user’s movements to the behavior of particles and lines in real time. By using TensorFlow.js and ml5.js for body tracking, I’ve created a system that lets users explore and influence the visualization naturally.
Pose Detection
The program tracks key points on the body, like shoulders, elbows, wrists, hips, and knees, using TensorFlow’s MoveNet model via ml5.js. These points form a digital skeleton that moves with the user and acts as a guide for the particles. It’s simple: your body’s movements shape the world on the screen.
Movement Capture
The webcam does all the work in capturing your motion. The system reacts in real-time, mapping your movements to the particles and flow field. For example:
- Raise your arm, and the particles scatter like ripples on water.
- Move closer to the camera, and they gather around you like a magnetic field.
Timed Particle Phases
Instead of toggling modes through physical gestures like stepping closer or stepping back (which felt a bit clunky during testing), I added timed transitions. Once you press “Start,” the system runs automatically, and every 10 seconds, the particles change behavior.
- Wave Mode: The particles move in smooth, flowing patterns, like ripples responding to your gestures.
- Particle Mode: Your body is represented as a single particle, interacting with the others around it to highlight the contrast between wave and particle states.
Slider and Color Picker Interactions
- Slider: Adjusts the size of the particles, letting the user influence how the particles behave (larger particles can dominate the field, smaller ones spread out).
- Color Picker: Lets the user change the color of the particles, providing visual customization.
These controls allow users to fine-tune the appearance and behavior of the particle field while their movements continue to guide it.
The Experience
It’s pretty simple:
- Hit “Start,” and the body tracking kicks in. You’ll see a skeleton of your movements on the screen, surrounded by particles.
- Move around, wave your arms, step closer or farther—you’ll see how your actions affect the particles in real time.
- Every 10 seconds, the visualization shifts between the flowing waves and particle-based interactions, giving you a chance to experience both states without interruption.
The goal is to make the whole experience feel effortless and engaging, showing the contrast between wave-like fluidity and particle-based structure while keeping the interaction playful and accessible.
Code I’m Proud Of:
I’m proud of this code because it combines multiple elements like motion, fluid dynamics, and pose detection into a cohesive interactive experience. It integrates advanced libraries and logic, showcasing creativity in designing vibrant visual effects while ensuring smooth transitions between states. This project reflects my ability to merge technical complexity with artistic expression.
function renderFluid() {
  background(0, 40); // Dim background for a trailing effect

  fill(255, 150); // White color with slight transparency
  textSize(32); // Adjust the size to make it larger
  textAlign(CENTER, TOP); // Center horizontally, align to the top
  textFont(customFont1);

  // Splitting the text into two lines
  let line1 = "We are not mere particles,";
  let line2 = "but whispers of the infinite, drifting through eternity.";

  let yOffset = 10; // Starting Y position

  // Draw the two lines of text
  text(line1, width / 2, yOffset);
  text(line2, width / 2, yOffset + 40);

  for (j = 0; j < linesOld.length - 1; j += 4) {
    oldX = linesOld[j];
    oldY = linesOld[j + 1];
    age = linesOld[j + 2];
    col1 = linesOld[j + 3];
    stroke(col1); // Set the stroke color
    fill(col1); // Fill the dot with the same color
    age++;

    // Add random jitter for vibration
    let jitterX = random(-1, 1); // Small horizontal movement
    let jitterY = random(-1, 1); // Small vertical movement
    newX = oldX + jitterX;
    newY = oldY + jitterY;

    // Draw a small dot
    ellipse(newX, newY, 2, 2); // Small dot with width 2, height 2

    // Check if the particle is too old
    if (age > maxAge) {
      newPoint(); // Generate a new starting point
    }

    // Save the updated position and properties
    linesNew.push(newX, newY, age, col1);
  }

  linesOld = linesNew; // Swap arrays
  linesNew = [];
}

function makeLines() {
  background(0, 40);

  fill(255, 150); // White color with slight transparency
  textSize(32); // Adjust the size to make it larger
  textAlign(CENTER, TOP); // Center horizontally, align to the top
  textFont(customFont1);

  // Splitting the text into two lines by breaking the string
  let line1 = "We are made of vibrations";
  let line2 = "and waves, resonating through space.";

  let yOffset = 10; // Starting Y position

  // Draw the two lines of text
  text(line1, width / 2, yOffset);
  text(line2, width / 2, yOffset + 40);

  for (j = 0; j < linesOld.length - 1; j += 4) {
    oldX = linesOld[j];
    oldY = linesOld[j + 1];
    age = linesOld[j + 2];
    col1 = linesOld[j + 3];
    stroke(col1);
    age++;
    n3 = noise(oldX * rez3, oldY * rez3, z * rez3) + 0.033;
    ang = map(n3, 0.3, 0.7, 0, PI * 2);
    newX = cos(ang) * len + oldX;
    newY = sin(ang) * len + oldY;
    line(oldX, oldY, newX, newY);

    if (
      ((newX > width || newX < 0) && (newY > height || newY < 0)) ||
      age > maxAge
    ) {
      newPoint();
    }

    linesNew.push(newX, newY, age, col1);
  }
  linesOld = linesNew;
  linesNew = [];
  z += 2;
}
User testing:
For user testing, I asked my friend to use the sketch, and overall, it was a smooth process. I was pleasantly surprised by how intuitive the design turned out to be, as my friend was able to navigate it without much guidance. They gave me some valuable feedback on minor tweaks, but generally, the layout and flow were easy to follow. It was reassuring to see that the key features I focused on resonated well with someone else, which confirmed that the design choices were on the right track. This feedback will help refine the project further and ensure it’s as user-friendly as possible.
Im Showcase:
I absolutely loved the IM Showcase this semester, as I do every semester. It was such a joy to see my friends’ projects come to life in all their glory after witnessing the behind-the-scenes efforts. It was equally exciting to explore the incredible projects from other classes and admire the amazing creativity and talent of NYUAD students.
Challenges:
One challenge I faced was that the sketch wouldn’t function properly if the camera was directly positioned underneath. While I’m not entirely sure why this issue occurred, it might be related to how the sketch interprets depth or perspective, causing distortion in the visual or interaction logic. To address this, I decided to have the sketch automatically switch between two modes. This approach not only resolved the technical issue but also allowed the sketch to maintain a full-screen appearance that was aesthetically pleasing. Without this adjustment, the camera’s placement felt visually unbalanced and less polished.
However, I recognize that this solution reduced user interaction by automating the mode switch. Ideally, I’d like to enhance interactivity in the future by implementing a slider or another control that gives users the ability to switch modes themselves. This would provide a better balance between functionality and user engagement, and it’s something I’ll prioritize as I refine the project further.
Reflection:
Reflecting on this project, I’m incredibly proud of what I’ve created, especially in how I was able to replicate Anthony’s work. It was a challenge, but one that I really enjoyed taking on. I had to push myself to understand the intricate details of his style and techniques, and in doing so, I learned so much. From working through technical hurdles to fine-tuning the visual elements, every step felt like a personal achievement. I truly feel like I’ve captured the essence of his work in a way that’s both faithful to his vision and uniquely mine. This project has not only sharpened my technical skills but also given me a deeper appreciation for the craft and the creative process behind it
