
a. The concept
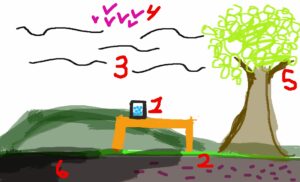
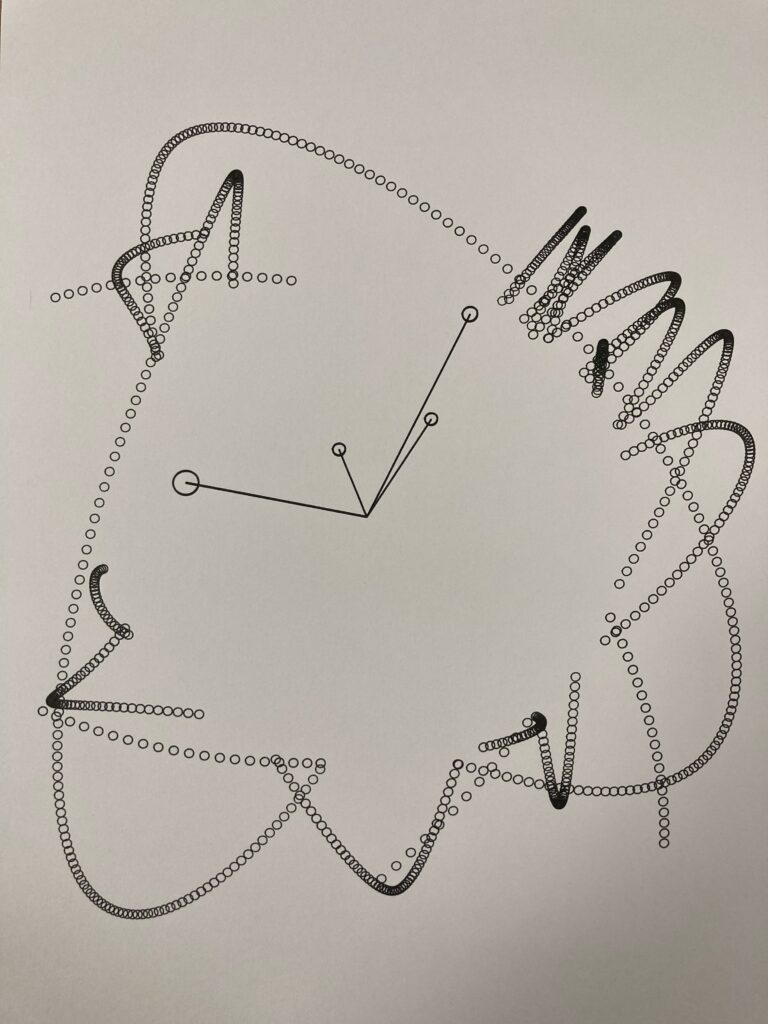
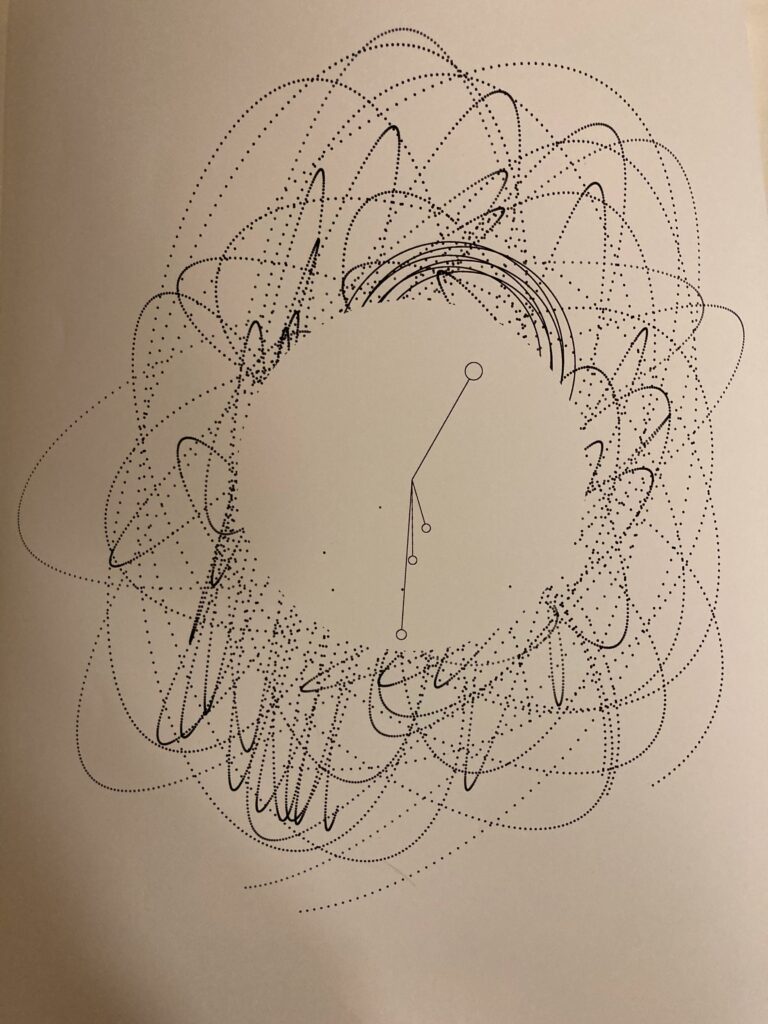
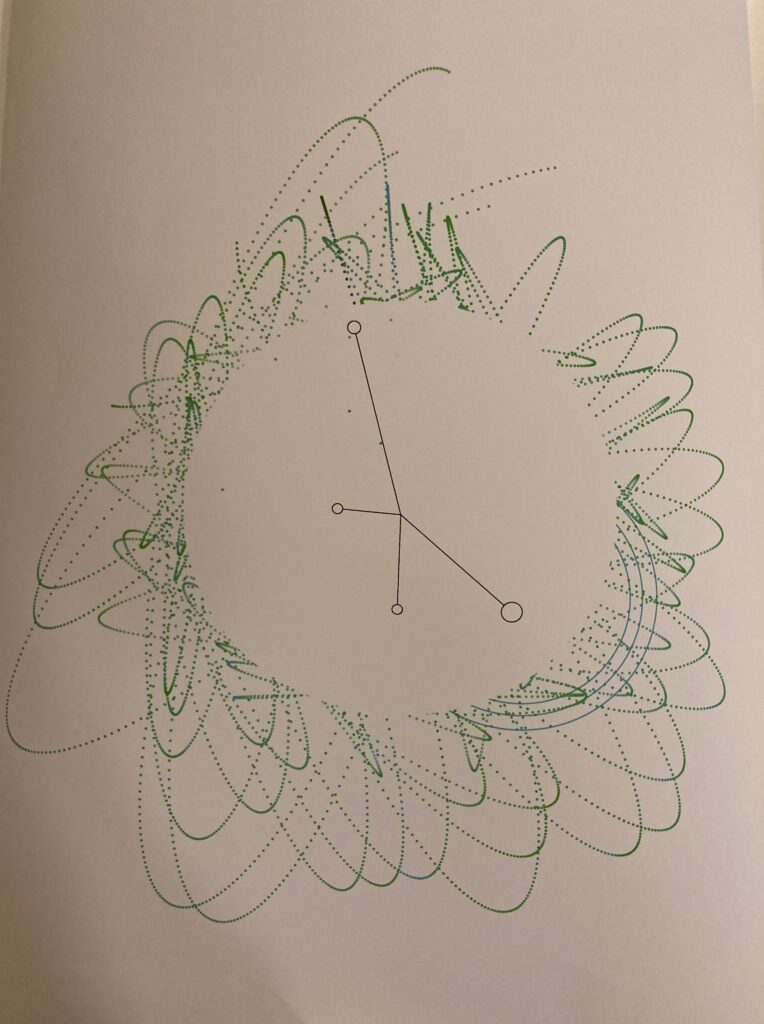
My idea for the final project is to create a relaxing and interactive experience. While this idea can apply to many concepts, I decided to focus myself on recreating (albeit not 100% similar) the following figures:

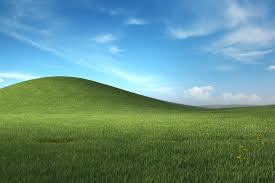
There is not too much of a specific reason as to why these two figures were selected for inspiration aside of me being a fan of rural areas. Not to imply that I hate cities, but there is a charm in living in a place where you can take a sit, appreciate and take care of nature.
Now, the idea was to implement everything that we have learned so far in class with these figures as concepts. Although, as mentioned, the most important detail to be added (at least in my opinion) was interaction. Since I am a fan of interactable experiences with physics, something along the lines was sought after. Likewise, the details that were going to fill the background were planned to be concepts taught in class modified to look in-place with the setting.
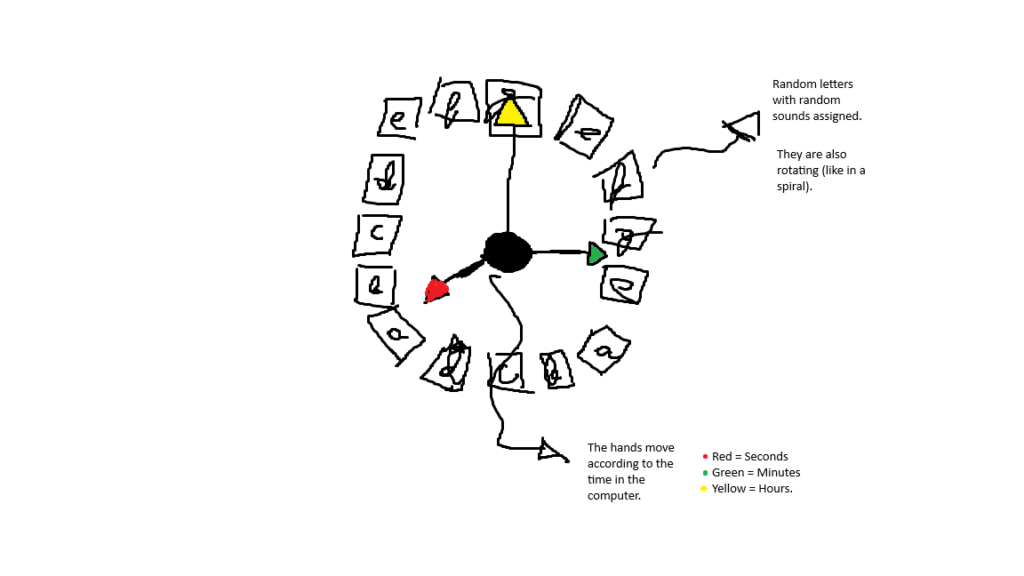
b. The sketch
Here is the final, completed draft with the corresponding instructions:
Controls:

Holding mouse left click: Grab body/element
Full-screen version: Go to the Full-screen version
c. The design
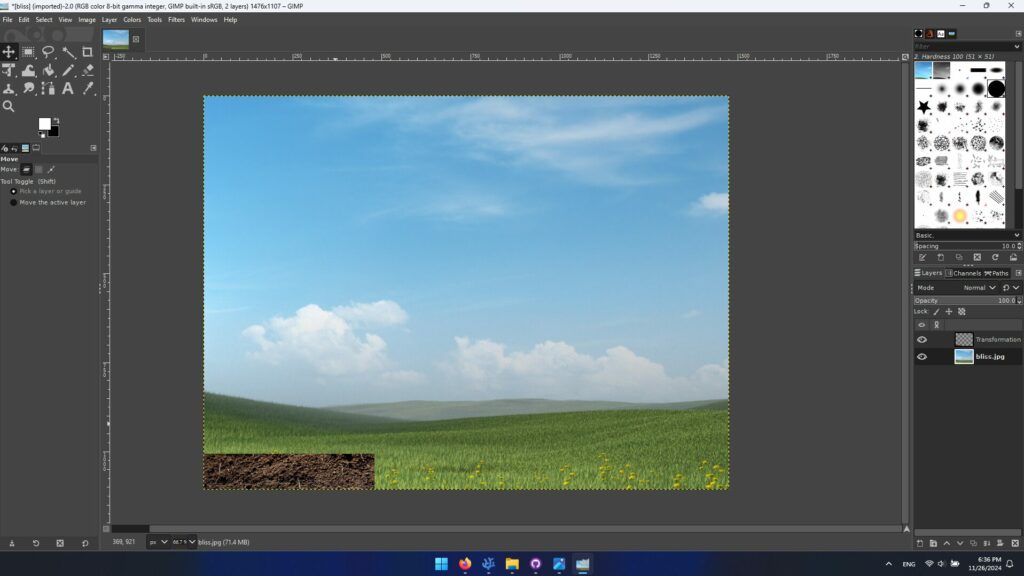
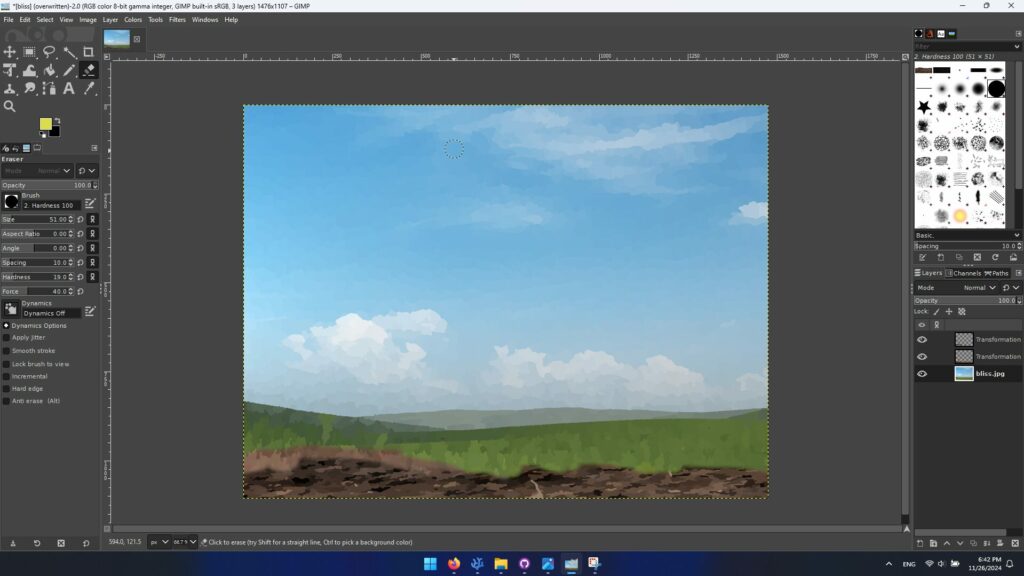
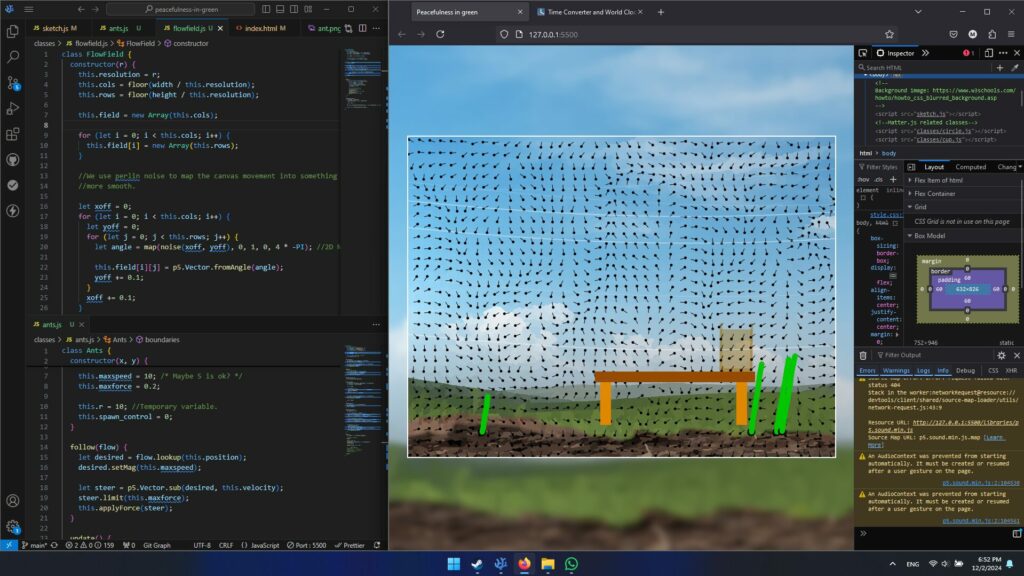
Since I have some skills when it comes to image manipulation (not that much of a design master if I am honest), I decided to use Figure 2 as a basis for the background. This was done by manipulating the image using the software GIMP:
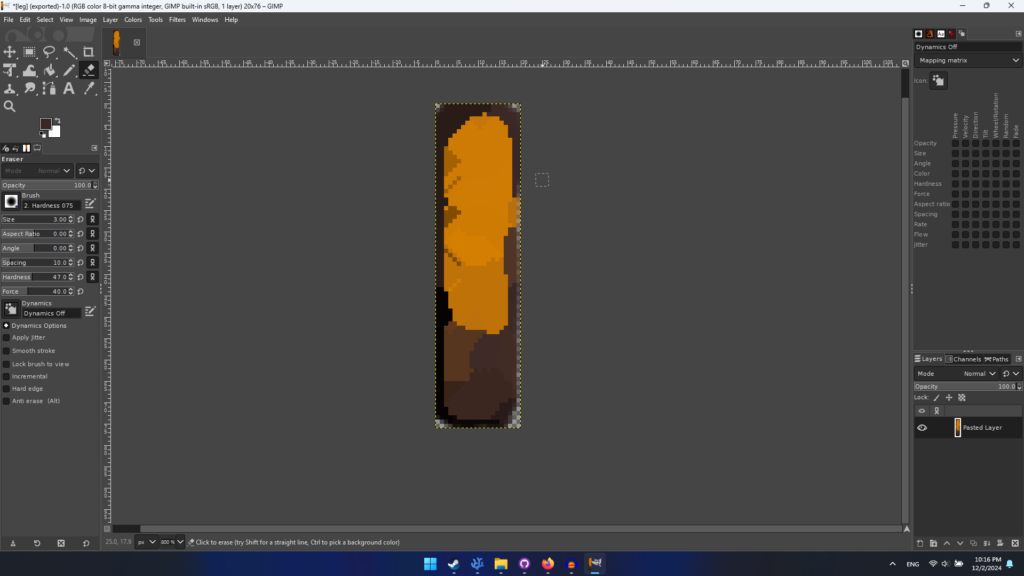
The bench also had to be made handmade to complement the background. If I just happen to add rectangles or some images from the internet, it would end up looking weird.
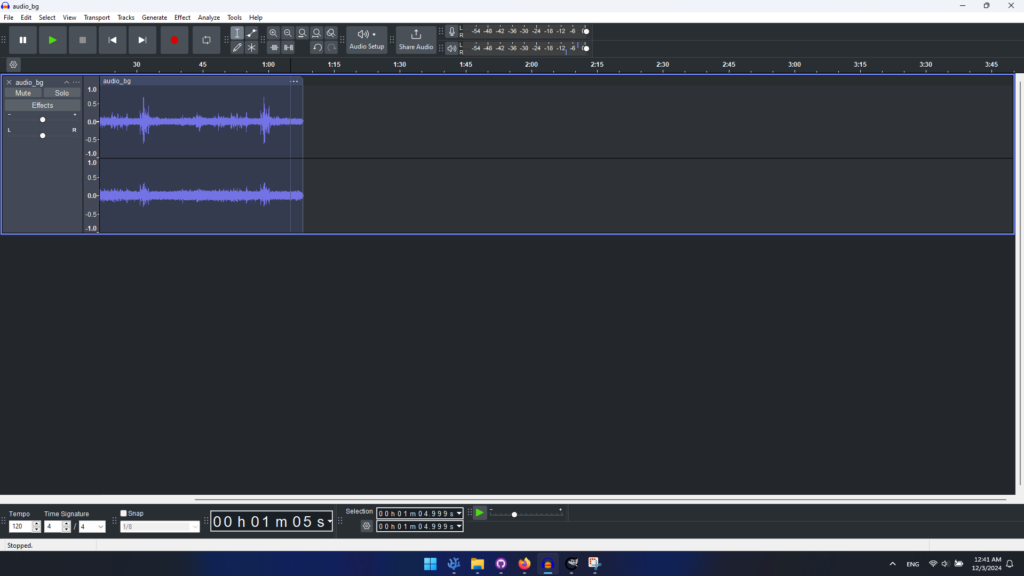
As for the audio, some clips were carefully selected to complement the experience, such as the audio background and feedback when the bodies collide with each other:
This part did not take as much time as I expected. Nevertheless, preparing a graphic from zero, that takes into account a specific design, can be troublesome.
d. The features
The main feature of this sketch is the object manipulation with the help of the physics library matter.js. For more information, here is the complete list of features that this sketch possesses:
- Interactable bottle and seeds: These are mostly done with the help of matter.js for the physics. The idea is that, the seeds will spawn inside the cups and that, once they fall into the grass with the help of the user manipulation, they will stop in where they landed. After this, a plant will grow using Perlin noise. As for the cups, new ones will spawn when a very low probability—getting the number 1 from 5000 possible numbers—is met with the help of
random(). - Ants moving from left to right: The ants moved from either the left or right side, following an established target.
- Winds: They are displayed as sine waves, and are mostly there to provide an additional force for the matter.js bodies once they are under a specific range of the Y axis.
- CRT effect: It is basically a combination of multiple cellular automata layered on top of each other with a specific value of opacity.
Here is a quick demonstration of all the systems mentioned in place:

e. Cut features
Most of the ideas from the original sketch were implemented, although some needed reconsideration. For example, the cellular automata were originally intended to be for dirt patterns, but it proved to be difficult to get the result. While trying to figure out how to make it work, I came across a “CRT” effect that could add into a nostalgia factor.
Elements number 4 and 5 had to be cut due to not having enough time. The features were the following:
#4 Birds flying around: These will be done with the help of a flocking system.

#5 A tree with moving leaves: The moving leaves will be simulated with the help of some forces.
f. Code I am still particularly proud of
Detecting the current position of each ball and then spawning a Perlin walker that moves linearly in the Y axis but randomly on the X axis, while leaving a trail, proved to be difficult. I had to readjust the positioning to match matter.js:
Code found in classes/walker.js. All the class is provided, since many elements are necessary for this to work.
class Walker {
  constructor(x, y, w, angle) {
    this.position = createVector(x, y);
    this.angle = angle;

    this.w = w;

    //Stop growing it in the Y axis.
    this.y_limit = int(random(400, 500));

    //Shows the trail. Made with the following help: https://www.youtube.com/watch?v=vqE8DMfOajk
    this.history = [];

    //Variables for the perlin movement.
    this.tx = this.position.x;
    this.ty = this.position.y;

    this.last_position = 0; //Tracks the last position for reference. This avoids that the Perlin movement moves everywhere.
    this.rise = 0; //Controls the map to allow the plant to grow.

    this.free_x = 0; //Frees X space
    this.free_y = 0; //Frees Y space.  Both of them helps to create the illusion of grow.
  }

  show() {
    //Show trail.
    push();
    for (let i = 0; i < this.history.length; i++) {
      let pos = this.history[i];
      ellipse(pos.x, pos.y, this.w);
      noStroke();
      fill(0, 200, 0);
    }
    pop();
  }

  move() {
    this.history.push(createVector(this.position.x, this.position.y));
    this.position.x = map(
      noise(this.tx),
      -30,
      30,
      this.position.x - 10,
      this.position.x + 10
    );
    this.tx += 0.1;
  }
}
The rest of the code, while expansive, did not feel really challenging aside from adapting some features to my sketch. I highlight the provided coded, since most of it came from my own logic and a lot of trial and error. It is impressive how some lines of codes can be seen as simple, but in reality, it takes a lot of time to write the correct code that gives the desired result.
g. User testing
I asked a friend to try out the sketch. Here is the video of it:
There are some issues highlighted, such as physics being glitched or initial confusion as to what to do, despite putting some (rather mysterious) instructions to let the user know what to do. The instructions were left vague to let the user feel, possibly, more engage after figuring out the interaction.
h. Interactive Media Showcase
Here are some videos of the Interactive Media showcase. What it is interesting from these videos is that some students actually understood what to do. Although, there was general confusion due to the physics glitching out and the (random) time that it took for new cups to arrive; they were sometimes waiting for something to happen. Aside from that, I feel that the instructions were mostly helpful for the amount of time the participants took.
Video 1:
Video 2:
i. Previous sketches
Here are the two previous sketches if you want to see the progress, or you can also click here to access the GitHub repo.
-
- The first draft: First draft on p5.js
- The second draft: Second draft on p5.js
j. Reflection
This proved to be a difficult and very time-consuming final project. While could be understood as possibly annoying, it is the contrary: I enjoyed the process. I felt as I understood the concepts that were taught in class, and I could through without too much of an issue with what I wanted to add. Of course, some features had to be cut in order to complete the final project in time, but the difference this time is that I feel capable of adding them if enough time is provided.
As for the technicality of the project, I could not figure out the solution for the bodies going through bodies if they are at a high speed. This itself is a limitation of matter.js, although I wish there was a solution. Nevertheless, I feel satisfied with how the final project turned out and the new knowledge I possess now. I realized that there are a lot of uses outside p5.js I can use this for.
Thank you for the new knowledge, I deeply appreciate it.
k. Used sources
1. Cunningham, Andrew. “Today I Stumbled upon Microsoft’s 4K Rendering of the Windows XP Wallpaper.” Ars Technica, 8 June 2023, arstechnica.com/gadgets/2023/06/i-just-found-out-that-microsoft-made-a-4k-version-of-the-windows-xp-wallpaper/.
2. “Cursor.” P5js.org, 2024, p5js.org/reference/p5/cursor/. Accessed 2 Dec. 2024.
3. freesound_community. “Highland Winds FX | Royalty-Free Music.” Pixabay.com, 14 June 2023, pixabay.com/sound-effects/highland-winds-fx-56245/. Accessed 26 Nov. 2024.
4. flanniganable. “10b How to Make a Compound Body Matter.js.” YouTube, 4 Dec. 2021, www.youtube.com/watch?v=DR-iMDhUa-0. Accessed 25 Nov. 2024.
5. The Coding Train. “3.6 Graphing Sine Wave.” Thecodingtrain.com, 2016, thecodingtrain.com/tracks/the-nature-of-code-2/noc/3-angles/6-graphing-sine-wave. Accessed 2 Dec. 2024.
6. The Coding Train. “5.21: Matter.js: Mouse Constraints – the Nature of Code.” YouTube, 9 Mar. 2017, www.youtube.com/watch?v=W-ou_sVlTWk. Accessed 25 Nov. 2024.
7. The Coding Train. “9.7: Drawing Object Trails – P5.Js Tutorial.” YouTube, 9 Feb. 2016, www.youtube.com/watch?v=vqE8DMfOajk. Accessed 26 Nov. 2024.


