Inspiration
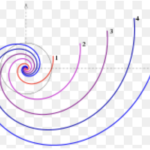
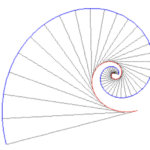
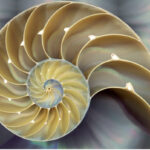
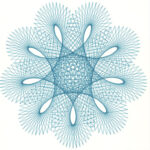
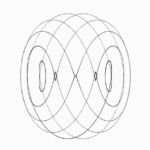
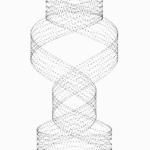
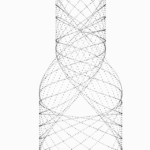
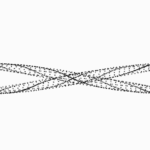
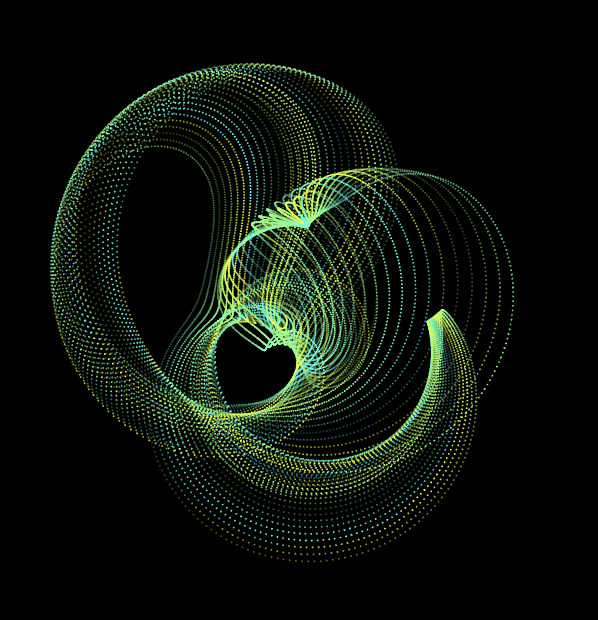
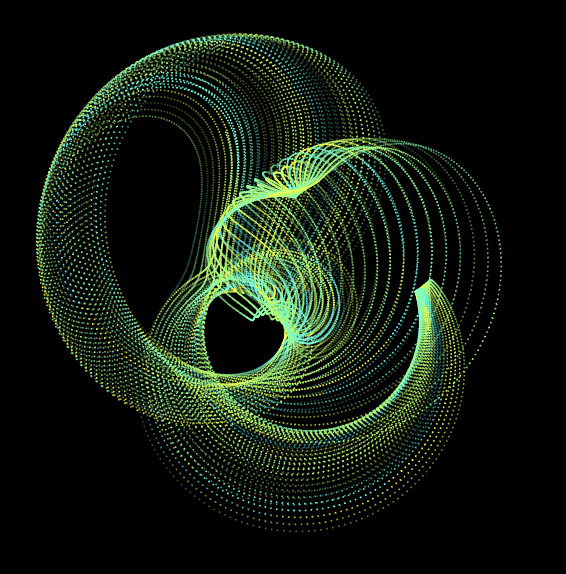
LOGARITHMIC SPIRAL
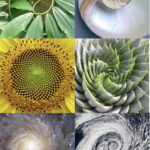
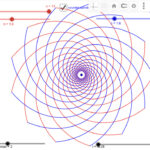
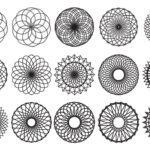
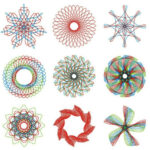
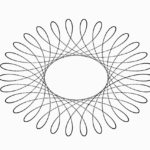
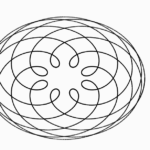
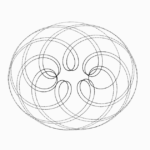
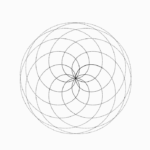
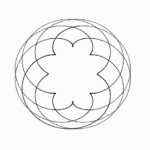
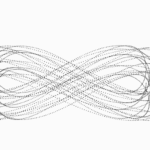
SPIROGRAPH


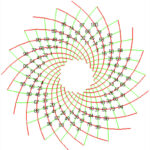
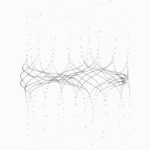
My Output

IM-UH 2318

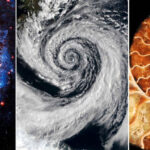
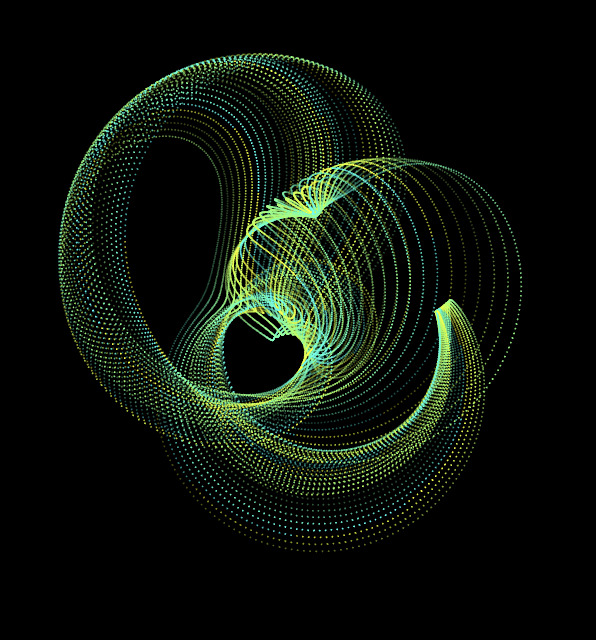
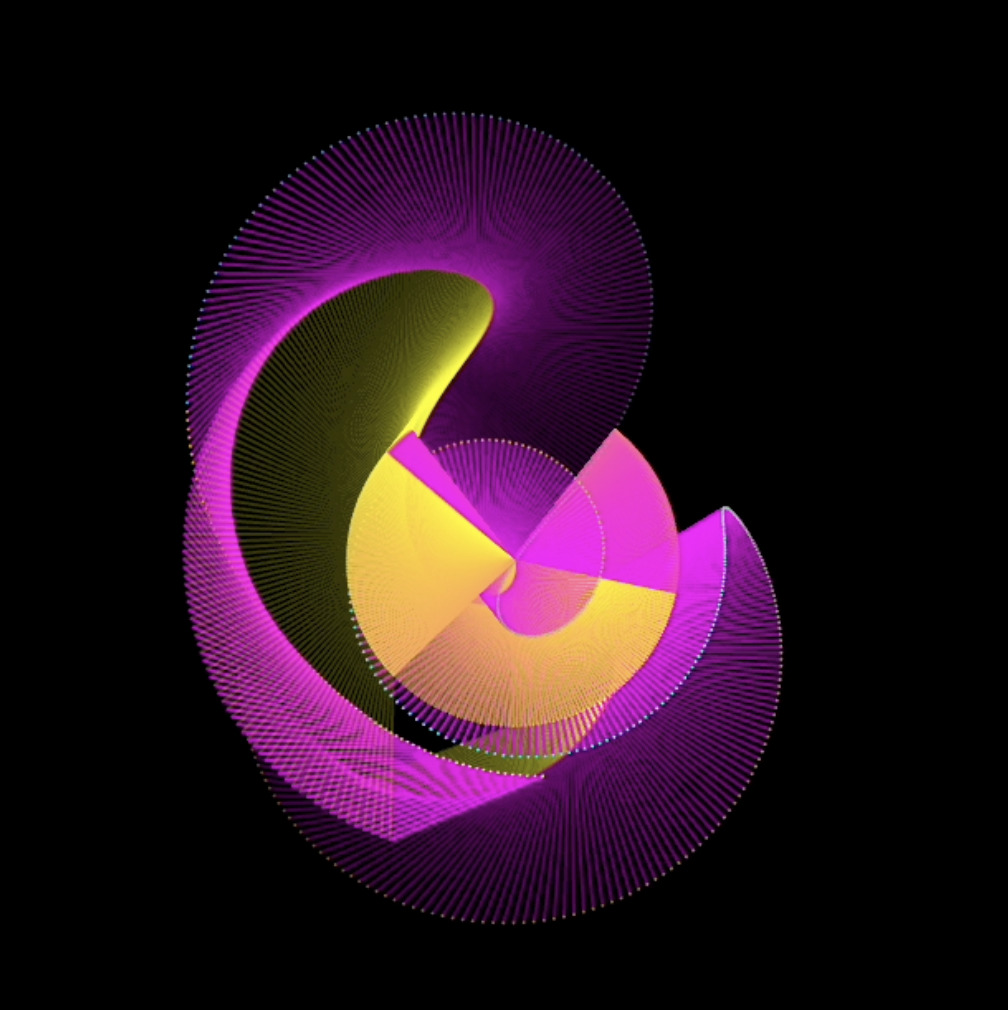
Inspiration
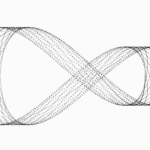
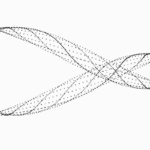
LOGARITHMIC SPIRAL
SPIROGRAPH
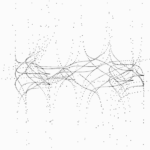
My Output
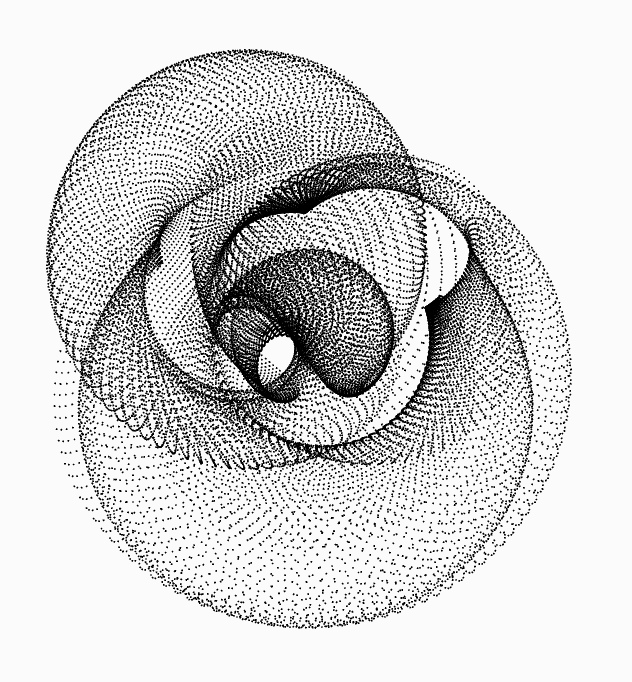
INSPIRATION & CONCEPT
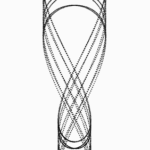
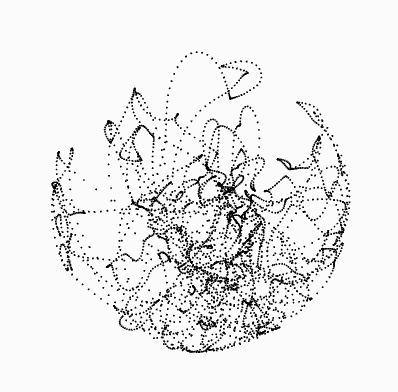
My inspiration for this week’s assignment was the artist we looked at in class last week – Memo Akten. His work, The Awesome Machinery of Nature, was quite fascinating. I wanted to create a similar effect to that with circles coming out of a circle and colliding and creating a ripple effect. Since the motion was periodic (with some variation) I thought of modelling it with functions of sin and cosine for this week’s SHM project. Let’s see how that went.
MY PROCESS
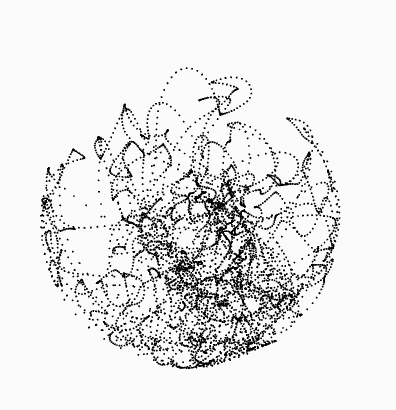
I started with first trying to align all dots in a circles and alter their individual movements by changing their radius in a periodic motion modelled by sin and cosine. There are the first few attempts looked like this:
By playing around with the period, phase difference, and timeOffset parameters, I saw interesting patterns:
Half a wave with so much as corners:
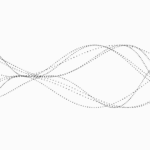
2 breathing circle and semicircle patterns with only one wave! Not two!!
In the above one, It looks like the semicircles are in a relay race, passing the baton.
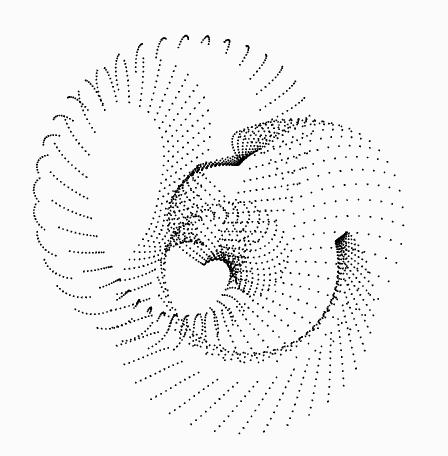
Playing around with the parameters of this, I got something more interesting:
More intricate:
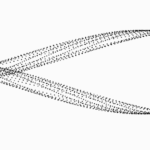
Yes, I kind of branched out way too much here and lost focus of what I started with. But before I redirected my focus into creating something similar to Memo Akten’s work, I wanted to try one more thing. Trying to create a standing wave. What we practiced in class, looked like a sin wave going sideways, I did not want that, but rather the particles to oscillate in the same place – I kind of said the same thing didn’t I? Yes, but visually it looks different. For example:
Here is a bouncing sin wave appearing to move towards the left:
But now, below is the same sin wave but bouncing in its position (notice the leftmost point does not move / stays in its place – called a node in physics):
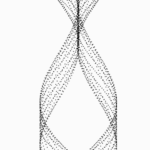
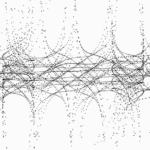
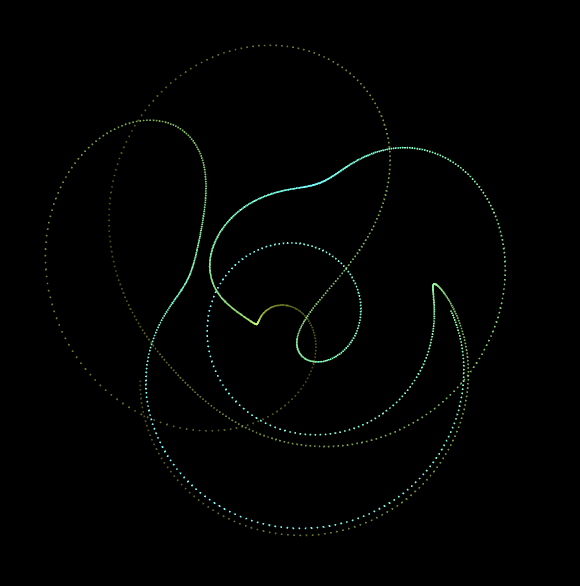
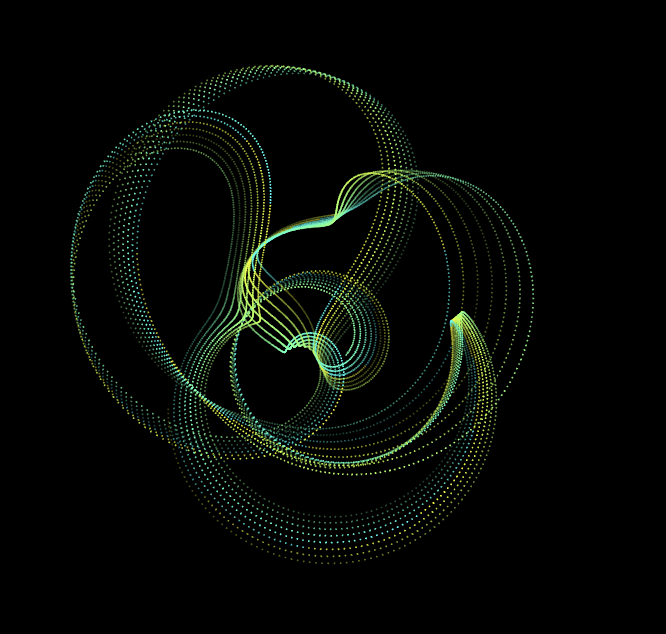
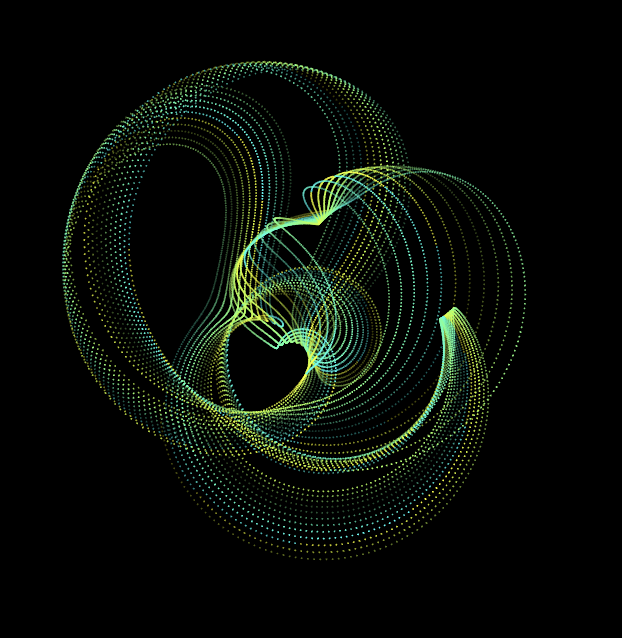
Now combining all of this, I set out to create an SHM hypnosis like artwork for this week’s coding assignment. Below are the various iterations and versions of it:
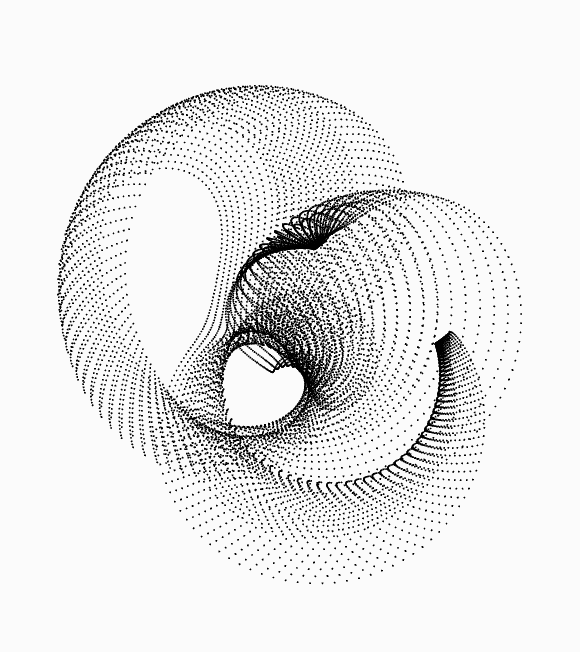
By playing around with the wavelength and phase difference, I got this illusion of the full disk/plate moving.
By employing prime numbers like 23, 41, 43 (in order for below sketches), I got this breathing kind of illusion – but fragmented, instead of a full circle.
By adding multiple sin waves (superposition of waves), I was able to make this amoeba style effect.
TECHNICAL DESIGN AND CODE
So the main piece of code that influences all of this is the following:
let y1 = (map(sin(angle+phaseDiff*i*wave2_offeset), -1, 1, radius-50, radius+50));
let y2 = (map(sin(angle+phaseDiff*i*wave2_offeset), -1, 1, radius-50, radius+50));

let y = (y1 + y2)/2; // to not have the amplitude v high - scaling it down

let x = map(i, 0, num, 0, TWO_PI);

stroke(255);
line(0, 0, y*cos(x*offset), y*sin(x*offset)); // draw the circles in circlular fashion instead of linear

fill(red, g, b);
circle(x*offset, y, radius*2); // draw the actual circles

let r = map(sin(angle+phaseDiff*i), -1, 1, 5, 15); // radius of outer circle varies slightly each loop -> to create breathing effect

// update angle
I have 2 sin waves superimposed which gives this jelly-like effect of the moving circles (in contrast to the first example which was achieved solely by one sin wave). Then the key is the wave_offset and the particle offset which create the phase difference and the periodic motion between the particles. changing the position of the offset in the equation also changes the appearance from bring a standing wave to a moving wave.
The various parameters used above are initialised are such:
let offset = 4; // try n = 21, 23, 41, 43, 27, 10, 2, 1
let angle = 0;
let num, period, phaseDiff;
let radius = 100, t= 0;
let wave2_offeset;

function setup() {
  createCanvas(400, 400);
  num = width/offset;
  // radius = offset/2;
  period = num/2;
  phaseDiff = TWO_PI/period;
  wave2_offeset = PI; // try option PI/2, 2, 5 etc.
}
By playing around with the above parameter values, we get varied results as shown above.
FURTHER DEVELOPMENTS
I believe this design and idea has a lot of potential. I could make a couple of such circles to look like fireworks. Or develop it sequentially to do tasks one after the other. Or make it oscillate based on sound. Many aesthetic and conceptual things might be achieve with this preliminary idea.
INSPIRATION & CONCEPT
When we got this assignment to work with forces, I wanted to make a screen saver. There are many screensaver designs out there, but the one I coded was inspired by Sol Lewitt’s art piece Wall Drawings (see fig 1).
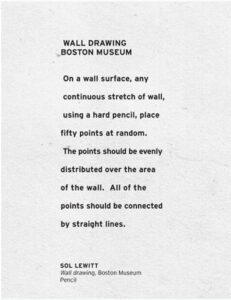
Lewitt just gave instructions to Boston museum for this art piece and this is what was made. I was very intrigued by this idea and wondered if this could be combined with our decoding nature class. What is these 50 points were not stationary, but moving with mutual forces of attraction between them? Let’s try it out!
TECHNICAL DESIGN
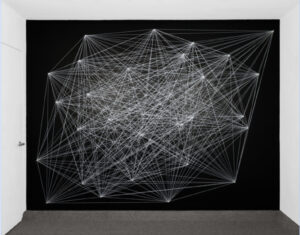
I started with coding just 5 points (50 seemed to be too much for my laptop to handle). These 5 were movers. For the behavior of the screensaver, I added 4 invisible attractors too, in a diamond shape in the center of the canvas. These simulate the moving of the whole design as a whole throughout the canvas. Then remember how a screen saver bounces off the edges? Hence I added the check edges function too.
I am grateful for Daniel Shiffman for his tutorial on Forces linked here . His code in the tutorial was taken as a starting point and built upon.
P5 SKETCH
CODE
// Thanks to:
// Mutual Attract // The Nature of Code
// https://www.youtube.com/watch?v=fML1KpvvQTc&list=PLRqwX-V7Uu6aFlwukCmDf0-1-uSR7mklK&index=18

let j = 0;

let movers = [];
let attractor = [];
let num_m = 5; // number of movers
let num_a = 4; // number of attractors

function setup() {
  createCanvas(600, 600);

  // frameRate(30);

  for (let i = 0; i < num_m; i++) {
    let m = random(10, 15);
    movers[i] = new Mover(225+50*i, 225+i*50, i*PI/2, -1*i*PI/2, m);
  }

  attractor[0] = new Mover(300, 200, 0, 5, 10);
  attractor[1] = new Mover(200, 300, 0, -5, 10);
  attractor[2] = new Mover(400, 300, -5, 0, 10);
  attractor[3] = new Mover(300, 400, 5, 0, 10);
  background(0);
}

function draw() {
  background(0, 20);

  for (let mover of movers) {
    for (let i = 0; i < num_a; i++) {
      attractor[i].attract(mover);
    }
    beginShape();
    for (let other of movers) {
      if (mover !== other) {
        mover.attract(other);
        // stroke(255);
        // color = p5.Vector.random2D();
        // stroke(int(color.x), int(color.y)%255+1, 0);
        // stroke(255-(j%256), 0, 255,j%256); // (j+55)%255
        stroke(255-(j%256), 255,j%256, j);
        // print(int(color.x*255));
        line(mover.pos.x, mover.pos.y, other.pos.x, other.pos.y);
        // vertex(other.pos.x, other.pos.y);
        // vertex(mover.pos.x, mover.pos.y);
        j++;
      }
    }
    endShape();
  }

  for (let mover of movers) {
    mover.update();
  }
}
class Mover {
  constructor(x, y, vx, vy, m) {
    this.pos = createVector(x, y);
    this.vel = createVector(vx, vy);
    this.acc = createVector(0, 0);
    this.mass = m;
    this.r = sqrt(this.mass) * 2;
  }

  applyForce(force) {
    let f = p5.Vector.div(force, this.mass);
    this.acc.add(f);
  }

  attract(mover) {
    let force = p5.Vector.sub(this.pos, mover.pos);
    let distanceSq = constrain(force.magSq(), 100, 1000);
    let G = 1;
    let strength = (G * (this.mass * mover.mass)) / distanceSq;
    force.setMag(strength);
    mover.applyForce(force);
  }

  update() {
    this.vel.add(this.acc);
    this.pos.add(this.vel);
    this.acc.set(0, 0);
    this.checkEdges();
  }

  show() {
    stroke(255);
    fill(255, 100);
    ellipse(this.pos.x, this.pos.y, this.r * 2);
  }

  checkEdges() {
    translate(0, 0);
    if (this.pos.y + this.r >= height) {
      this.pos.y = height - this.r;
      this.vel.y *= -1;
    }
    if (this.pos.y - this.r <= 0) {
      this.pos.y = this.r;
      this.vel.y *= -1;
    }
    if (this.pos.x + this.r >= width) {
      this.pos.x = width - this.r;
      this.vel.x *= -1;
    }
    if (this.pos.x - this.r <= 0) {
      this.pos.x = this.r;
      this.vel.x *= -1;
    }
  }
}
WORKING VIDEO
FURTHER IMPROVEMENTS
With the same concept of screensaver designs, I could play along with the different properties of forces to create different designs and behaviors. I already did alter the mass, distance and G values for the desired result above, but there could be other things to factor in. I did not put in friction for a reason as I want it to be endless and not stop as it a screensaver, it keeps running in the background. However, drag force could be something to play around with to alter the speed of the design. Currently I am controlling the speed with the frameRate() property.
I also only made 5 points and not 50 because that was a lot of computation for my laptop. Maybe there is an efficient way of working with a large number of points which I could look into in the future.
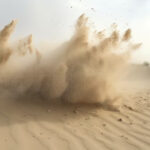
INSPIRATION
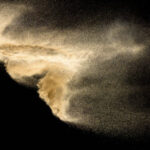
Last week I went to the outer Falcon field for my cricket practice and saw sand being pushed aside, and thrown into the air as people walked. I decided to take a closer look and base this week’s coding assignment on this nature of sand flying in the air. Here is a video of what it looked like. I was unable to get a good video of the sand flying in the air (it was so thin and dispersed that it barely showed in the video), so I uploaded one taken from the internet:
CONCEPT
The concept of my assignment this week is to have sand particles initially at the bottom of the screen, and then depending on the movement of the mouse, apply acceleration to the sand particles to have them appear as if flying in the air. I also added a bit of gravitational acceleration to the sand particles to make the simulation more realistic and have the particles settle down after a while.
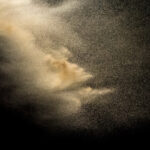
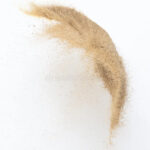
MOOD BOARD
Before I started coding, I prepared a mood board for my project. This gave me clarity on the vision I was trying to build towards.


CODE & WORKING VIDEO
I have to admit it was pretty hard to code it and I struggled to model the behaviour accurately. After many failed attempts and tweaking the parameters of particle acceleration and gravity, I could get something close to what I observed.
Here are the various attempts and outputs I got:
For the code part, I built on the mover class sketch we saw in class – having the circle accelerate in the direction of the mouse. I used that as a skeleton for my program and added other features/variables and components to make it more complex and achieve the desired results.
class Particle {
  constructor() {
    let x = randomGaussian(width/2,100); // to have all particles near the center and close to ground initially
    let y = random(height-20, height);
    this.position = createVector(x, y);
    this.velocity = createVector(0, 0);
    this.acceleration = createVector(0, 0);
    this.gravity = createVector(0, 0);
    this.netAcc = createVector(0, 0); // sum of particle acceleration and gravity
    this.scaleFactor = random(0.01); // scale the acc by what factor?
  }

  update() {

  let mouse = createVector(mouseX, mouseY);

  // compute direction of acc
  let dir = p5.Vector.sub(mouse, this.position);
  dir.normalize(); // normalize
  dir.mult(-1*this.scaleFactor); // scale

  // accelerate only if mouse is in Screen
  if (mouseX < width && mouseX > 0 && mouseY > 0) {
    this.acceleration = dir;
    this.gravity = createVector(0,0.005);
    this.centerGravity = createVector(0,0.001);
    this.netAcc = p5.Vector.add(this.acceleration, this.gravity);
    this.velocity.add(this.netAcc);
    this.velocity.limit(5);
    this.position.add(this.velocity);
  }
    else {
      // print(this.acceleration);
      if (this.acceleration != 0) { // change acceleration direction to have particles come back
        this.acceleration.x *= -1;
        this.acceleration.y *= -1;
      }
    }
  constrain(this.position.y, 0, height);
}

  display() {
    push()
    stroke(225,191,146);
    strokeWeight(2);
    fill(127);
    ellipse(this.position.x, this.position.y, 2, 2);
    pop();
  }

  checkEdges() {
    if (this.position.x > width) {
      this.position.x = 0;
    } else if (this.position.x < 0) {
      this.position.x = width;
    }

    if (this.position.y > height) {
      this.position.y = height;
      this.acceleration = 0;
    } else if (this.position.y < 0) {
      this.position.y = height;
      // this.acceleration.y *= -1;
    }
  }
}
let particles = []; // array to strore all sand particles
let num = 1000; // number of particles in the system

function setup() {
  // background(51);
  createCanvas(400, 400);
  for (let i = 0; i < num; i++)
    particles[i] = new Particle(); //populate particle array
}

function draw() {

  background(189,246,254);

  for (let i = 0; i < num; i++) {
    particles[i].update();
    particles[i].checkEdges();
    particles[i].display();
  }
}
P5 SKETCH
https://editor.p5js.org/shreyagoel81601/sketches/luBPK9fMi
FUTURE WORK AND IMPROVEMENTS
There is a lot that could be improved in this project. While it is close to stimulating sand flying in the air, it is not completely accurate. It is because once the sand particles go up in air, they must come down (at a faster rate than what it is right now), and that cannot be achieved only by acceleration. We will have to play a bit with forces there. We could also add wind direction and air resistance to make it more realistic. Also, currently, the acceleration keeps increasing and we move the mouse, but that is not a real-life scenario. If someone walks past the sand or kicks it, the force is momentous and not ongoing. So this also could be improved once we learn about forces and modelling that.
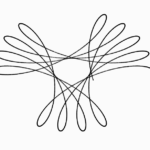
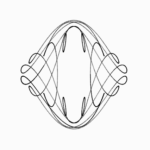
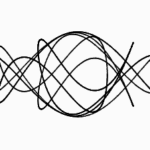
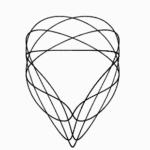
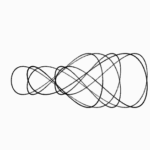
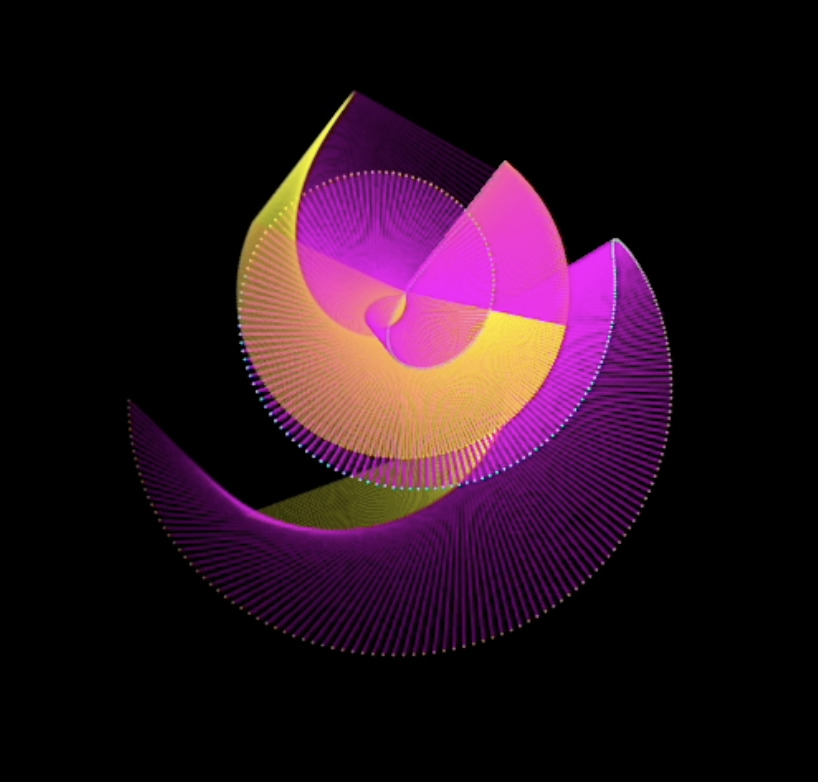
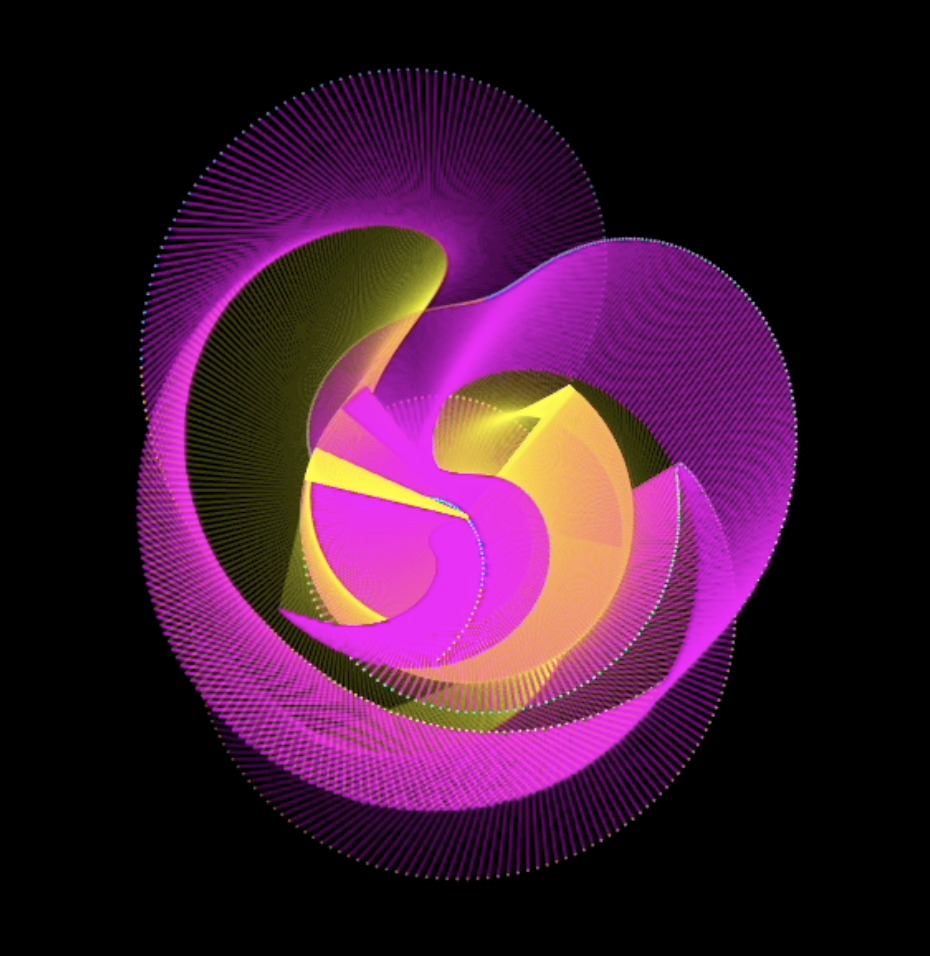
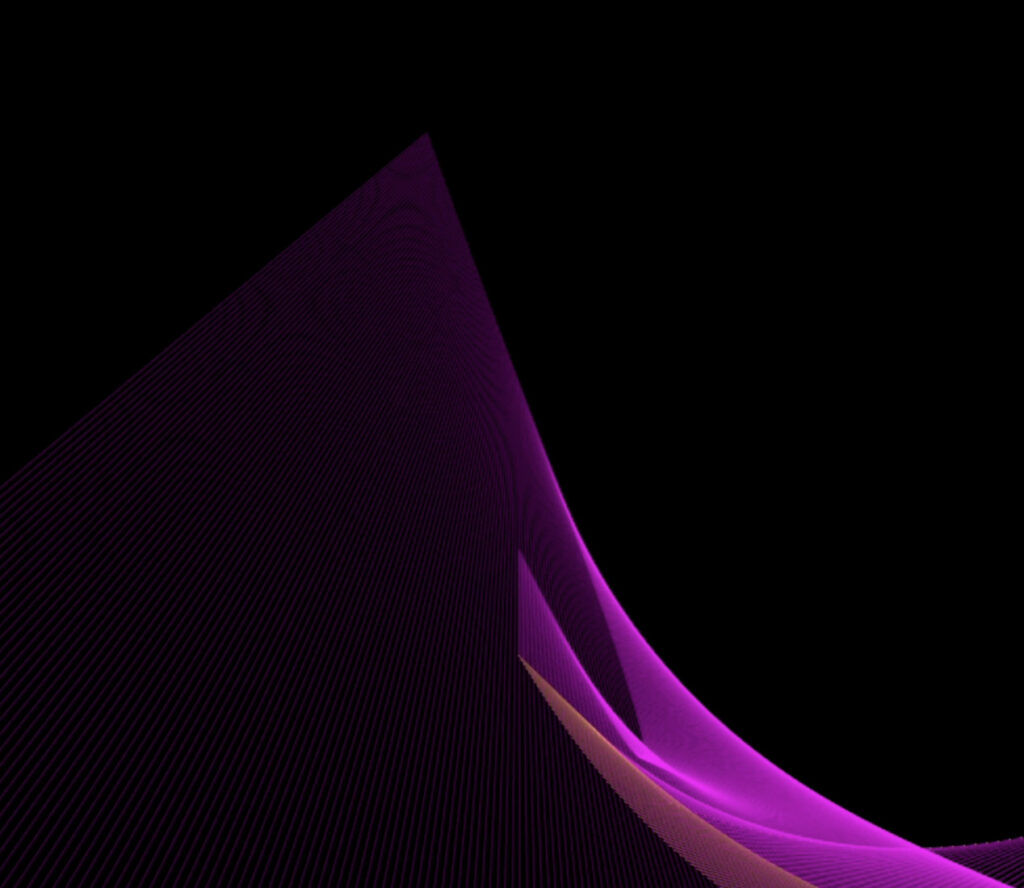
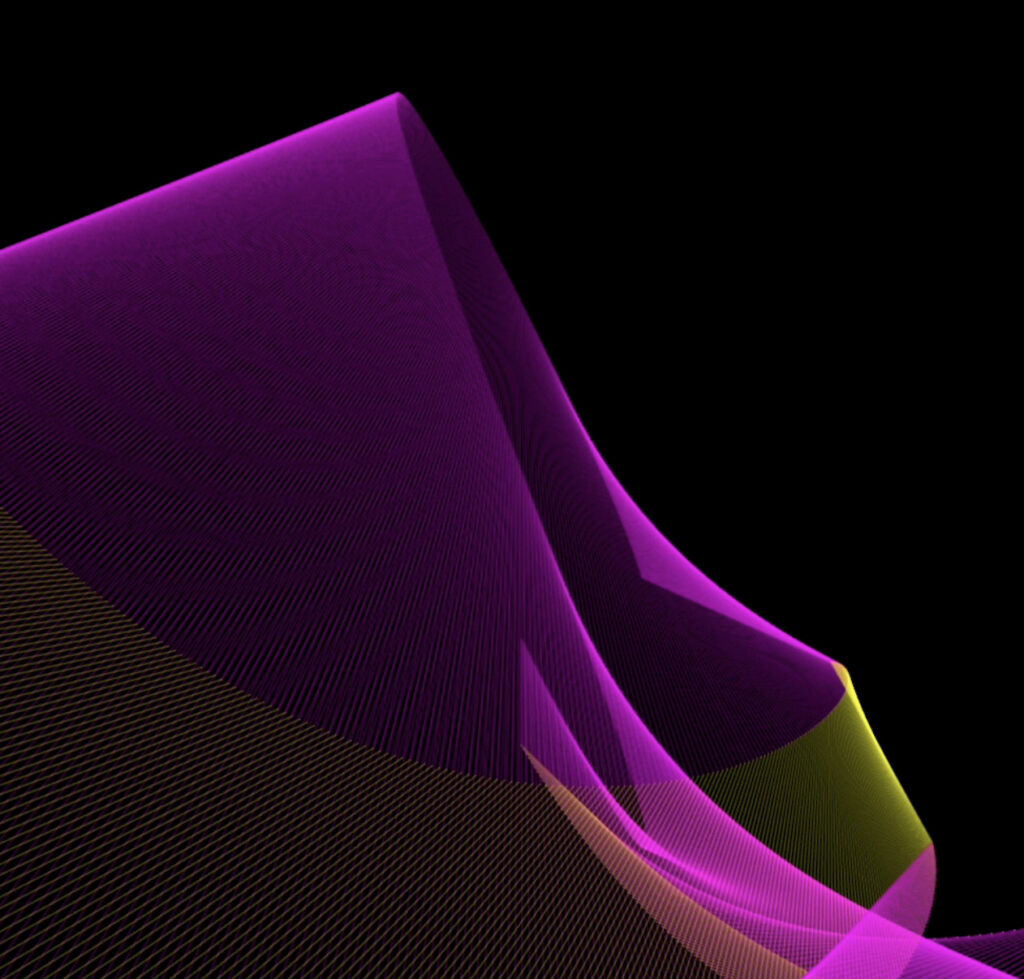
Just sharing some extra designs I have been working on:
These use randomness with some variations in sin and cosine to give a repetitive but iterative pattern.
The idea is that there’s an arm which randomly rotates about an axis or a pivot point and varies in size. A point is plotted at the end of the arm which gives the desired results.
In the following design, not just the point, but the arm itself is plotted.
The author says, “Reductionism fails when we try to use it in the opposite direction.” I do not completely agree with this statement. From what I understand, reductionism is breaking down a complex system into smaller parts, until it cannot be broken down further, and studying the system at this core level. This gives us a lot of information on how the individual elements of a system work, but this is not the final step. The ultimate goal is to understand the system itself. That can only happen if, after reductionism, we let ourselves use the knowledge of these individual simpler units to build back up the full system and study it as a whole – how are these individual agents interacting with each other and what does that tell us about the system? This is a bottom-up approach, i.e., understanding reductionism in reverse.
In fact, the author himself touches upon this and contradicts himself when he quotes Bertand Russel in the beginning, “The point of philosophy is to start with something so simple as to not seem worth stating, and to end with something so paradoxical that no one will believe it.” This is nothing but reverse reductionism. This is what we often do in math too. We start with an obvious (trivial) statement that no one will seem to contradict, and then build something upward from there, leading to a complex proof or a result that may be counterintuitive or ‘mind-boggling’ as the mathematicians say. Since most of the sciences depend on math, they follow a similar pattern of experimentalism and theorization. And what does science aim to do? Science studies and tries to explain the daily observations and occurrences in nature. So, doesn’t this tell us something about nature as well? Yes, it does. And it is that nature itself governs by the law of reverse reductionism. Nature defines how the individual elements behave and then puts them together, letting them run free reign – agents interacting as they wish – and thus creating complex systems.
Hence, if we wish to understand the complex systems in nature, we must employ the strategy of reverse reductionism after reductionism. Understanding reductionism in the reverse direction does not fail us, but rather it is an essential next step.
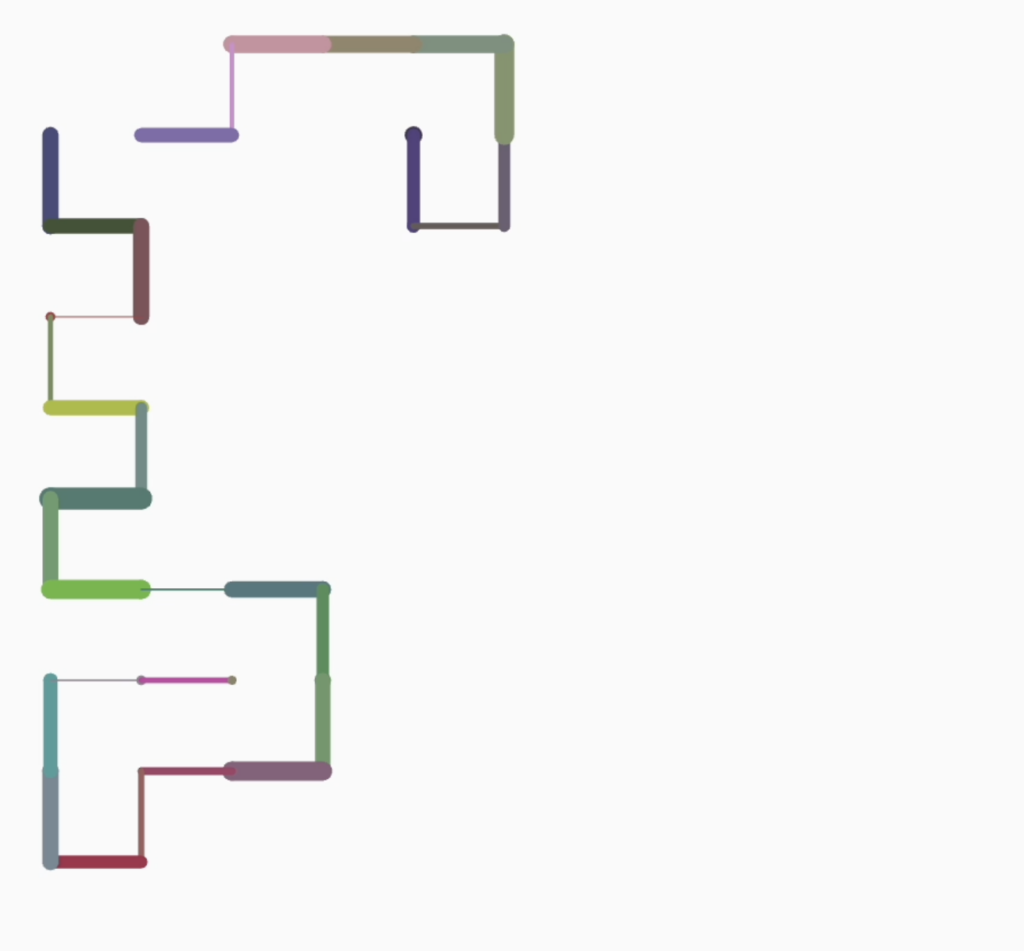
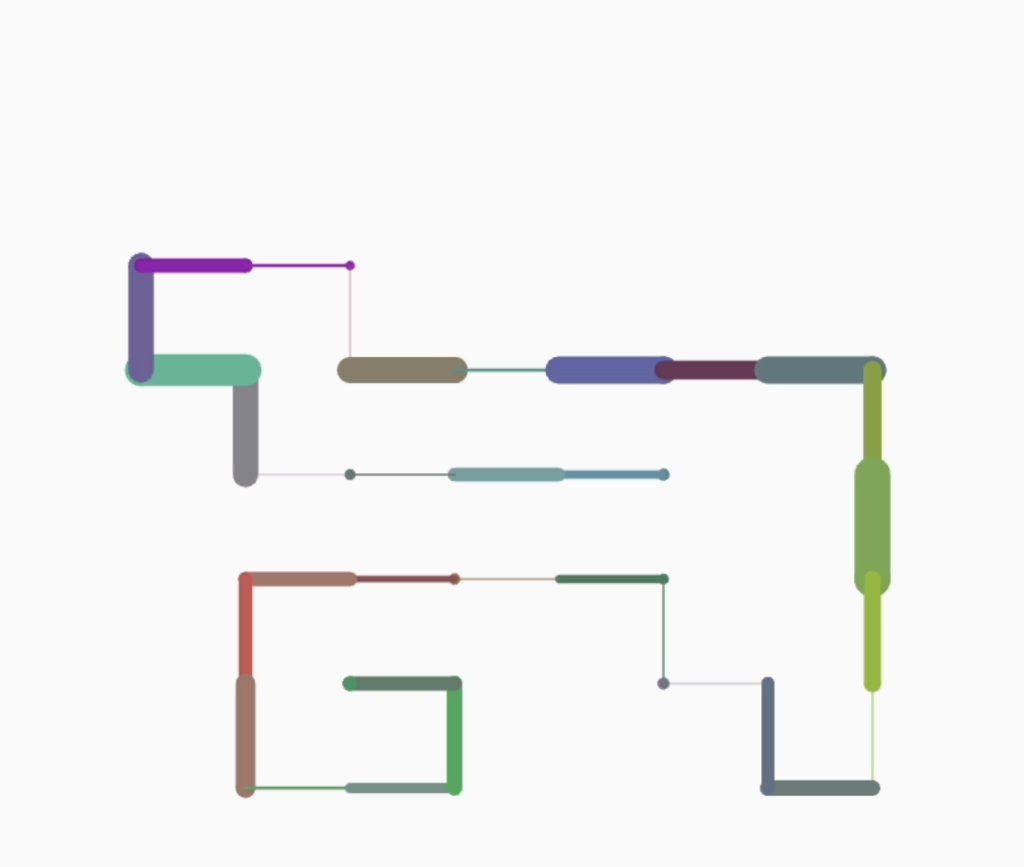
CONCEPT
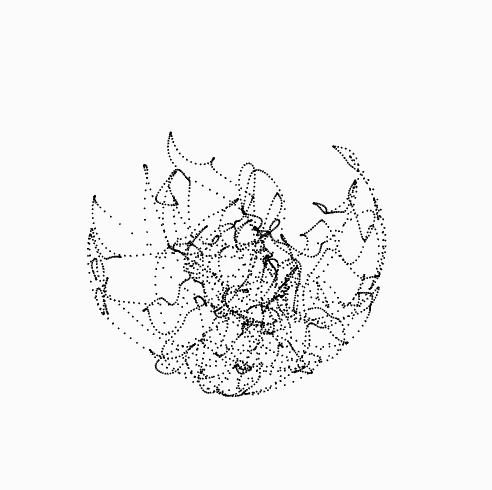
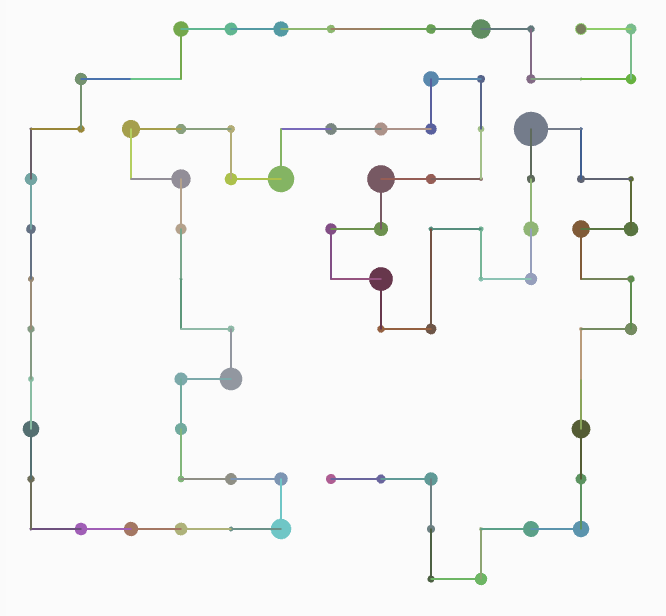
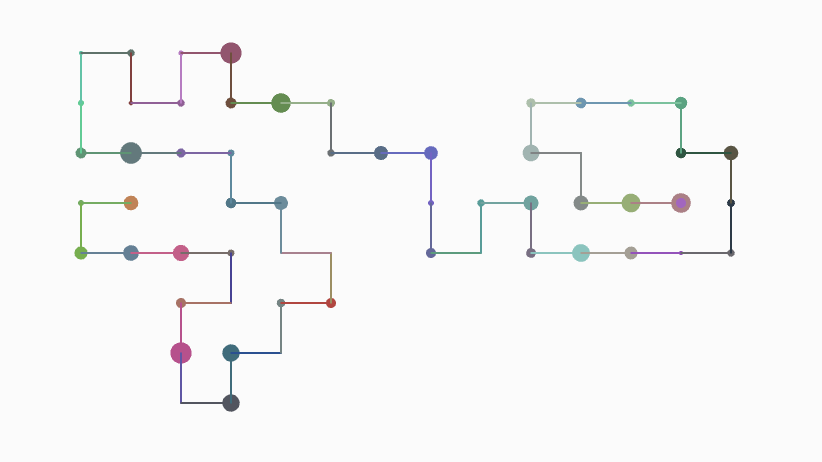
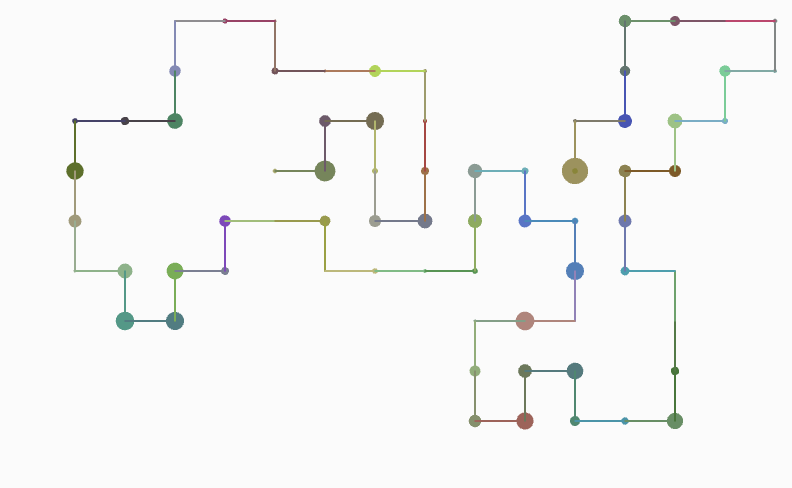
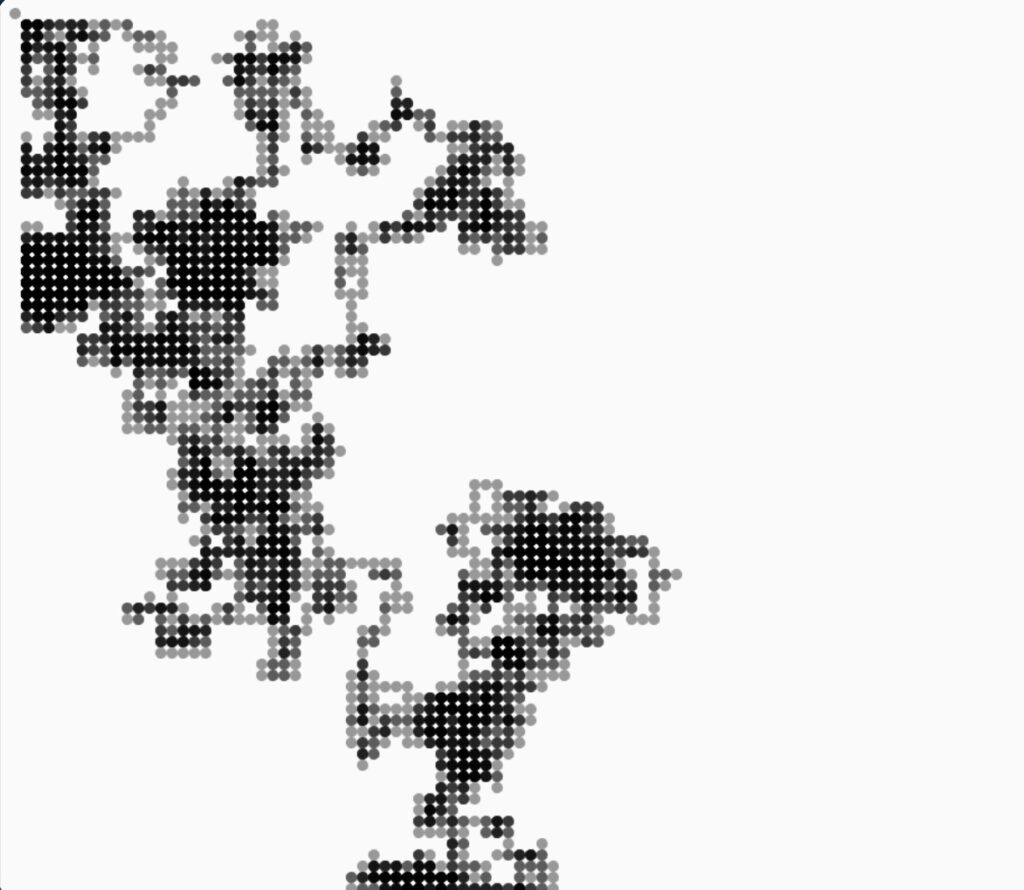
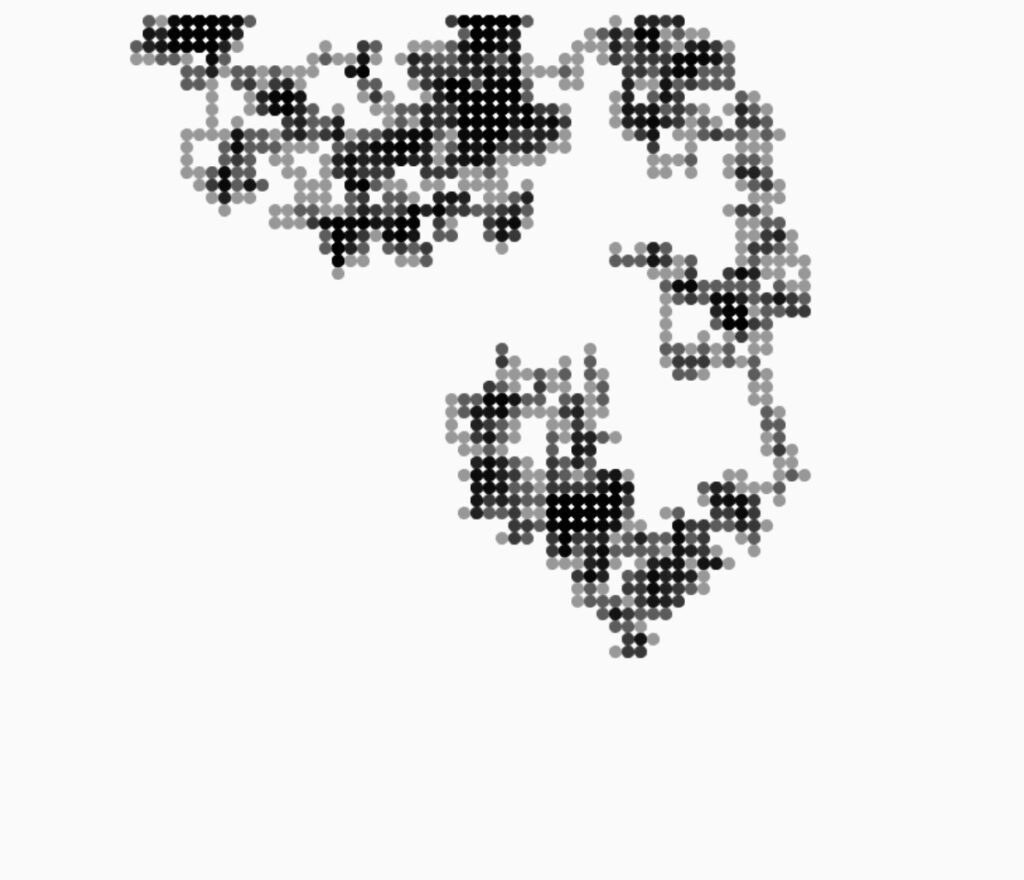
So, for this week’s coding assignment, I tried to implement the self-avoiding walk. I am a mathematics major too and I wanted to explore a mathematical concept through what we’ve been learning in class. In mathematics, a self-avoiding walk (SAW) is a sequence of moves on a lattice path that does not visit the same point more than once. To make it more interesting and look like a computer chip, or gaming area (of pac-man, say), or a network of pipelines, or points and paths on a map, I played around with the color() and strokeWeight() property of the lines and dots I was plotting. With someone randomness using noise as we learnt in class, I was able to achieve interesting and fascinating results!
EMBEDDED SKETCH
WORKING VIDEO
See my self-avoiding walk walking! 🙂
KEY TECHNICAL ASPECTS
There are 2 code snippets I would like to highlight:
1. First is the core concept of the self-avoiding walk – how it chooses which direction to go next and how it avoids itself. For this, I populated an array with available spaces for the walker to move on the basis of which vertices were already visited or not. And then, instead of randomly choosing from numbers between 1-4, the walker randomly chooses a place to go from this array of available spaces.
this.matrix = []; // holds position where all the walker has been --> initially populated to false, changed to true when walker visited that spot
// for populating the spaces available to walker
let options = []; // to store which options available to go to
    if (this.isValid(this.x+1, this.y)) //i.e. right available space
      options.push(0);
    if (this.isValid(this.x-1, this.y)) //i.e. left available space
      options.push(1);
    if (this.isValid(this.x, this.y+1)) //i.e. up available space
      options.push(2);
    if (this.isValid(this.x, this.y-1)) //i.e. available space
      options.push(3);
// for choosing where to go from the available spaces
let choice;
    if (options.length > 0) {
      choice = (random(options));
      if (choice == 0)
        this.x++; // go right
      else if (choice == 1)
        this.x--; // go left
      else if (choice == 2)
        this.y++; // go up
      else if (choice == 3)
        this.y--; // go down
      this.matrix[this.x][this.y] = true; // mark this place as visited
    }
    else {
      print("OVER");
      // text("OVER", width/2 - 10, height/2);
      noLoop();
    }
isValid(i, j) { // checks if this matrix space / vertex is available to visit or not
    if (i < 0 || j < 0 || i >= num_rows || j >= num_cols)
      return false;
    return (!this.matrix[i][j]);
2. The second thing I want to highlight is my code for random colours and dot sizes.
// for randomizing dot size based on random gaussian
let w = randomGaussian(5,3);
    strokeWeight(w);

// for randomizing stroke color based on noise
    let n1 = noise(t);
    let n2 = noise(t+50);
    let n3 = noise(t+100);
    t += 0.5;
    let c1 = map(n1, 0, 1, 0, 255);
    let c2 = map(n2, 0, 1, 0, 255);
    let c3 = map(n3, 0, 1, 0, 255);
    let c = color(c1,255-c2,c3)

//plot the point / dot
    stroke(c);
    point(this.x * this.step + this.step/2, this.y * this.step + this.step/2);

// plot the line
    strokeWeight(1);
    line(this.prev_x * this.step + this.step/2, this.prev_y * this.step + this.step/2, this.x * this.step + this.step/2, this.y * this.step + this.step/2);
IMAGE GALLERY
Some more drawings that occurred in the process:

FURTHER DEVELOPMENTS
Currently, the self-avoiding walk gets stuck once it reaches a point and has no more places to go. It has travelled to all its neighbouring points and since it is self-avoiding, it can’t cross itself again. This is what we call a ‘dumb’ self-avoiding walk, which just randomly chooses a point to move to next without thinking about the future – whether this will lead me to continue on a longer path or this move will get me stuck. Hence, the next step would be to implement a ‘smart’ self-avoiding walk, which can keep track of whenever it gets stuck and go back and choose a better move which will allow it to continue for longer. The algorithm for this is rather complicated as it requires backtracking and dynamic programming, but still doable and somewhat similar to the computer algorithms for solving mazes.
COMPLETE CODE
https://editor.p5js.org/shreyagoel81601/sketches/0ooUuQdcW