Coding Assignment #4 – Simple Harmonic Motion
This week, we are drawing inspiration from Memo Akten and creating some simple harmonic motion using the sine wave. I created three sketches. But before introducing them, let me explain my organized code structure of the sine wave class.
In the class, we analyzed the three attributes of a sine wave: the amplitude, the period, and the phase. And we used a formula to calculate the corresponding x and y positions of the balls.
let y = sin((TWO_PI*x)/period+phase_shift)*amp;
However, if we want to further manipulate the motion of the balls, it’s better to create a class. And with all these attributes of the class object, we can break down the calculation of the objects’ position into sub-steps, which, in my perspective, is easier to understand. Here’s the class structure that I reorganized.
let gap = 10;
let w = 600;
let h = 600;
let num = w/gap;
let period = 2; // length of two whole periods = width of the canvas
let phase = 0; // starting x-offset
let phase_shift = 0.01; // phase shifting speed
let amp = 100;

let joints = [];


function setup() {

  createCanvas(w, h);
  background(0);
  noFill();
  strokeWeight(2);
  stroke(255);

  let total_angle = period * 2 * PI;
  for (let x = gap; x < w; x += gap) {
    let this_angle = map(x, 0, w, 0, total_angle);
    joints.push(new Joint(x, 0, this_angle));
  }

}


function draw() {

  background(0);

  for (let i = 0; i < joints.length; i ++) {
    let joint = joints[i];
    joint.update();
    joint.display();
  }

}


class Joint {
  constructor(x, y, angle) {
    this.x = x;
    this.y = y;
    this.angle = angle;
    this.r = gap*0.7;
    this.phase = phase; // set a phase for each class object
  }

  update() {
    this.y = amp * sin(this.angle + this.phase);
    this.phase += phase_shift;

  }

  display() {
    push();
    translate(0, h/2);
    // lines
    line(this.x, 0, this.x, this.y);

    // balls
    ellipse(this.x, this.y, this.r);
    pop();
  }
}
As you can see, I first defined the parameters at the beginning of the code. Then in setup(), I create a set of objects of the Joint class according to the x position of them. Now they all have the same period, but it’s easy to modify if needed. Then the essential parameters are passed through the constructor() function be become class attributes. In the update() function, I calculate the y position in a simpler formula, because I don’t need to consider the period as it’s already dealt with in the previous steps and is ready to be invoked. Finally, I call the display() function for each joint in the draw() loop.
By customizing the parameters at the beginning and the formula in the update function, we can change the motion pattern more efficiently.
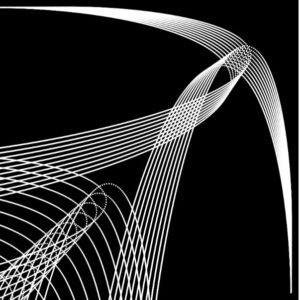
1. Manta Ray
This is a really simple but harmonic motion. I think it looks like a manta ray swimming in the ocean, and staring at it calms me down.
I mainly changed the period of each joint so that the joints near the edge of the canvas have a slower period and the joints in the middle have a faster period. Also, I make the amplitude of the joints in the middle a bit larger.
function setup() {

  createCanvas(w, h);
  // frameRate(600);
  background(0);
  noFill();
  strokeWeight(2);
  stroke(255);


  for (let x = gap; x < w; x += gap) {
    let this_period = abs(w-x)/500;
    let total_angle = this_period * 2 * PI;
    let this_angle = map(x, 0, w, 0, total_angle);
    joints.push(new Joint(x, 0, this_angle, log(w/2-abs(w/2-x))*30));
  }

}
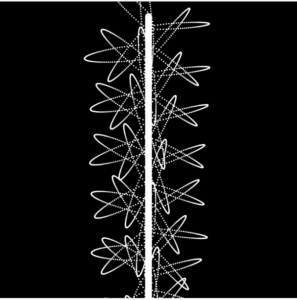
2. Linked Nodes
This one is more directly inspired by Memo’s work. Basically, I adjusted the phase of every joint. In other words, you can imagine that they have the same period but are moving along the X-axis at different speeds. At some point, the y positions reach zero at the same time and align with each other.
The most important line of code:
let this_shift = (x+w/2)/20000;
Also, I draw an alpha line between two nodes if the distance between them falls in a certain range.
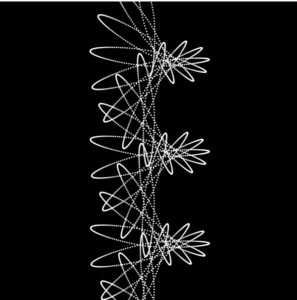
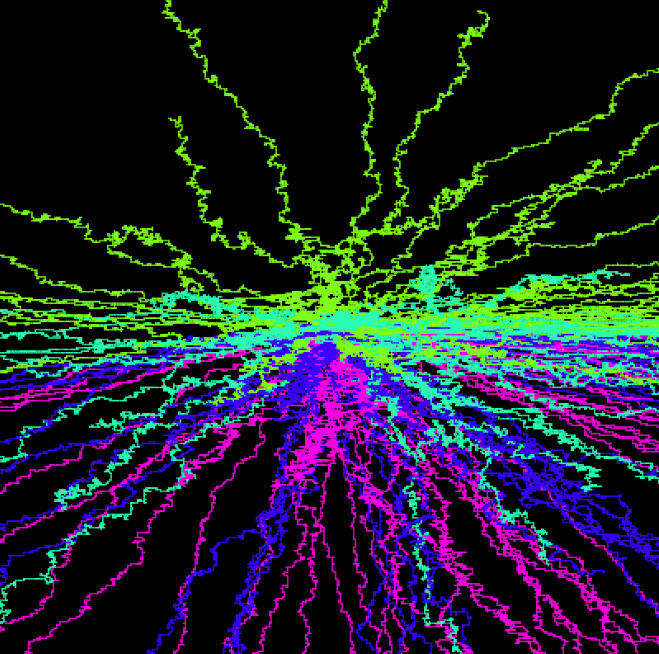
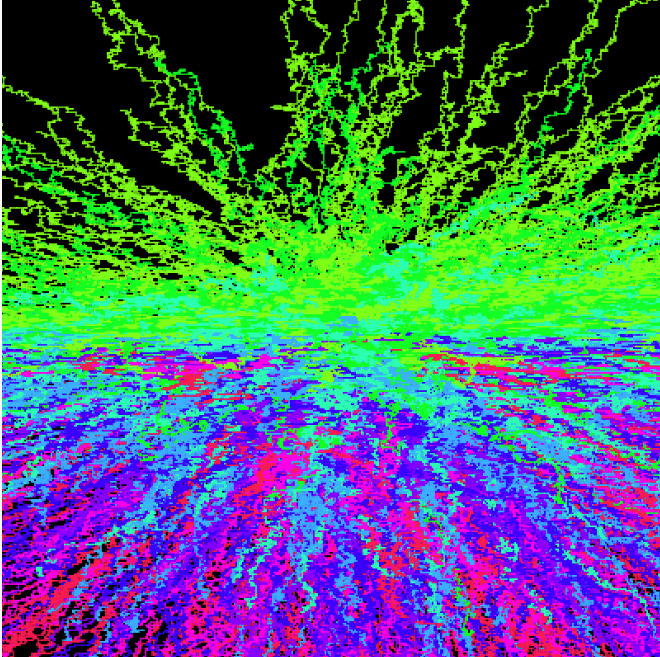
3. Flower Generator
This one is also interesting. I positioned the joints around a circle and also modified the phase. And it created a really beautiful effect!
Reflection:
The most important takeaway from this exercise is that I learned to use different ways to draw my joints. Sometimes (especially when it comes to circular patterns) it gets hard to use the concept of period, therefore you have to find a different way to utilize the sine wave. For example, I found that adjusting the phase-shifting speed is much simpler and intuitive. After all, a sin wave is kind of a “relative” concept. You never know its scale before comparing it to another thing’s scale. So, if it is an intensive sine wave, you can either say that it has a rather short period or it is shifting rather fast along the time axis. Therefore we can be flexible when writing our code as long as we are clear about what to do!
And although randomly trying can sometimes generate unexpected beautiful results, it’s still important to understand the principle and design your outcome purposefully.
By the way, I also tried to combine multiple sine waves of different amplitude and period: