Coding Assignment – Week #10

Concept:

I wanted to utilize this assignment for an exploration of physics principles, particularly focusing on forces and collision events inside a dynamic particle system. I started from the example 6.10: Collision Events by Daniel Shiffman, and added new elements and events.

The sketch:

Technical Implementation:

The sketch is implemented using the p5.js and Matter.js libraries. The p5.js library is responsible for the creation of the canvas, particle rendering, and overall animation loop, while Matter.js handles the physics engine, collision detection, and force application. The particles are randomly added to the system, and each of them undergoes a color change upon its first collision. Once the number of particles is divisible by 60,  explosive force is applied to randomly selected particles giving a more dynamic feel to the sketch by initiating a small explosion. Additionally, a boundary is added to the bottom, and the number of particles is constantly being updated by removing the particles that are pushed outside of the canvas.

Code:

The most interesting part of the code was the handleCollisions(events) function. It is triggered by collision events in the Matter.js physics engine. It iterates through the pairs of bodies involved in the collisions, extracting the corresponding particle instances associated with each body. This function handles color-changing behavior for both particles upon their initial collision. Additionally, it applies forces to each particle based on their velocities, amplifying the collision event.

// handling collisions between particles
function handleCollisions(event) {
  for (let pair of event.pairs) {
    let bodyA = pair.bodyA;
    let bodyB = pair.bodyB;

    let particleA = bodyA.plugin.particle;
    let particleB = bodyB.plugin.particle;

    if (particleA instanceof Particle && particleB instanceof Particle) {
      // changing colors upon first collision 
      particleA.change();
      particleB.change();

      // Applying a force when particles collide
      let forceMagnitude = 0.005;
      let forceA = Vector.mult(
        Vector.normalise(particleA.body.velocity),
        forceMagnitude
      );
      let forceB = Vector.mult(
        Vector.normalise(particleB.body.velocity),
        forceMagnitude
      );

      particleA.applyForce(forceA);
      particleB.applyForce(forceB);
    }
  }
}
Future Improvements:

For future improvements, it would be interesting to explore different shapes and how the collision events and forces would act on them. I like that the sketch is dynamic and develops over time, although perhaps there could be a more clear story behind it.

Lecture Response

AI is rapidly changing the world around us, and many people are worried that it will lead to widespread job losses. I believe that AI is more likely to automate routine tasks and create new opportunities than it is to replace humans entirely, i.e. AI could create jobs in areas such as data science, machine learning, and LLM development.

Although Prof. Neil Leach compared these advancements to a second Copernicus moment, AI is still in progress and is far from reaching human intelligence or superintelligence given that its capabilities are limited. It still struggles with tasks that require common sense, and its problem-solving skills are not enough.

On the artistic side, it is unlikely that AI will completely replace architects in the foreseeable future. It could certainly help automate tasks such as 3D modeling, but it still lacks the creativity, and will certainly struggle to understand the needs of clients, interpret complex regulations, and design structures that are both aesthetically pleasing and functionally sound.

Angry Birds Physics

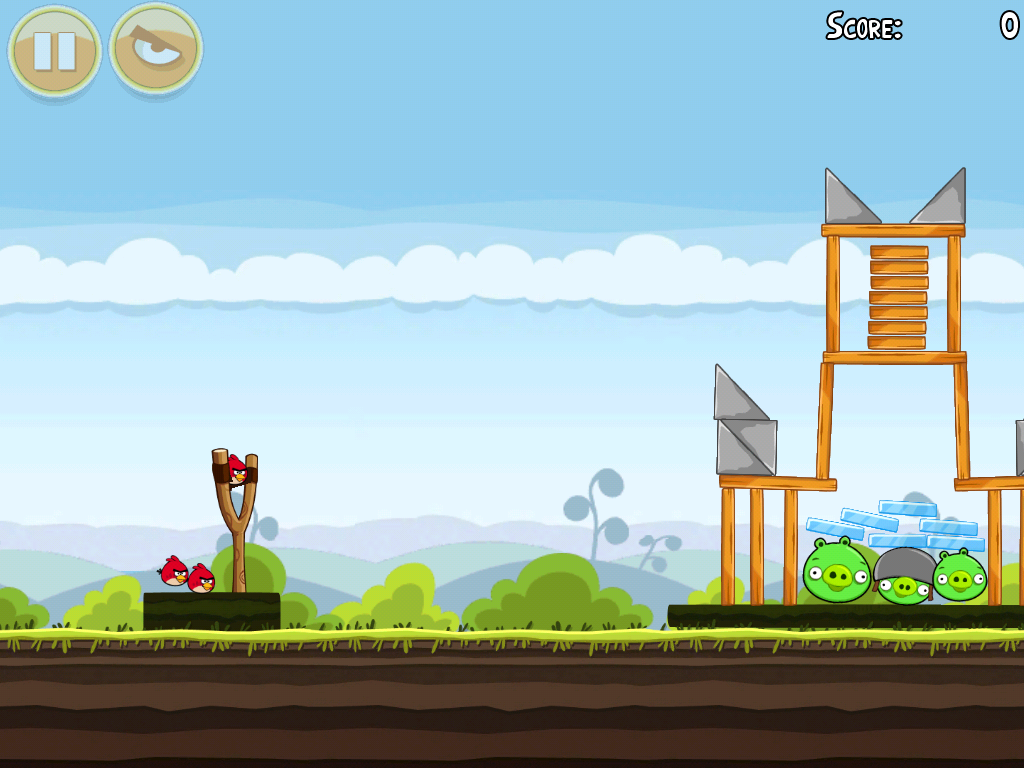
This project is more of an exploration on what we can do using Matter.js Physics library. My inspiration comes from the popular game “Angry Birds” where you need to slingshot a bird so that it destroys blocks placed on the other end of the screen.

Angry birds · abstraction

I wanted to see if we could re-create the physics using Matter.js and have found that it’s pretty convenient and easy.

Here’s my sketch:

On mouse click, it ejects a bird (circle) to the right in a projectile motion and lets it hit the cubes. The cubes fade away when the bird hits the cube. After multiple hits, it eventually gets removed from the world.

Here’s how the mouseClick event is captured:

function mouseClicked() {
  // reset bird position and apply force
  Body.setPosition(bird, { x: mouseX, y: mouseY });
  Body.setVelocity(bird, { x: 0, y: 0 }); // reset velocity
  let force = createVector(0.06, -0.04);
  Body.applyForce(bird, bird.position, force);
}

Horizontal and vertical forces are applied to the bird to create the projectile motion. Matter.js handles the rest.

Here’s how the collision event is captured:

// collision event
Events.on(engine, "collisionStart", function (event) {
  let pairs = event.pairs;
  pairs.forEach(function (pair) {
    if (
      (pair.bodyA === bird && cubes.find((c) => c.body === pair.bodyB)) ||
      (pair.bodyB === bird && cubes.find((c) => c.body === pair.bodyA))
    ) {
      // Reduce opacity of the cube on collision
      let cube = cubes.find(
        (c) => c.body === pair.bodyA || c.body === pair.bodyB
      );
      if (cube) {
        cube.opacity = Math.max(0, cube.opacity - 100);
      }
    }
  });
});


Coding assignment – week 10 Dominos + Newton’s cradle

This week I really enjoyed using matter.js. Working with object and not have to worry about the physics felt intuitive. I made two seperate sketches to show.

Dominos

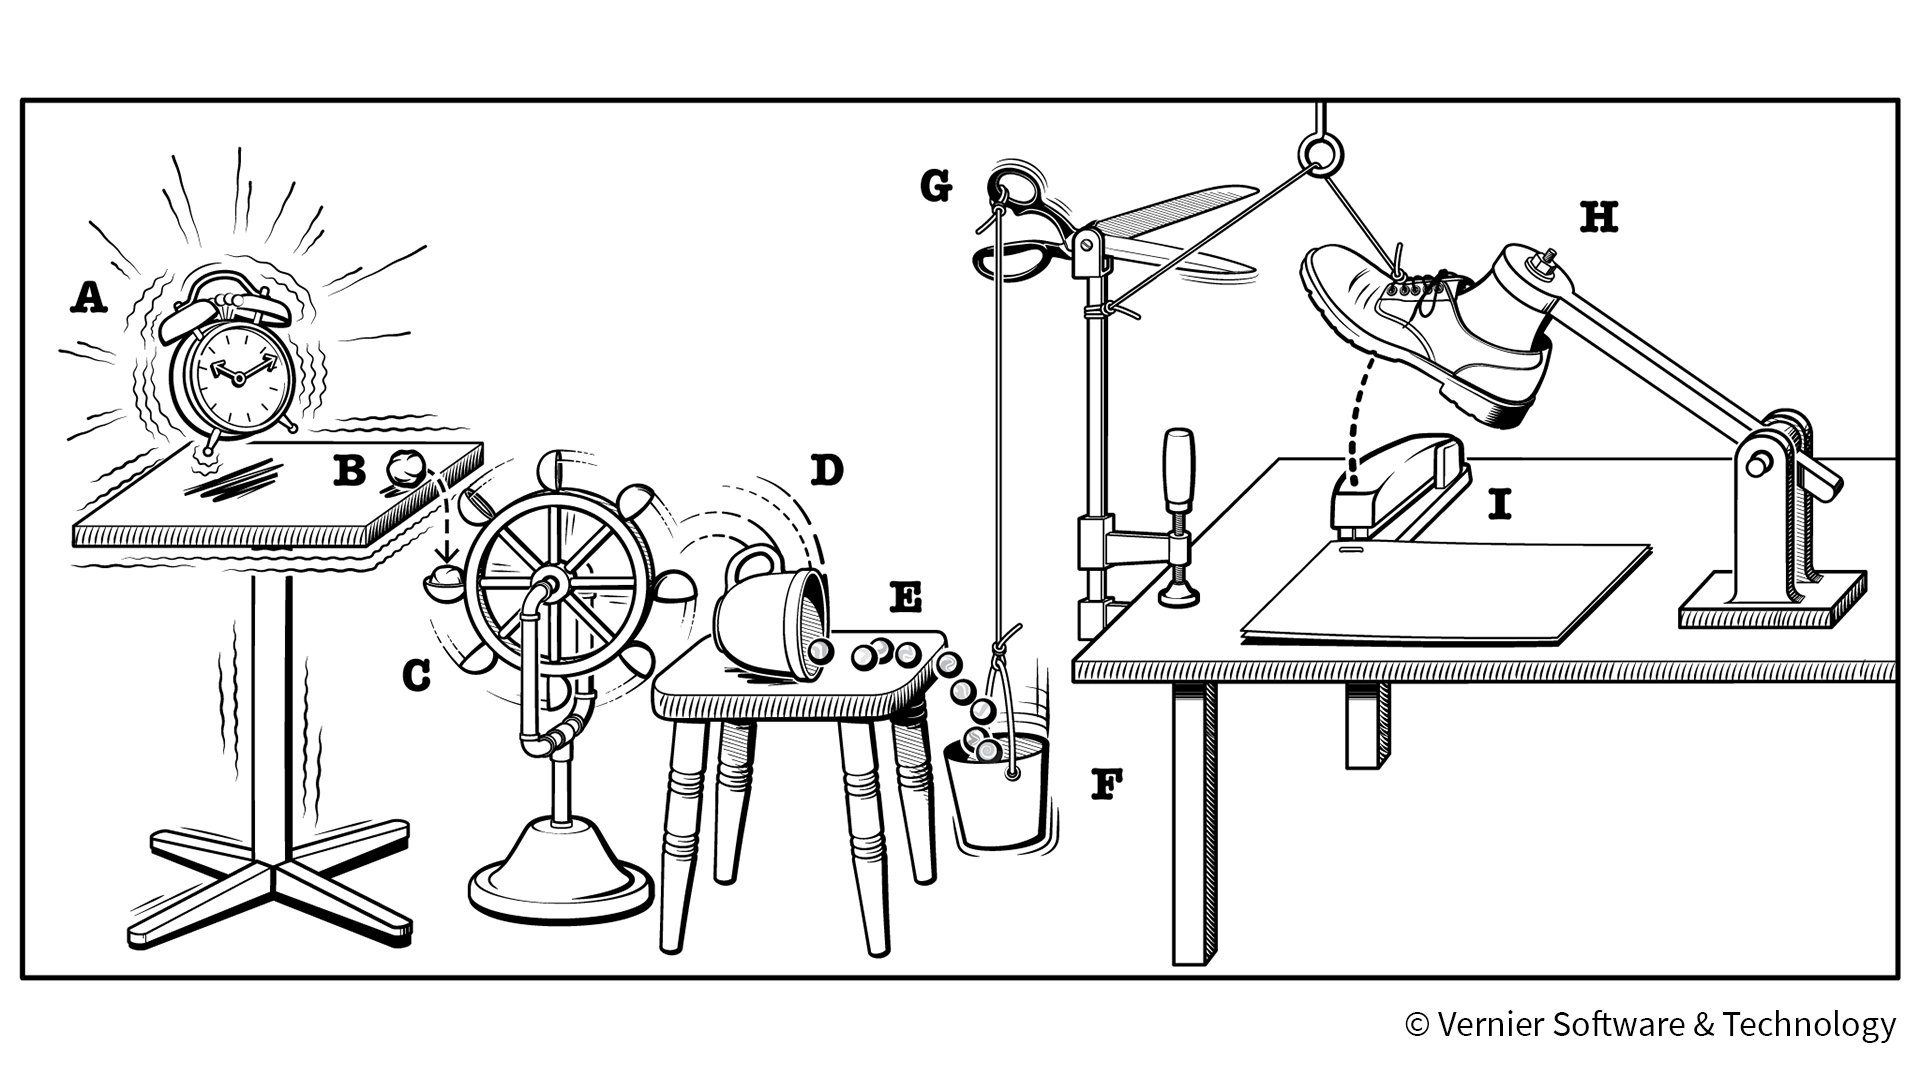
I’ve always loved watching Rube Goldberg machine videos and I aimed at making a very simplistic version for this project using what we learnt in class.

Rube Goldberg Machine > Experiment 16 from Physics Explorations and Projects

My aim was to continuously transfer the kinetic energy from the initial pendulum swing to the row of dominos. This is just the start, which I hopefully will build on to create a more complex system. I gained greater understanding of the matter.js through this.

Challenges

A lot of trial and error was required to get all objects moving like intended, especially since they don’t start off with the physical properties I envisioned.

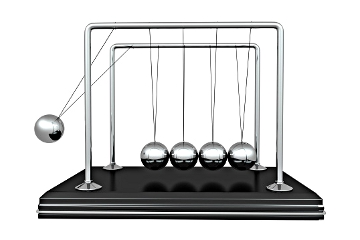
Newton’s Cradle

How Newton's Cradles Work | HowStuffWorks

For this sketch I set out to create a Newton’s cradle using matter.js. While I am content with the result, I realize that it isn’t very realistic. The motion in my sketch is slightly off. I initially thought just placing the pendulums side by side would be enough to simulate this phenomena but I later learnt that I had to tweak its physical properties quite a lot to get the right motion. This makes sense in hindsight since we can’t just make Newton cradles out of any material in real life.

AI for Design: AI and the Future of Architecture

In Professor Neil Leach’s talk titled ” AI and the Future of Architecture” what caught my attention the most was how he presented AI as a paradigm shift in our understanding of intelligence, challenging the notion that human intelligence is the focal point. Leach introduced the concept of a “second Copernican revolution,” meaning that humans are no longer the central intelligence, with AI representing a superior form of intelligence. Although quite scary, he proposed how AI can serve as a mirror to study our own cognitive processes, allowing us to gain insights into the intricacies of our own thought patterns, decision-making processes, and creativity (I liked his thought that creativity as a concept should be questioned in general, as it might be that it is only a broad term used to explain things we don’t understand).

This mirror-like function of AI becomes particularly relevant in fields such as design and architecture, where the design process is deeply rooted in human creativity and decision-making. For example, Leach suggested that AI has hacked into our sense of design and composition, by showing examples of how AI manipulates lighting conditions, rendering and our mental models of certain spaces with very little guidance. I believe this is a great way to notice and reflect on certain mental models and perhaps design by re-thinking them.

Another advantage of AI is of course AI as a design tool. AI is able to see patterns in the data that humans can’t, thus generating better solutions in accordance to possible constraints that designers might not be aware of. Leach also mentioned how clients will start requiring the use of AI in design processes, which made me think of how the role of a designer will look like. Will it only encompass picking the best AI generated solution? If so, how are creative professions, and many others as well, going to define themselves and how will that affect human identities?

Reading Response Week #10

After hearing Prof. Neil’s talk, I’m both excited for and wary of artificial intelligence. It has the potential to make the design process more efficient. People see the addition of AI as a natural step forward in technology, one that will lead to more creative designs. It makes the act of performing menial and laborious tasks obsolete, and people can focus more on creative tasks.

However, I’m also worried about what might happen when AI gets smart enough to also take care of creative tasks. It worries me to think that AI could one day replace human designers. I think the biggest question that will need to be answered in the next few years is the following: How do we balance the efficiency and innovation brought by AI in design with the preservation of human creativity and the unique value of human designers in the design process?

Lecture Response

Neils’s lecture was highly informative for someone who has little to no experience in AI. However, for people who have spent much time working in this field, it was more of a general overview, and in other words – a bit boring.

There are a few things I loved about the lecture though.

He explained the difference between how people perceive AI and what it actually is – a software heavily trained to find answers in a clever way compared to humans, but a “software” not a “conscious” entity. And it’s definitely not just a humanoid robot. He was quite articulate in demonstrating this difference, and I think it’s really necessary to understand it before looking at the threats of AI.

I also found it interesting how he connected many concepts about AI safety and governance with analogies such as of Yin and Yang, and of a Kitchen Knife. He articulately demonstrated the duality inherent in technology (like how a knife can be good if used correctly, but will be bad in hands of the evil), and connected it to the concepts of safety in AI, which are very valid points.

Assignment Week #10 – Interactive Ball and Platform Simulation

Concept

In this assignment, I wanted to simulate a dynamic environment filled with free-moving, colorful balls. The core idea was to blend the principles of physics using MatterJS with an engaging visual display, creating an environment where these balls react to generated obstacles, exhibiting a blend of expressiveness and structured behavior.

Implementation

  • Ball Behavior: Each ball follows the basic laws of physics, including gravity and collision response, giving it a natural and fluid movement within the canvas.
  • Dynamic Interaction: The balls respond to user input, where pressing the spacebar removes the latest added obstacle, offering a degree of control over the environment. Furthermore, the user can click on two points on the canvas to create a line, which serves as an obstacle for the balls.
  • Obstacle Interaction: The balls dynamically detect and react to line obstacles, changing their trajectory upon collision, thereby enhancing the realism of their movement patterns.
  • Visual Aesthetics: To create a visually captivating display, each ball changes its color based on its vertical position within the canvas, offering a vibrant and ever-changing visual experience.

Instructions

  • Creating Platforms: Click once on the canvas to set the starting point of a platform. Click a second time to set its endpoint and create the platform. The platform will appear as a line between these two points.  Once a platform is created, it acts as an obstacle in the environment. You can create multiple platforms by repeating the click process.
  • Removing Platforms: Press the spacebar to remove the most recently created platform. Each press of the spacebar will remove the latest platform, one at a time.
  • Spawning Balls: Balls are automatically spawned at regular intervals at the top center of the canvas. They interact with gravity and the platforms, showcasing the physics simulation.

Sketch

Code

function mousePressed() {
    if (!currentPlatform) {
        currentPlatform = { start: createVector(mouseX, mouseY), end: null, body: null };
    } else if (!currentPlatform.end) {
        currentPlatform.end = createVector(mouseX, mouseY);
        createPlatform(currentPlatform);
        platforms.push(currentPlatform);
        currentPlatform = null;
    }
}

On the first click, it records the starting point of a new platform. On the second click, it sets the platform’s endpoint, creates the platform using these points, and adds it to an array of platforms. The process then resets, allowing for the creation of additional platforms with further clicks.

function createPlatform(platform) {
    let centerX = (platform.start.x + platform.end.x) / 2;
    let centerY = (platform.start.y + platform.end.y) / 2;
    let length = dist(platform.start.x, platform.start.y, platform.end.x, platform.end.y);
    let angle = atan2(platform.end.y - platform.start.y, platform.end.x - platform.start.x);

    platform.body = Matter.Bodies.rectangle(centerX, centerY, length, 10, { isStatic: true });
    Matter.Body.setAngle(platform.body, angle);
    World.add(world, platform.body);

    platform.width = length;
}
  1. Calculate Platform’s Center and Angle: It finds the midpoint (centerX, centerY) and angle (angle) between two points specified by the user. This determines where and how the platform will be positioned and oriented.
  2. Create Matter.js Body for the Platform: A static rectangle (Matter.Bodies.rectangle) representing the platform is created at the calculated center with the specified length and a fixed height of 10 pixels.
  3. Add Platform to the World: The platform is then added to the Matter.js world (World.add) and its width is stored, making it part of the physical simulation and visible in the canvas.

The following code snippet demonstrates how each ball’s color is determined by its vertical position:

balls.forEach(ball => {
    // Map y position to hue
    let hue = map(ball.position.y, 0, height, 0, 360) % 360;

    // Set color
    fill(360-hue, 100, hue);
    noStroke();

    // Draw the ball with fixed size
    ellipse(ball.position.x, ball.position.y, ball.circleRadius * 2, ball.circleRadius * 2);
});

Challenges

  • Rendering Challenges: One of the main challenges in this project was ensuring that the rendering of the balls and obstacles accurately matched their physical simulations. Achieving a seamless visual representation that aligns with the physics engine’s calculations required meticulous adjustments, particularly in synchronizing the balls’ movement and obstacle interactions within the canvas.
  • Platform Creation Logic: Crafting the logic for creating and positioning platforms dynamically based on user input presented its own set of challenges. It involved calculating the correct placement and orientation of each platform to behave as expected within the physics environment.

Future Improvements

  • Enhanced User Interaction: Future iterations could explore more intricate user interactions, such as enabling users to modify the direction and strength of gravity or interactively change the properties of the balls.
  • Dynamic Obstacles and Environment: Introducing elements like moving obstacles or zones with different gravitational pulls could add more layers of complexity and engagement to the simulation.
  • Implementing Sounds during collisions: Adding sounds to the balls when colliding with the platforms can add another dimension to the sketch. Especially if the sounds played are somehow linked to the position of the platform, which will turn the sketch into a visual music maker.

Week 10 assignment: Proton-Electron Sandbox

Overview

The Proton-Electron Sandbox is an interactive simulation built using P5.js and Matter.js. It allows users to explore the behavior of charged particles, represented as balls, in an enclosed space. Balls can be either electrons (negatively charged) or protons (positively charged) and they interact with each other based on electromagnetic forces – like charges repel and opposite charges attract.

Files

  • index.html: The HTML file that hosts the canvas for the simulation.
  • Ball.js: Defines the Ball class representing charged particles.
  • Sketch.js: Contains the main logic for the simulation, including setup, draw loop, and event handling.

Ball.js

Class: Ball

Represents a charged particle in the simulation.

Constructor

  • x, y: The initial position of the ball.
  • radius: The size of the ball.
  • charge: The electrical charge of the ball (+1 for proton, -1 for electron).
  • options: Matter.js body options.

Methods

  • show(): Renders the ball on the canvas.
  • calculateForce(other): Calculates the electromagnetic force exerted on another ball.
  • applyForce(force): Applies a force vector to the ball.

Sketch.js

Global Variables

  • engine, world: Matter.js engine and world instances.
  • balls: Array holding all ball objects.
  • boundaries: Array holding boundary objects.

Function: setup()

Initializes the canvas, Matter.js engine, and world. Also sets up the boundaries.

Function: draw()

The main draw loop. Updates the physics engine, calculates and applies forces, and renders balls and boundaries.

Function: mouseClicked()

Handles mouse click events to create new balls at the cursor position with random charges.

Class: Boundary

Represents static boundaries in the simulation.

Constructor

  • x, y: Position of the boundary.
  • w, h: Width and height of the boundary.

Method

  • show(): Renders the boundary on the canvas.

Usage

To use the simulation, open index.html in a web browser. Click anywhere on the canvas to create new charged balls. Observe the interactions between the balls based on their charges.

Demo

Customization

  • Ball Properties: Modify the Ball class to change the appearance or behavior of the balls.
  • Force Strength: Adjust the force calculation in Ball.js to simulate different interaction strengths.
  • Boundary Configuration: Change the dimensions or positions of the boundaries in sketch.js.

Week #9 Assignment: The Dancing Nightsky by Abdelrahman Mallasi

Concept

This project creates an interactive audio-visual experience that represents a Dancing Night Sky. This concept was done by simulating a night sky where each star (dot) moves in response to music, creating a visual dance which mirrors the song’s rhythm and melody. The chosen song for this project was “This Is What Space Feels Like” by JVKE, which aptly talks about space, aligning with the theme of a dancing night sky.

To achieve this, the visual properties of the dots – representing stars – were programmed to change in response to the music. The movement, force, and size of each dot varied according to the intensity and frequency of the music, due to the implementation of Fast Fourier Transform (FFT) analysis. This project showcases the properties of flocking behavior through the use of separation and alignment algorithms.

Highlight of Code

let spectrum = fft.analyze();
let bass = fft.getEnergy("bass");
let treble = fft.getEnergy("treble");

// Mapping the music to visual properties
for (let boid of flock.boids) {
    boid.maxspeed = map(treble, 0, 255, 2, 8);
    boid.maxforce = map(bass, 0, 255, 0.05, 5);
    boid.r = map(bass, 0, 255, 3, 6);
}
  • The analyze() method computes the frequency spectrum of the song, resulting in an array where each value represents the amplitude of a specific frequency band
  • The getEnergy() method returns the amplitude of  the bass and treble frequencies of the song
  • Then, the amplitude values for bass and treble frequencies are mapped to certain properties of the boids, where the treble affects the speed and the bass affects the force and the size.

Embedded sketch

Link to Sketch

Reflections & Future Ideas

  • I intentionally wanted to pick a song with musical pauses to effectively demonstrate how the music affects the stars. However, I believe there could be another song that could better demonstrate the effect.
  • I had to compress the song to make the sketch load faster. However, the compression lowers the quality of the sound, and leads to less pronounced effects on the boids. The original uncompressed song file is still uploaded in the sketch. If you’re patient and would like to see the sketch at its finest, simply replace “Compressed Song.mp3” to “Original Song.mp3” for the loadSound() function.
  • In future iterations of the project, the aim is to enhance the visual representation of the stars to make them appear more star-like rather than simple dots. Additionally, an exciting feature to be explored is the creation of trails behind each star, simulating shooting stars and adding a more visually appealing effect.