
Concept & Vision
A Painting That Breathes
Most generative art announces itself by motion or glitch. This project moves the other way. It aims for quiet conviction, a hand painted lotus pond rendered in code that rewards patient looking. Water moves almost not at all, petals sway just enough to suggest breath, leaves hold rain in waxy cups.
The aesthetic is botanical realism not photorealism. Think of careful natural history study and Japanese ink observation. Every element is built with gradients, procedural noise, and layered compositing. Stems read cylindrical, leaves show radial veins in perspective, petals catch light and fade to pink. The goal is to invite the eye into believing the scene exists, not to fool it.
System Design
Architecture of the Garden
Rendering follows a strict depth order from background to foreground. The design uses layered abstraction
Layer 1 Ground
Perspective leaves lie behind everything. Foreshortened ellipses suggest a low water view.
Layer 2 Structure
Stems are quadratic Bezier curves shaded as cylindrical forms with node rings at internodes.
Layer 3 Flower
The lotus bloom is built from sepals and two petal layers with a central receptacle. Petals contain dense micro vein texture.
Layer 4 Water planned
A subtle water surface will use Perlin noise for displacement, specular highlights, and interaction ripples that distort reflections.
Core Functions
Five focused drawing functions keep the code compact. They draw leaves, stems, the assembled lotus, individual petals with micro veins, and sepals with tonal transition. A hybrid of p5 and Canvas2D enables Path2D clipping, radial gradients, and precise shadow compositing.
Interactivity Design planned
Interaction is minimal
Hover makes nearby petals lean inward as if breathed on
Click drops a ripple that spreads and shears the reflected scene
Variations and States
Seeded randomness creates variation in petal size, vein curvature, leaf edges, bloom scale, light angle, and water tone.
Current Progress
What Exists Now
A static 600 by 800 canvas renders a complete scene with three perspective leaves, a tall central bloom, and a smaller secondary bloom. The scene draws once with no animation loop, showing the visual vocabulary.
Key achievements include foreshortened leaf geometry with accurate vein placement, three pass cylindrical stem shading with sampled node rings, and petals rendered with ninety micro vein strokes and soft gradients. The hybrid canvas approach confines detail through save clip restore patterns.
Risk Identification & Mitigation
The Most Frightening Part
Animating a convincing water surface with coherent reflections is the largest risk. A single sine wave looks fake, and per pixel displacement at full resolution is expensive. The aesthetic risk is motion that reads as mechanical.
What I did to reduce this risk
I isolated a water proof of concept using two octave Perlin noise summed across horizontal strips. The approach proved tunable and performant. Reflections will be rendered to an off screen buffer and displaced with the same noise field. Interaction ripples will be an additive decaying sine term centered at the click point.
Looking Forward
The Next Passes
Integrate animated water and place botanicals above the water line. Add off screen reflection rendering, petal Perlin oscillation seeded by index, mouse proximity response, and click ripples. Final work will be patient tuning of motion and color until the scene reads as living.

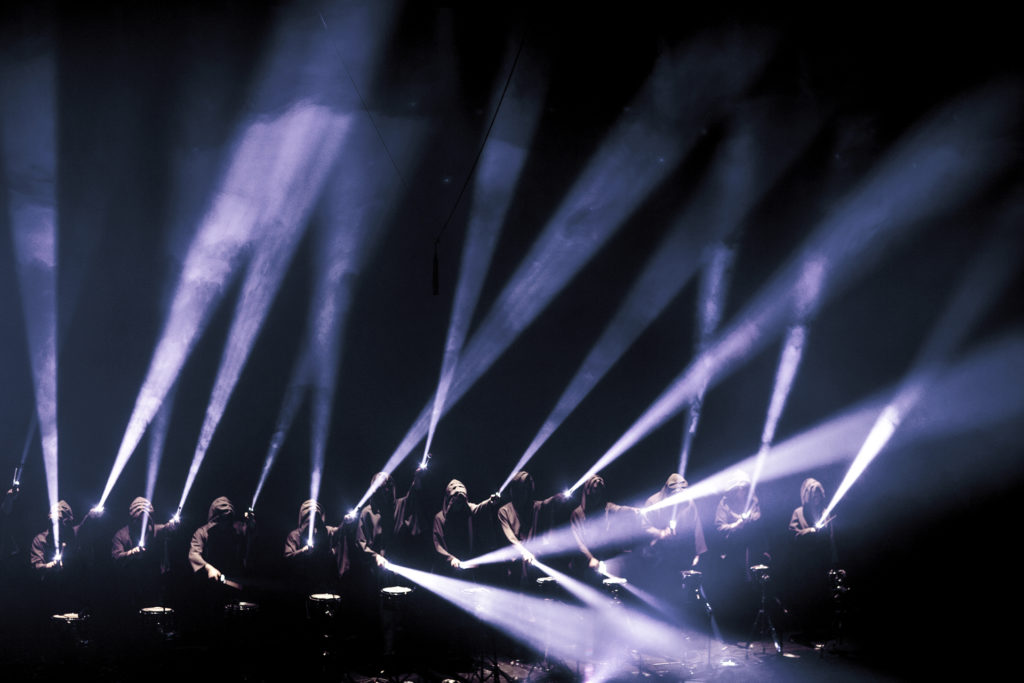 Memo Akten’s Simple Harmonic Motion #6 Performance proof of concept (2011)