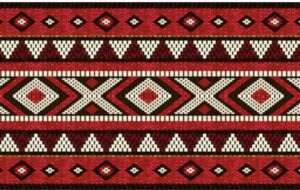
Sadu UAE weaving was my starting point for this project. I was drawn to its geometry, repetition, and rhythm, especially the way pattern is built through structure rather than decoration alone. What moves me about Sadu is that it carries both discipline and feeling. It is precise, but it never feels empty. It holds labor, memory, and cultural identity inside repeated forms. UNESCO describes Al Sadu as a textile practice defined by geometric designs, rhythmic repetition, symmetry, and vivid colors, which is part of why it felt like such a strong visual and conceptual reference point for me.
I did not want to directly imitate Sadu weaving. That was never the goal. I wanted to think through some of its visual logic using code. I kept returning to the fact that Sadu is built gradually, line by line, through accumulation. A motif does not appear all at once. It emerges through repetition, structure, and patience. That felt very close to the way generative systems work.
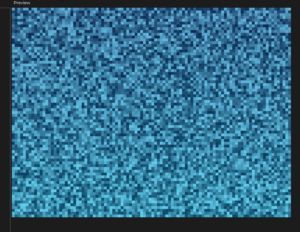
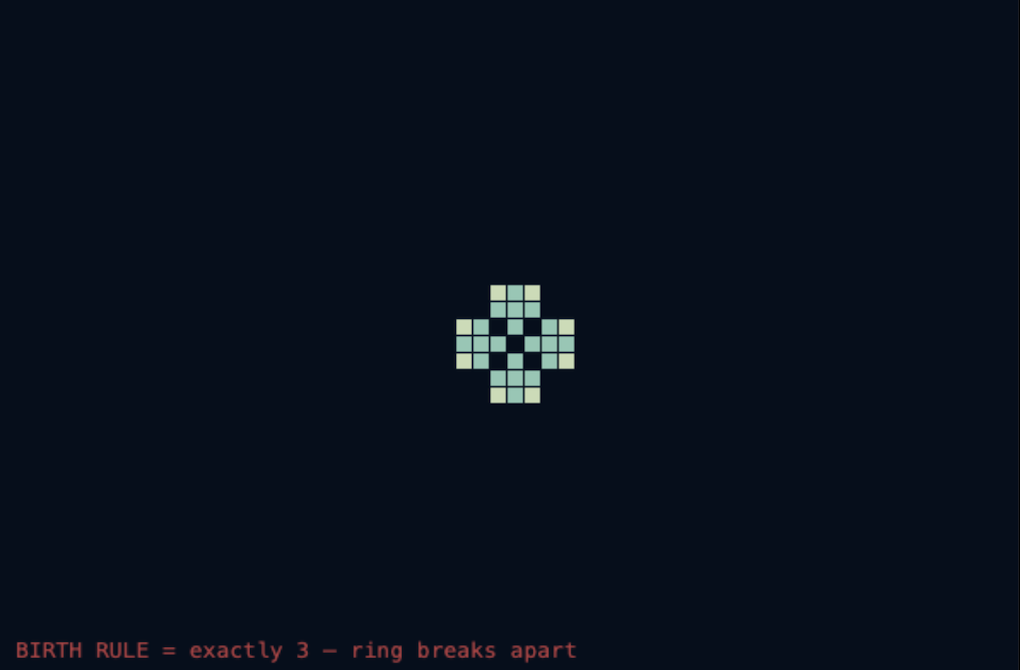
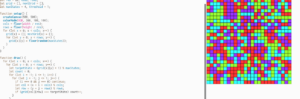
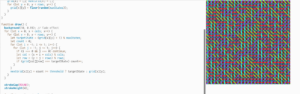
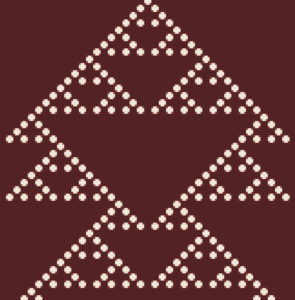
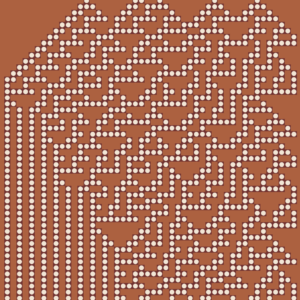
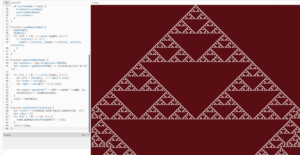
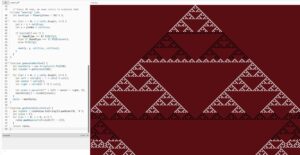
Because of that, I built this sketch using a one dimensional cellular automata system. I was interested in the way a very simple set of rules could generate something that feels visually rich and unexpectedly intricate. The system grows row by row across the screen, which made me think of a digital loom. It felt less like drawing an image and more like constructing a surface. Rule 90 became especially important to the project because it is one of the elementary cellular automata rules that produces a triangular recursive structure from a single active cell.
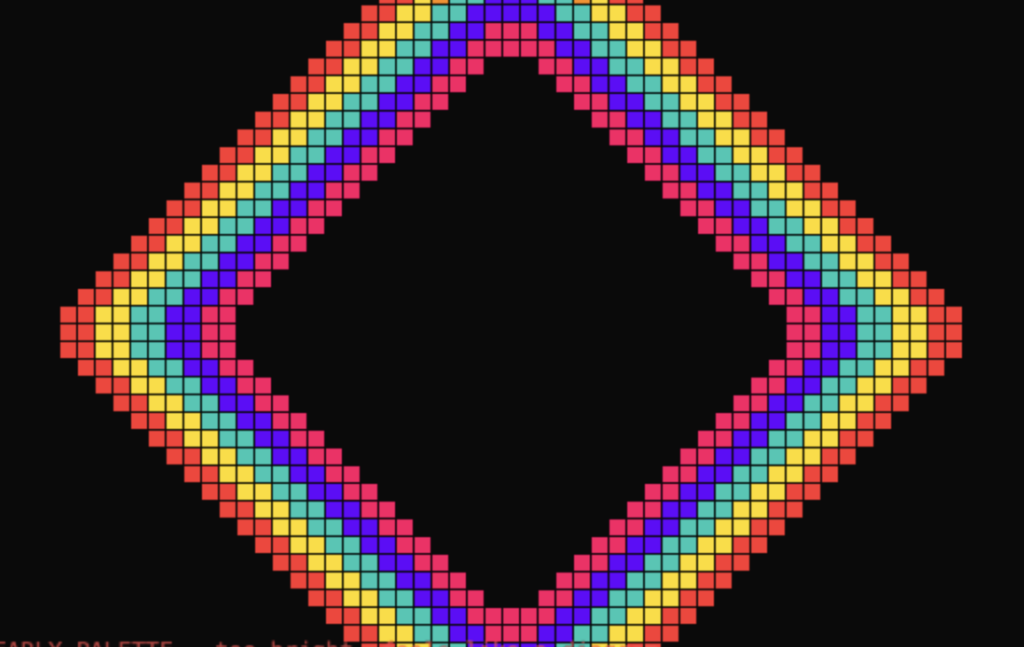
Visually, I stayed close to a Sadu inspired palette. I used a deep red background with white and black accents, and I added horizontal color banding to make the sketch feel closer to a woven field than a plain mathematical diagram. I wanted the result to feel like a digital textile, something that sits between computation and ornament. I was trying to make code feel tactile.
Concept and inspiration
My concept was to create a Sadu inspired generative pattern system that unfolds across the screen like a woven surface. I was interested in the relationship between weaving and cellular automata because both depend on local decisions that accumulate into a larger pattern. In both cases, complexity comes from repetition. That connection helped me stop thinking of code as only technical and start thinking of it as a material for pattern making.
One artist I kept thinking about was Andy Lomas. His work uses computational growth systems to generate intricate forms that feel both artificial and organic. What inspired me about his practice was not that it looks like my sketch, but that it takes rule based generation seriously as an artistic language. His Cellular Forms project explores how complex structures can emerge from simple growth processes, and that gave me confidence to treat a systems based sketch as something visually expressive rather than only analytical.
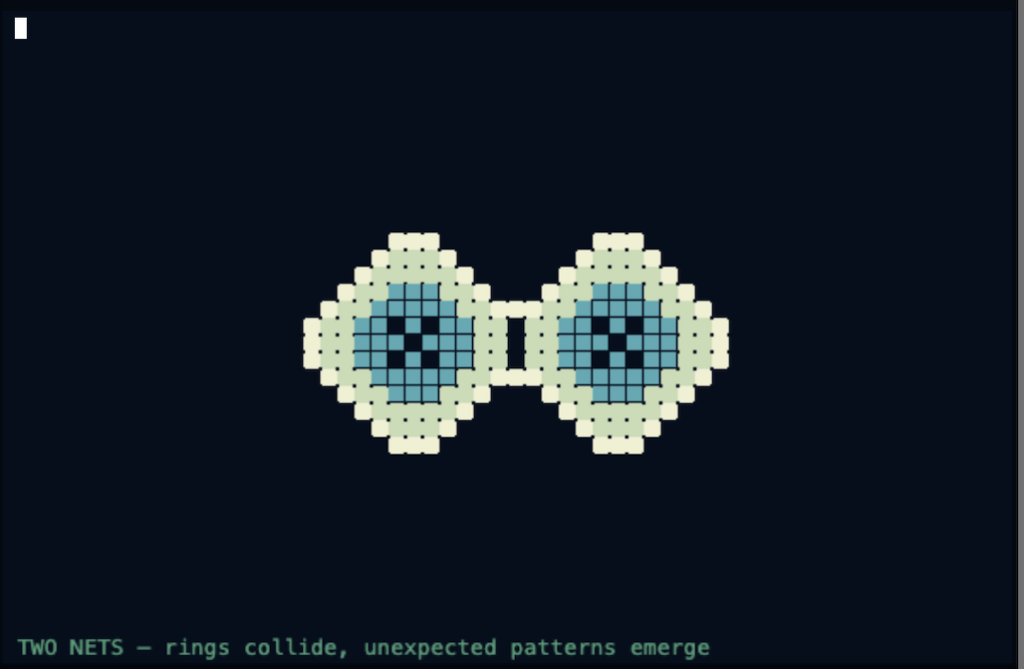
I was also inspired by the broader history of cellular automata as visual systems. What interested me most was emergence. A cellular automaton begins with almost nothing, then grows into a structure that feels much larger than its initial conditions. That idea resonated with me because Sadu also works through repetition and disciplined variation. In both, the beauty is not separate from the structure. The beauty comes from it.
Embedded sketch
Code I am particularly proud of
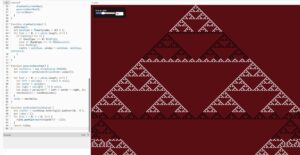
The part of this project I am most proud of is the moment where the sketch stopped feeling like a technical demo and started feeling like it had visual intention. That happened when I introduced the palette system, the horizontal banding, and the interactive controls.
I like that the user can change the rule value, switch palettes, and restart the system, because it turns the sketch into something exploratory rather than fixed. I also like the way the row drawing works with the color bands, since that was my attempt to move the image closer to cloth and away from a plain black and white automata study.
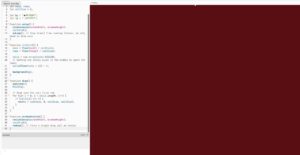
I am also proud of the logic that converts a rule number into an eight value rule set. It is simple, but it made the whole sketch more flexible. Instead of hard coding one outcome, I built a structure where different visual identities can emerge through interaction. That felt like the right balance between control and surprise.
Milestones and challenges
Milestone 1: starting with almost nothing
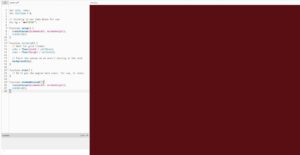
At the beginning, the sketch was nearly empty. I only had the canvas, the background color, and the basic grid setup. This stage felt a little sad, honestly, because I had the concept in my head but visually there was almost nothing there yet. It looked flat and unfinished. Still, it mattered because it gave me the space, the scale, and the overall visual ground to build on.
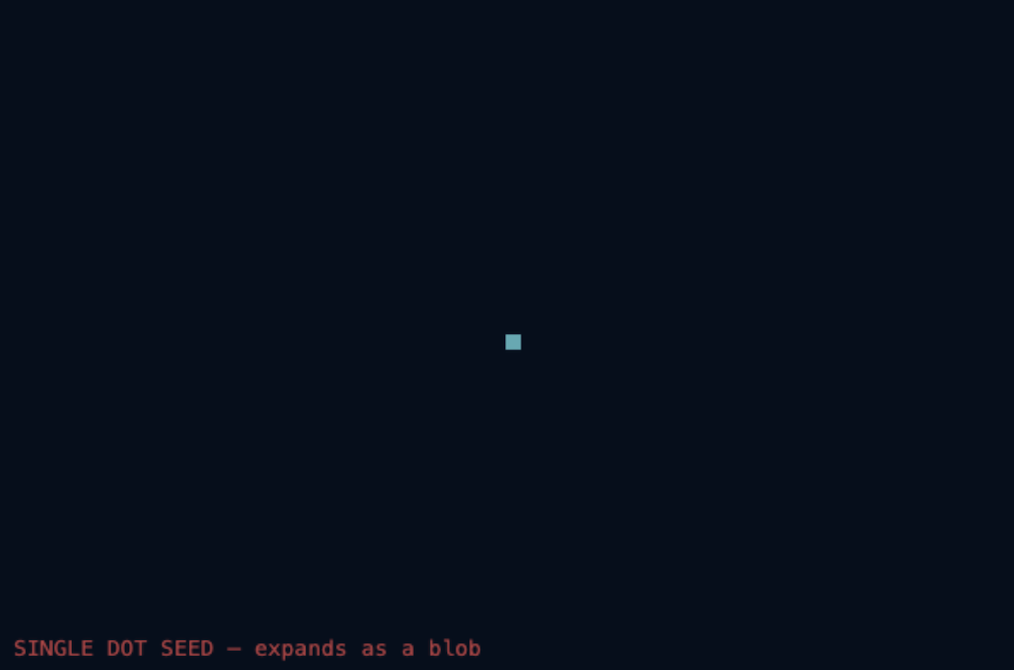
Milestone 2: the first active cell
The next step was placing a single active cell in the middle. It was such a small move, but it changed the feeling of the project. Suddenly the sketch had a point of departure. There was a beginning. Even though it was still minimal, I could sense the logic getting ready to unfold.
Milestone 3: getting the automata to generate row by row
This was the real turning point. Once I implemented the rule based row generation, the triangular structure began to appear. This was the moment the project started to feel visually alive. It stopped being only an idea and became a pattern with its own force. Seeing that recursive geometry emerge from one starting point was probably the most exciting part of the process.
Milestone 4: shifting it toward Sadu
After I got the system working, I realized the sketch still felt too mathematical. It needed more of a visual language. That is when I began working on the palette and horizontal banding. The deep red, white, and black pulled it much closer to the mood I wanted, and the stripes helped the sketch feel more textile based. This stage mattered a lot because it was where the project became mine.
Milestone 5: adding interactivity
The next milestone was making the system interactive. I added a rule slider, a number input, a palette selector, and a random restart button. This allowed the piece to become something the viewer could explore rather than just observe. I liked that it made the work feel less static. It also helped me understand the system better because changing parameters in real time made the logic more visible.
Challenges in the process
One challenge was that the early stages were visually underwhelming. It is hard to stay excited when the concept feels rich but the screen still looks empty. I had to trust the process and keep building through that awkward stage.
Another challenge was balancing cultural reference with abstraction. I did not want to make something that simply copied Sadu motifs. That would have felt too literal. At the same time, I wanted the reference to remain visible. Finding that middle ground was difficult. I had to keep asking myself how much was enough for the sketch to carry the feeling of Sadu without turning into imitation.
I also struggled with making the interaction feel useful rather than decorative. Since the visual field is already dense, too many controls could have distracted from the piece. I wanted the viewer to be able to explore, but I did not want the interface to overpower the pattern.
Reflection
What I value most about this project is that it helped me think about code differently. I usually think visually first, and sometimes coding can feel distant from the kinds of cultural and material references I care about. This project made those things meet. It showed me that code can also be a way of thinking through pattern, rhythm, repetition, and inheritance.
I also like that the sketch begins with a strict rule and then slowly becomes more personal through color, pacing, and reference. That mattered to me. I did not want to make something that only demonstrated technical skill. I wanted to make something that felt visually and emotionally connected to my interests.
More than anything, this project made me think about how digital systems can hold memory. Not literally, and not in a nostalgic way, but through structure. Through the way a pattern grows. Through the way repetition carries meaning.
Future improvements
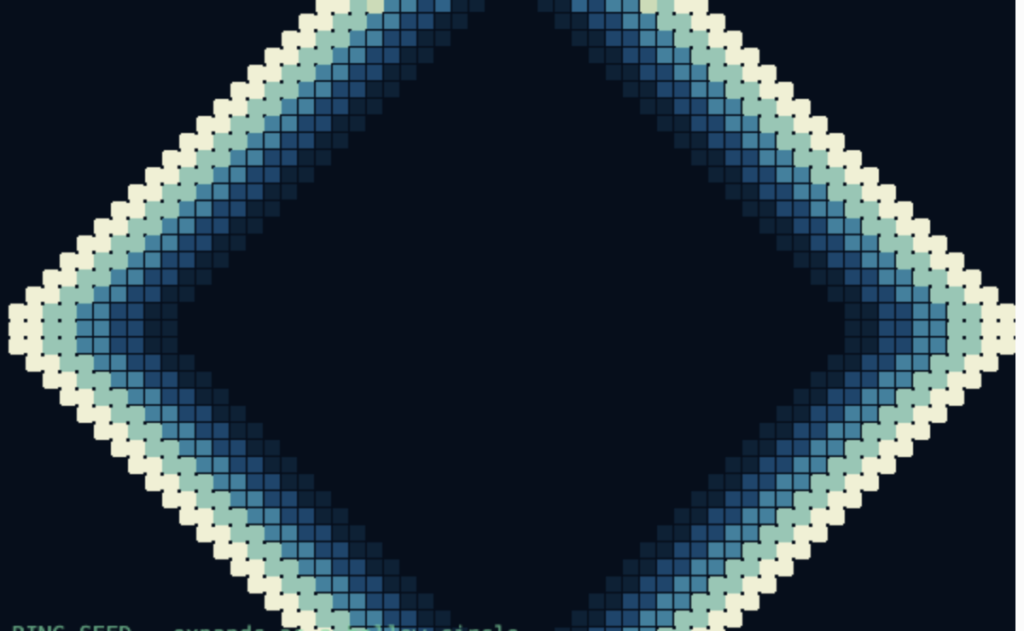
If I continue this project, I would like to experiment with different starting seeds instead of only one active cell in the middle. Multiple seed points or hand designed seed arrangements could create more varied and complex woven fields.
I would also like to explore different cell shapes. Right now the sketch uses square cells, but I think there is a lot of potential in trying triangles, diamonds, or line based structures that could feel even closer to textile construction.
Another direction would be slowing down the animation and making it more immersive. Right now the system builds clearly, but I can imagine turning the growth into something more atmospheric, almost like watching a woven surface assemble itself in real time.
I would also like to develop the Sadu reference further without becoming too literal. Maybe that could happen through more refined palettes, more nuanced banding systems, or even by introducing user drawn motifs as initial seeds.
At the moment, this piece feels like a beginning. It opened something for me. It made me realize that generative art can still feel intimate, and that code can carry cultural weight when it is treated carefully.