Project Overview
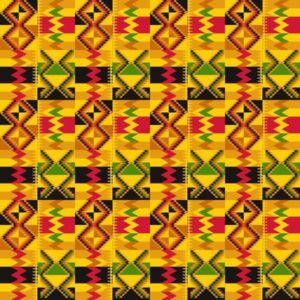
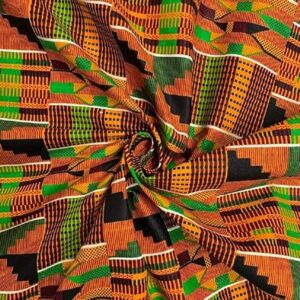
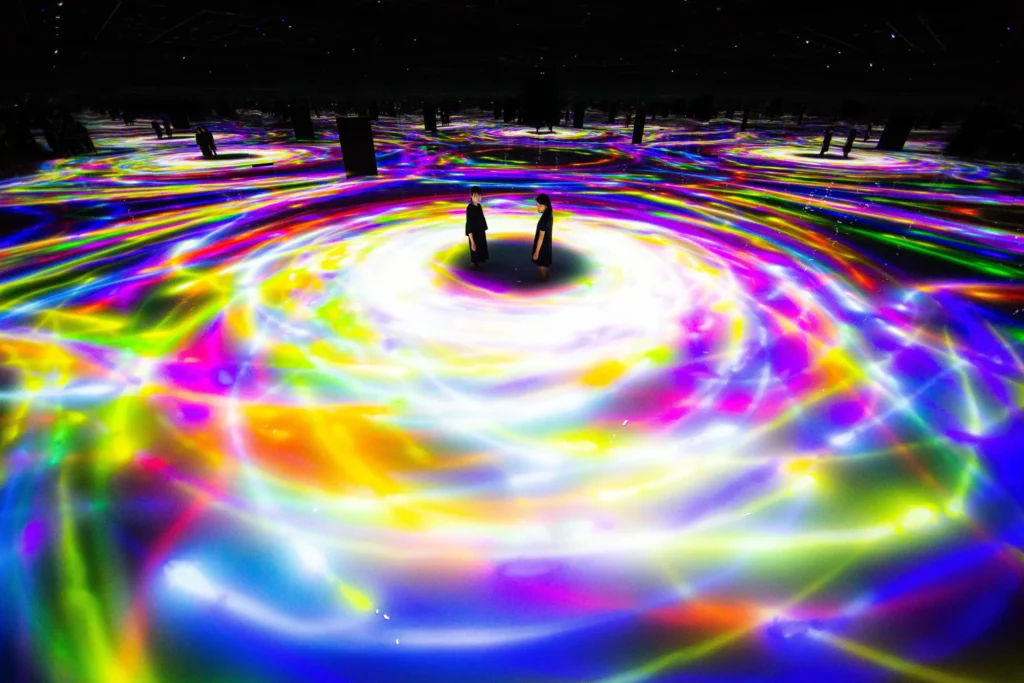
Digital Kente is a generative art system exploring Ghanaian Kente cloth through five different computational approaches. Instead of making one Kente simulation, I wanted to see what happens when you interpret the same tradition through different lenses – geometric patterns, particle movement, wave interference, flow fields, and physics-based interaction.
Each mode captures something different about Kente: the precision of woven patterns, the movement of threads, the rhythmic repetition, the flow of fabric, and the symbolic meaning of motifs.
The system runs at 800×800 pixels, 30 FPS.
Kente Inspirations
Implementation Details
The Color Palettes
I pulled colors directly from photographs of Kente cloth. Two palettes emerged:Warm Ashanti: #FF6B2C, #4A7C2C, #FFD700, #8B3A3A, #1A1A1A
Orange, green, gold, burgundy, black.
Bold Ewe: #FFE135, #E63946, #99D98C, #F77F00, #000000
Yellow, red, light green, orange, black.
The key was not using all 5 colors everywhere. Real Kente bands have limited palettes – each band uses 2-3 colors from the full set. I implemented this with a helper function that selects colors based on the band index.
Mode 1: Traditional Weave
Four pattern types rotate through horizontal bands: zigzag diamonds, checkerboard, diamond motifs, and horizontal stripes. The bands have different heights to create rhythm.
The biggest addition was golden metallic accent threads that shimmer between bands:
let shimmer = sin(i * 0.5 + time * 0.3) * 0.5 + 0.5;
let alpha = map(shimmer, 0, 1, 100, 220);
stroke(255, 215, 0, alpha);
The sine wave creates a traveling wave of brightness, like light catching metallic thread in real Kente.
For the zigzag pattern, I used floor(abs(sin((i + time * 0.1) * 0.3)) * 4) to create the animated offset while keeping it stepped and geometric. Diamond patterns use Manhattan distance – distX + distY – which creates proper diamond shapes with only horizontal and vertical math.
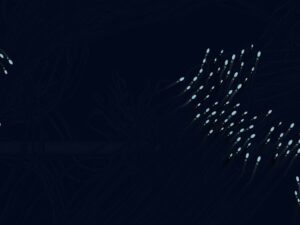
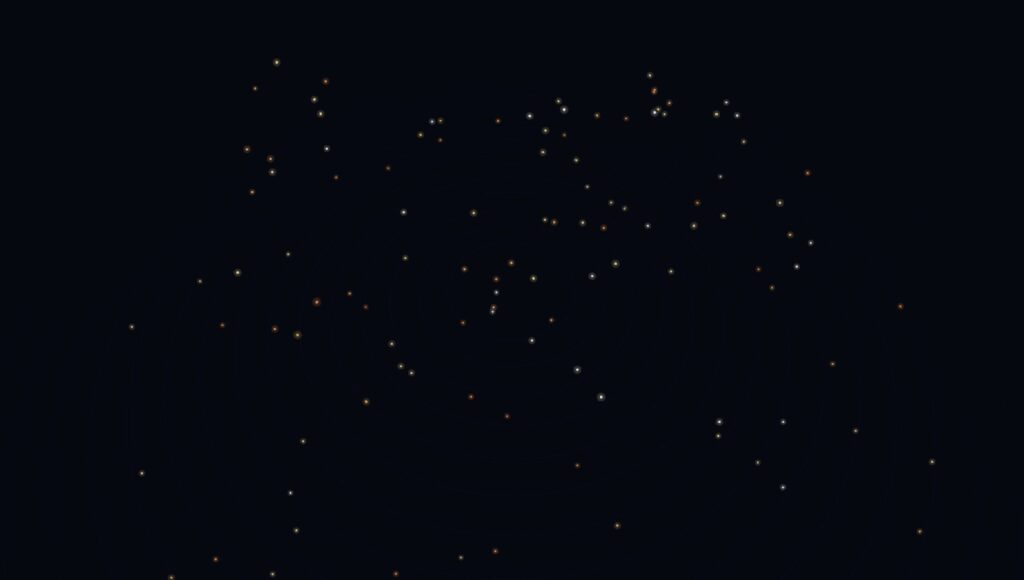
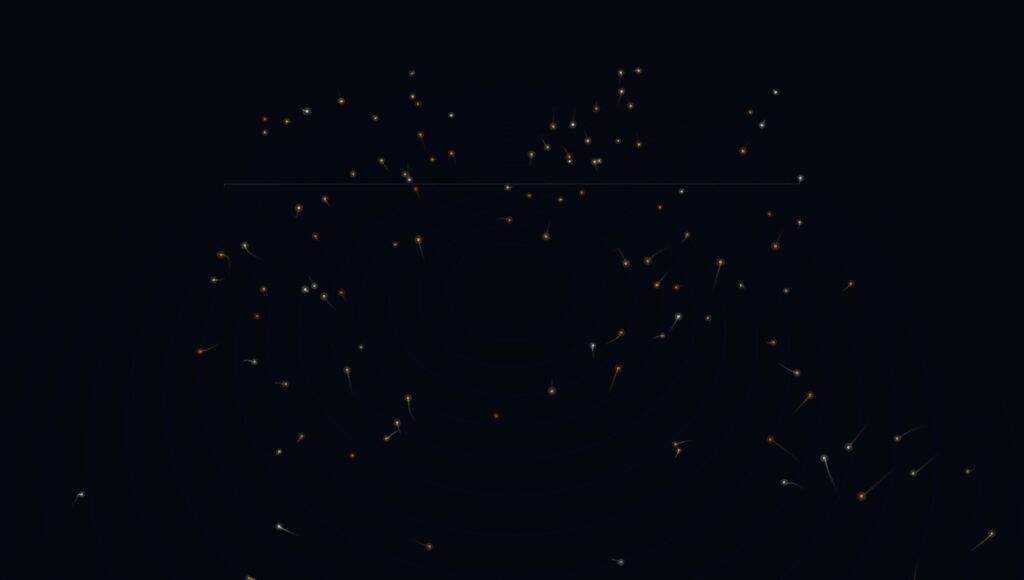
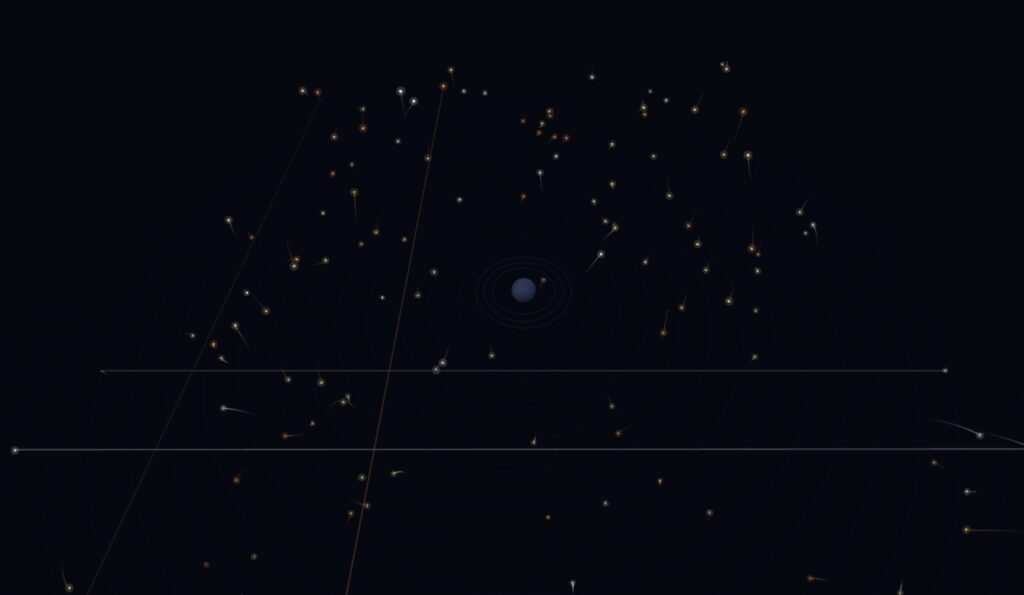
Mode 2: Particle Weaving
300 particles moving in cardinal directions only, leaving 15-frame trails. They’re grid-constrained because real weaving threads can only move in specific directions.
When particles turn, they pulse briefly – size goes from 1.0 to 1.2 then decays. I originally had intense color blending where trails overlapped, but it was too much. The subtle pulse works better.
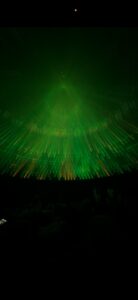
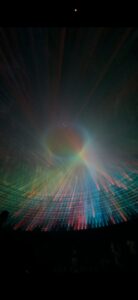
Mode 3: Harmonic Kente
Three sine waves combine to create interference patterns:
let wave1 = sin((i * 0.3 + time * freq) + phase);
let wave2 = sin((j * 0.5 + time * freq * 1.5) + phase * 1.3);
let wave3 = sin(((i + j) * 0.2 + time * freq * 0.8));
let combined = (wave1 + wave2 + wave3) / 3;
Each band has a different frequency so they oscillate at different rates. The combined value picks the color and controls cell size (pulses between 85% and 115%).
I added shimmer glow on wave peaks and resonance symbols where waves align perfectly. These are small golden circles that mark moments of harmony.
Bug I fixed: The canvas wasn’t filling completely – changed floor(rows / bandHeight) to ceil(rows / bandHeight) and added bounds checking for the last band.
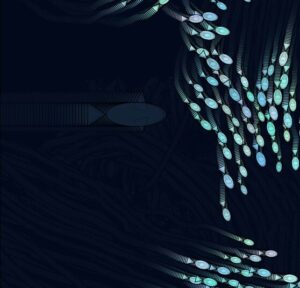
Mode 4: Flow Cloth
Perlin noise flow field, but quantized to 8 directions to keep it geometric. I combine two noise octaves at different scales:
let noiseVal1 = noise(i * 0.08, j * 0.08, time * 0.008);
let noiseVal2 = noise(i * 0.15, j * 0.15, time * 0.012);
let combinedNoise = (noiseVal1 * 0.7 + noiseVal2 * 0.3);
The flow shows as elongated rectangles rotated to match direction. Added depth shadows (2px offset) and circular knot formations where noise exceeds 0.92 – these represent thread bunching.
Mode 5: Symbolic Kente – Physics and Sound
This took the most work. 8×8 grid of symbols connected by springs.
The Physics:
Each symbol springs back to its home position and connects to its 4 neighbors. Hooke’s Law implementation:
let force = p5.Vector.sub(this.home, this.pos);
force.mult(this.k);  // k = 0.04
For neighbors, I calculate rest distance vs current distance and apply spring force based on the difference. This creates cloth behavior – disturb one symbol and the whole grid ripples.
Bug I had to fix: My first version exploded. The problem was this.acc = force instead of this.acc.add(force). When you have multiple forces, you need to accumulate them. Also forgot to reset acceleration to zero each frame.
Spring constants took trial and error. Too stiff and symbols barely move. Too loose and they oscillate wildly. Neighbor springs need to be weaker than home springs or the grid collapses. Settled on k = 0.04 for home, neighborK = 0.015 for neighbors, damping = 0.90.
The Sound System:
First attempt used p5.PolySynth but it threw “oldestNote is not defined” errors. Switched to individual oscillators:
let osc = new p5.Oscillator('sine');
let env = new p5.Envelope();
env.setADSR(0.01, 0.15, 0.1, 0.2);
env.setRange(0.3, 0);
osc.freq(frequency);
osc.amp(env);
osc.start();
env.play(osc);

setTimeout(() => {
  osc.stop();  // Cleanup to prevent memory leaks
}, 300);
Each symbol type plays a different note from a pentatonic scale:
Diamond: C4 (261.63 Hz)
Cross: D4 (293.66 Hz)
Square: F4 (349.23 Hz)
Triangle: G4 (392.00 Hz)
Pitch shifts based on Y position – higher symbols play higher notes. Notes are rate-limited to 100ms per symbol to prevent spam.
Another bug: Sound only played once per symbol. Fixed by removing the state transition check – now it plays whenever the symbol is disturbed (with rate limiting).
Visual ripples: When a note plays, I create expanding circles that fade out. Gives visual feedback for the audio.
The threads connecting symbols visualize tension – they turn red and get thicker when stretched:
The Sketch
Video Documentation
The video above demonstrates:
- All five modes in action
- Switching between modes (1-5 keys)
- Palette toggle (spacebar)
- Mode 5 interaction: clicking/dragging, sound triggering, ripples expanding, thread tension
- Reset and pause functionality
Reflection
What Worked
Having five separate modes instead of one catch-all simulation let me explore different aspects without compromise. Mode 1 is about static precision, Mode 2 about movement, Mode 3 about rhythm, Mode 4 about flow, Mode 5 about interaction and meaning.
The constraint system – limiting everything to grids and angles – forced creativity within bounds. This mirrors how actual Kente weavers work within the loom’s constraints.
The physics in Mode 5 feels satisfying once I fixed the bugs. The neighbor connections create realistic wave propagation.
Sound integration made Mode 5 much more engaging. The pentatonic scale means any combination sounds musical.
What Could Be Better
Sound is basic – single notes work but chords would be richer. Also thinking about mapping thread tension to pitch or volume.
Mode 2’s pulse is subtle, maybe too subtle. I backed off from intense blending but there might be a middle ground.
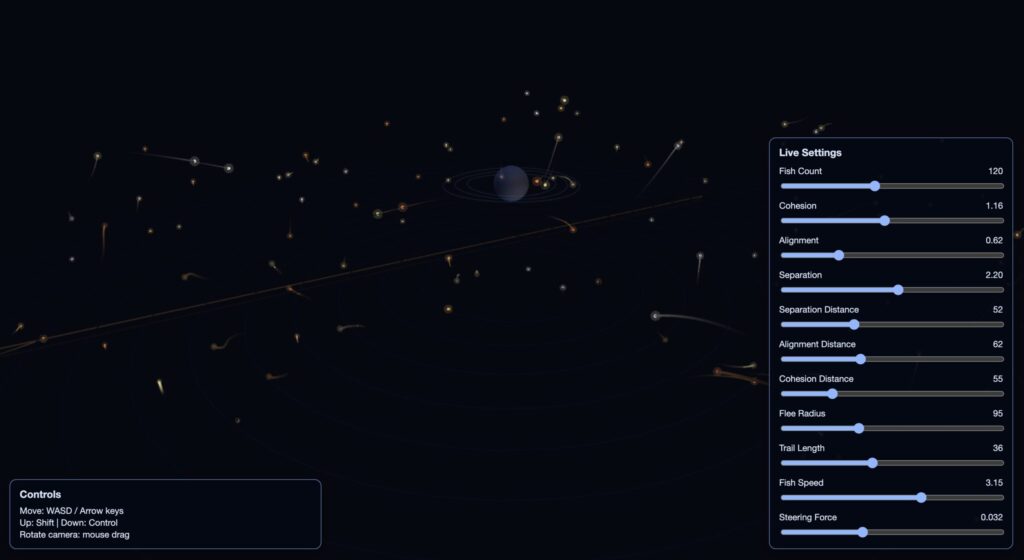
No parameter controls – would be useful to adjust spring constants, damping, particle count in real-time.
User Experience
Controls are straightforward but there’s no tutorial. New users might not discover everything. The UI overlay helps but could be clearer.
Mode 5 is the most interactive but also most complex. The sound toggle (M key) is essential because audio can get overwhelming.
Canvas size works for web but feels small for detail. Fullscreen mode would help.
Future Plans
If I keep working on this:
Parameter controls with sliders
More sophisticated sound (chords, tension-to-audio mapping)
Additional modes exploring Adinkra symbols or actual loom mechanics
High-resolution export capability
Mobile/touch support (currently mouse-only)
References
Cultural Research
National Museum of African Art (Smithsonian) – Kente cloth collection
“African Textiles: Color and Creativity Across a Continent” by John Gillow
Museum exhibitions on Ashanti and Ewe weaving
Technical Resources
p5.js Reference
p5.sound Library
Daniel Shiffman’s “The Nature of Code” – Chapters on oscillation and physics
Ken Perlin’s work on noise functions
AI Disclosure
I used Claude (Anthropic) for:
Debugging the physics force accumulation bug
Troubleshooting p5.sound after PolySynth failed
Code organization suggestions
Syntax checking
All creative decisions, design choices, cultural research, and core algorithms were my own. The AI helped a bit with implementation details and debugging, not concept or design.
Controls:
1-5: Switch modes
SPACE: Toggle palettes
R: Reset
P: Pause/resume
S: Save frame
M: Toggle sound (Mode 5)
Click & Drag: Interact with Mode 5

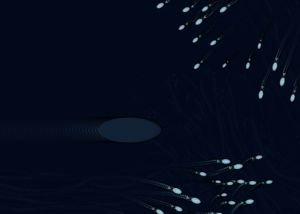
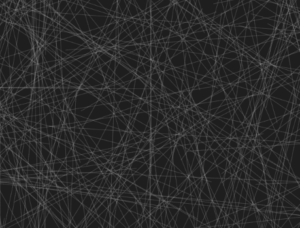

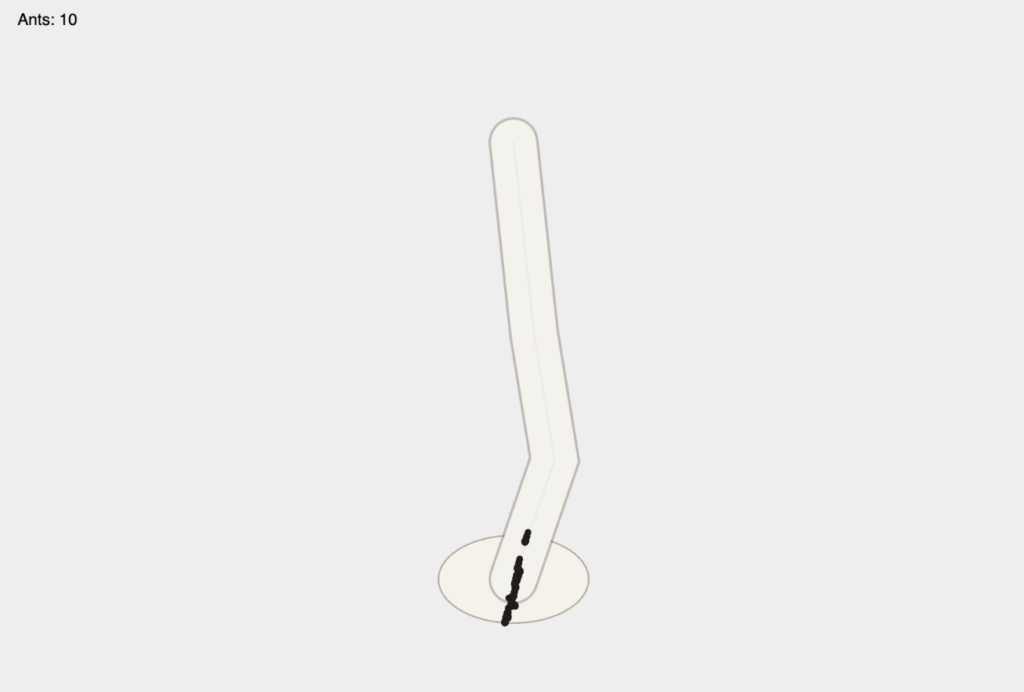
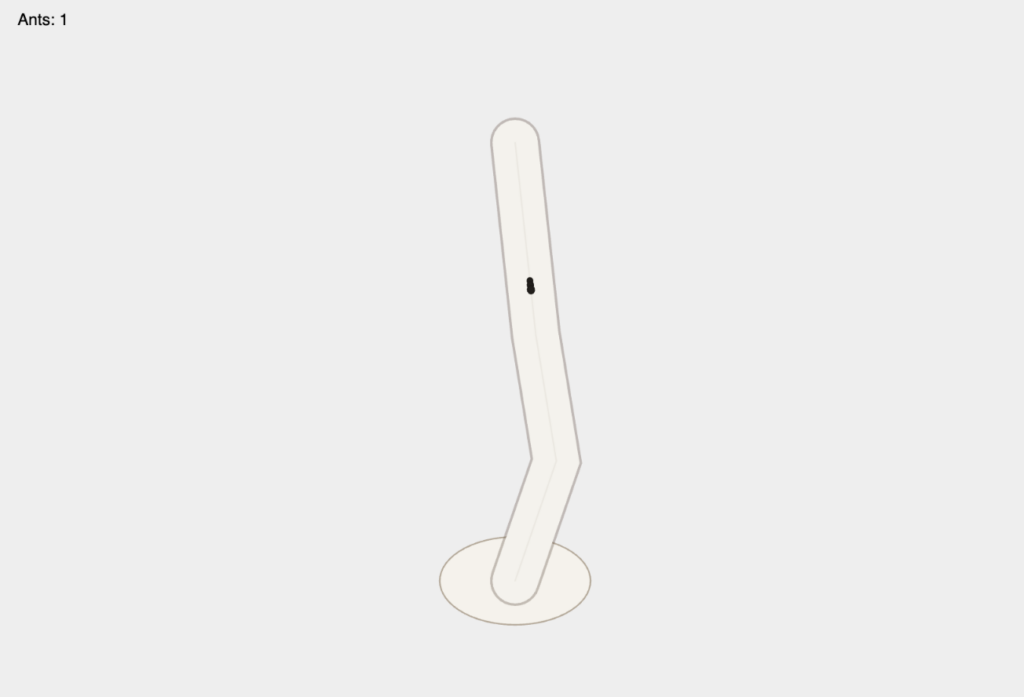 I started with one ant following one path to verify that seek and basic path following were working correctly.