Coding assignment – week 2

FireFlies

For this assignment I wanted to mimic the movements of organisms that live in groups. My first idea was to center it around a school or fish or a flock of birds. But after some experimentation I realized coding a swarm of fireflies would work well with the simplistic design I was going for, since we normally see them as bright points anyway in real life. The video below is what I based my movement code on.

Fireflies are known for their enchanting flashing behavior, and in this project, I tried to mimic their signature glow and also added an interactive element by controlling their movement using the mouse pointer. This combination results in a visually engaging and interactive experience.

How It Works:
  • Flashing Behavior: I use trigonometric functions to generate the rhythmic flashing of fireflies. The phase, frequency, and amplitude of the flash are randomized to add variety.
  • Movement Control: Fireflies’ movement is controlled by acceleration vectors. We apply forces to simulate attraction or repulsion from the mouse pointer and Perlin noise for random motion.
  • Interactive Mouse Control: When the mouse is nearby, fireflies either move away from it (repulsion), creating dynamic patterns.
  • Canvas Wrapping: To prevent fireflies from leaving the canvas, we use conditional statements to wrap them around when they reach the canvas boundaries.
What I like about it:
    • Realistic Behavior: The combination of flashing patterns, dynamic movement, and interactive control creates a realistic and captivating simulation of firefly behavior.
    • Interactivity: The ability to influence the fireflies’ behavior with the mouse adds an element of interactivity, making it both visually appealing and engaging for users.
    • Exploration: Users can experiment with different mouse movements and observe how the fireflies respond, making each interaction a unique experience.
Difficult code:

The most challenging part was trying to make the mouse pointer repel the fireflies within a specific range, but I managed to do it below by reversing the unit vector of the fireflies pointing towards the mouse pointer.

let desired = p5.Vector.sub(target, this.position);
    let d = desired.mag();
    if (d < 50) {
      desired.setMag(this.maxSpeed);
      desired.mult(-1);
      let steer = p5.Vector.sub(desired, this.velocity);
      steer.limit(this.maxForce);
      this.applyForce(steer);
    }
 

Coding Assignment – Week 2

For this assignment I was inspired by a video I took during the summer break of a group of ducks that left the lake in search for food. Every time people tossed seeds they ran as group towards them.

duckVideo

I attempted to mimic their movement in my code assigning each duck different acceleration while still having them all move in the same direction. I decided to attach to the mouse’s movement seeds to indicate what it is that the ducks are following.

The code was relatively simple however there was one section that was somewhat challenging for me to explore, that is, regarding the bounce back of the ducks. Initially before measuring the distance between the ducks and limiting their movement to avoid their overlap, the ducks lied on top of each other making their movement unrealistic.

Below is a snippet of the part of the code I found challenging:

for (let singleDuck of newDuck) {
      if (singleDuck !== this) 
      {
        //measures distance between ducks
        let distance = p5.Vector.dist(singleDuck.position, this.position);

        if (distance < (this.radius *2)) {
          // Calculate the overlap amount
          let overlap = (this.radius *2) - distance;
          // Calculate the vector from this duck to the new duck
          let direction = p5.Vector.sub(this.position, singleDuck.position);
          direction.normalize();
          // Calculate the bounce back force
          let collide = p5.Vector.mult(direction, overlap * 0.1);
          // Apply bounce back to the duck by adding value to acceleration
          this.acceleration.add(collide);
        }
      }
    }

First I made the move method of the Duck class specific to the argument newDuck, that is, it runs in relation to the newDuck variable. I did that because I need it to check for the collisions while handling the movement of the ducks.

Then in this method I created a for loop that runs through all the variables ‘singleDuck’ of the collection ‘newDuck’. In this for loop there is an if statement that runs as long as ‘newDuck’ is not being compared by itself ‘this’. This if statement checks for the distance between the ducks and ensures they do not overlap but rather collide and bounce. It does so by detecting their direction, and scaling the magnitude of it then adding to the value of acceleration.  This leads to a more realistic and natural movement for the ducks.


Reflection and Ideas:

I am quite proud of how this code turned out. I think in the future I could elements that show more interactivity between the ducks and the seeds. This could be done through the seeds disappearing gradually as the ducks come across them. This at the moment is not something I know how to accomplish but I look forward to learning it.


Below is the code for reference: 

https://editor.p5js.org/dhabialhosani/sketches/iLiewRjl7


Assignment 2 – The Heliocentric Model

I sometimes find it crazy that we live on a planet. Out of billions of celestial objects in the universe, we exist on this beautiful sphere (not technically) – Earth.

This is the moving object I decided to use, because everything that exists in our reality belongs to this planet. The motion on this project involves a depiction of the Heliocentric modal of the universe, proposed by Nicolaus Copernicus in the 16th century, that asserts that the Sun is at the center of our solar system, with the planets, including Earth, orbiting around it.

However, the earth doesn’t just orbit the Sun. It also rotates on its own axis, which happens to be tilted ~23 degrees. This truly extraordinary fact of the universe, which took humans thousands of years to realize, is what is depicted in the sketch.

An interesting part of the sketch is the fabric of cosmos. It is a metaphorical concept often used in cosmology and physics to describe the underlying structure of the universe. It basically means that space itself is not empty but is woven with the fabric of spacetime, a four-dimensional framework where all matter and energy exist and interact. I wish I could show all four dimensions in this project, but this is what I could build in a short span of time. Oh wait, that could be a future improvement for the project!

Here’s the sketch. You can interact with it as well – try to hold-click and drag using your mouse.

The tiny green sphere is for a point of reference. It shows that the earth is tilted and is rotating around an axis.

As mentioned before a cool part of this project is the Fabric. Here’s how I was able to implement it.

class Fabric {
  constructor(rows, cols, spacing) {
    this.rows = rows;
    this.cols = cols;
    this.spacing = spacing;
    this.points = [];

    // create an array of PVectors to represent points in the fabric
    for (let y = 0; y < this.rows; y++) {
      for (let x = 0; x < this.cols; x++) {
        this.points.push(createVector(x * this.spacing - this.cols * this.spacing / 2, y * this.spacing - this.rows * this.spacing / 2, 0));
      }
    }
  }

  display() {
    push();
    stroke(255);
    strokeWeight(0.5);
    noFill();
    for (let i = 0; i < this.points.length; i++) {
      vertex(this.points[i].x, this.points[i].y, this.points[i].z);
    }
    pop();
  }
}

Week 2 Assignment: Documentation (Zulfkhar Maukey)

Raindrop Simulation Documentation

Introduction

The Raindrop Simulation is a p5.js project that simulates the behavior of raindrops falling from the sky. This project is an example of using rules and physics to replicate a real-world natural phenomenon. In this documentation, we will provide a detailed description of what the simulation does, how it works, and how users can interact with it.

Project Description

What It Does

The Raindrop Simulation replicates the following characteristics of raindrops:

  1. Gravity: Raindrops are affected by gravity, causing them to accelerate as they fall.
  2. Wind: A simulated wind force pushes raindrops horizontally, creating a drifting effect.
  3. Variable Gravity: Users can interact with the simulation by temporarily increasing the gravity force when the “Up Arrow” key is pressed. This causes raindrops to fall faster and create a denser rainfall.
  4. Splash Effect: When a raindrop hits the ground (the bottom of the canvas), it creates a splash effect.
  5. Raindrop Removal: Users can decrease the gravity force by pressing the “Down Arrow” key, making raindrops fall more slowly. This allows for the removal of raindrops from the simulation.
User Interaction

The user can interact with the Raindrop Simulation using keyboard inputs:

  • Up Arrow Key: When pressed, it increases the gravity temporarily, causing raindrops to fall faster and more intensely.
  • Down Arrow Key: When pressed, it decreases the gravity, making raindrops fall more slowly. This also allows for the removal of raindrops from the simulation.

Implementation

Setup and Draw Functions

In the p5.js setup function:

  • The canvas is created with a size of 400×400 pixels.
  • A predefined number of raindrops (100 in this case) are created and stored in an array.
  • The initial gravity value is set to 0.2.

In the p5.js draw function:

  • The canvas is cleared with a light gray background (RGB 220, 220, 220).
  • Wind force is applied to each raindrop, creating a horizontal drifting effect.
  • Gravity is applied to each raindrop, causing them to accelerate vertically.
  • The position and appearance of each raindrop are updated and displayed on the canvas.
Raindrop Class

The Raindrop class represents individual raindrops in the simulation. Each raindrop has the following properties and methods:

  • constructor: Initializes the position, velocity, length, and splash state of each raindrop.
  • applyForce(force): Applies a force vector to the raindrop, affecting its velocity.
  • update(): Updates the raindrop’s position based on its velocity and applies constraints to keep it within the canvas.
  • splash(): Checks if a raindrop has hit the ground and creates a splash effect if it has.
  • display(): Renders the raindrop as a blue line and calls the splash() method to display the splash effect.

Demo

Full-source code

Conclusion

The Raindrop Simulation project successfully replicates the behavior of falling raindrops and provides an interactive experience for users. It showcases how computational rules and physics can be used to simulate natural phenomena. Here are some key reflections on the project:

  • Realism: The simulation captures the basic behavior of raindrops, including gravity, wind, and the splash effect, providing a visually convincing representation.
  • Interactivity: User interaction via the keyboard adds an engaging element, allowing users to control the intensity of the rainfall and observe the immediate impact on the simulation.
  • Educational Value: This project serves as an educational tool, demonstrating principles of physics and programming in an accessible and fun manner.

While the Raindrop Simulation is functional and engaging, there is room for improvement and expansion. Here are some ideas for future work:

  1. Particle Interaction: Add more complex interactions between raindrops, such as collisions or cohesion, to enhance realism.
  2. Dynamic Wind: Implement a more dynamic wind pattern, including changes in wind direction and intensity over time.
  3. Realistic Splash: Enhance the splash effect by considering the angle and speed of impact to create more realistic splashes.

Week 2 Assignment- Elyazia Abbas

Concept and Inspiration:

Ever since I was young one of my favorite pass times was to go to the beach and feed the seagulls bread. For that reason, my program aims to capture that movement of the bread and the following of the seagull, by using acceleration and velocity, alongside user mouse interaction.

Watch the video bellow:
seagull

Above Code Description:

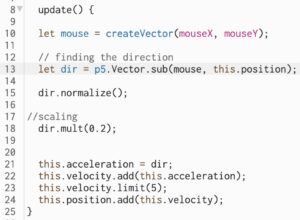
What the “update” method does is it calculates the bird’s acceleration towards the mouse cursor, then it would updates the velocity and position, and limits its speed.

Execution of Code:

 Improvements: 

One thing I would really want to implement is to have multiple birds chase the bread. Or perhaps to have the bird disappear once it touches the bread. I also would really like to have more dynamic elements to the sketch like moving water or a sunrise or sunset perhaps.

Week 1 Assignment

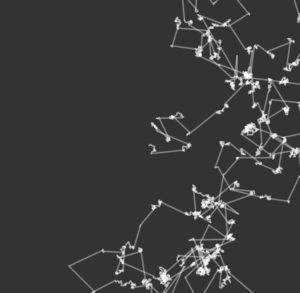
After going through the class slides and watching a few videos from The Coding Train that demonstrated how to code the basic functions of random walker and vectors, etc., I decided to combine levi flight (a specific type of random walk) and walk through RGB space to add colors as well. I really liked how levi flight worked with its spontaneous stretches of lines, and I also thought it could be turned into an artwork if I added colors onto it, making both the direction and the color of the line unpredictable.

Concept

Watching the demonstrations of levi flight got me thinking about the traditional Korean painting classes that I used to take back at home, because the contrast between the long, shooting lines and concentrated, zig-zag lines were similar aspects between the two. Building upon this, I thought it might be fun to try to recreate these paintings’ general mood/style through the levi flight.

사군자매화 on Pinterest image link

Code Highlight

As for the process, I first created the vector element, then established levi flight (for which I referred to this video), then worked on the RGB aspect. A part of my code that I had a hard time with was adjusting the randomly generated probability and just how enlarged the size of steps were going to be based on that, which was this part:

var r=random(100); // setting probability
  if (r<5) {
    step.mult(random(25,50)) //enlargens the steps randomly from 25 to 50
  } else {
    step.setMag(2); //setting the magnitude
  }

After many trials, I finally settled on setting the step.mult factor to be randomly generated from 25 to 50 and the probability of r<5 because they gave me the product that is most similar to the “painting style” that I was aiming for. At this point of my progress, my assignment was looking something like this:

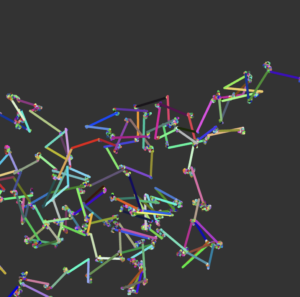
Then I began adding the RGB aspect, which I was really proud about just because adding colors into the canvas was so fun. I also referred to this link to learn more about the colorMode () function.

colorMode(RGB);
stroke(random(255), random(255), random(255));

At this point, I had this:

And here is the final sketch.

Reflection

I think I detoured a bit from my original inspiration/idea of what I wanted to create, but I actually ended up being happy with the final result! The pop of colors and the unpredictability really made me satisfied because it gave a futuristic/disco pop vibe.

For the future, I thought it’d be fun to also incorporate a sound element into this so that depending on each note, the graphics/lines will be affected in some ways such as color, direction, length, etc.! I also think it’d be great to add limits so that the lines won’t stay off the canvas for too long, which seemed to happen once in a while.

Week #1 Assignment – Abdelrahman Mallasi

For this project, I chose the following from the two lists:

    • Create a random walker with dynamic probabilities
    • Walk through RGB or HSB space (as opposed to XYZ)

This project features a bee which appears when the user presses the mouse and disappears when the mouse is released. The bee has a 70% chance of following the cursor and moves through HSB space. I chose this concept to demonstrate the impact that humans can have with nature, whether it be positive or negative. This is illustrated by the fact that the bee only appears when the user interacts with the program, and it’s more likely to follow/be impacted the direction that the user chooses. 

  • A highlight of some code that I’m particularly proud of

    if (random(0,1) < 0.7) { // 70% chance of moving toward the mouse cursor
         // Calculate the vector pointing towards the cursor
         let mouseVector = createVector(mouseX, mouseY);
         let direction = p5.Vector.sub(mouseVector, this.position);
         let velocity = direction.mult(this.speed);
    
         // Normalize the direction vector
         direction.normalize();
    
         // Adjust the bee's position based on the velocity vector
         this.position.add(velocity);
       } else {
         let direction = p5.Vector.random2D().mult(random(5, 15)); // Move in a random direction
         this.position.add(direction);       // Adjust the bee's position based on the direction vector
    
       }
    

    I’m proud of the fact that I was able to implement the concepts we learned in Vectors into this assignment. I used vector mathematics to calculate the direction and velocity needed for the bee to move toward the cursor. I’m also proud of how I implemented the 70% probability by using conditional logic.

  • Embedded sketch

    Link of Sketch:https://editor.p5js.org/ahm9979/sketches/slZfNiW9H

  • Reflection and ideas for future work or improvement
    • Create a bee that looks more like an actual bee – with wings and black and yellow stripes for example
    • Add more interactive elements, such as moving flowers or a starry nightsky
    • What was most challenging about this assignment is organizing the code into different classes rather than writing everything under the draw function. It does make the code neater and easier to understand but it was a long process to get there.


Reading Response no. 1 – Week 1

An interesting and core debate the author brings up in the reading was the clash and the balance between reductionism and taking a wider view when looking at the things around us. The author, despite bringing up valid points of view from both sides for the readers to make judgments themselves, seemed to be siding with the latter perspective, for he stresses on how reductionism and dissecting everything into its core elements is essentially no use if you are lacking the context behind them. Chewing on this, I found a correlation between the author’s example of reductionists describing the universe down to its “subatomic particles” can be isn’t necessarily the best way of explaining the entire picture as well as how I view my own life. If I had to pick a view that is more similar to my own, I also think having a wider perspective is how I live my life because I always put my emphasis on the “bigger picture” and rely on the general vision that I have for myself rather than focusing on smaller details such as which classes or even major I will choose, what kind of assistantships I will apply for at the moment, etc. Just like what the author points out, without context, or, for me specifically, without meaning or purpose, it doesn’t matter how detailed you are in planning out your actions or steps in life because you are bound to be lost without a general direction to guide you. 

Another thought that appealed to me was his mention of how the computer is the first invention that proved that engaging simultaneously in theory and experimentation is possible, because according to the reading, “someone who creates and uses a simulation” is utilizing both theory and experimentation at the same time. This made me realize just how unique and influential the invention of computers is because it is the first invention that allows us to also engage in combining these two elements together. Reflecting on my own experience with coding and computer science so far, I can definitely see how the computer wills us to use both skills at the same time because I might be learning the theoretical idea and methods of how the code will work in class or through videos, but I won’t be able to make it mine or know for sure whether it is actually applicable unless I try it out myself, which is the experimentation part. 

BONUS – Some Extra Designs :)

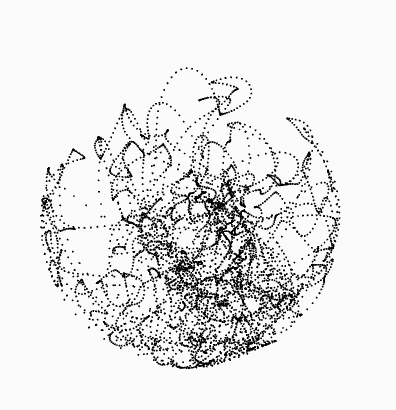
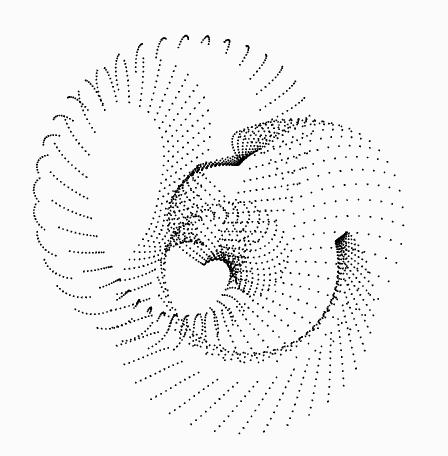
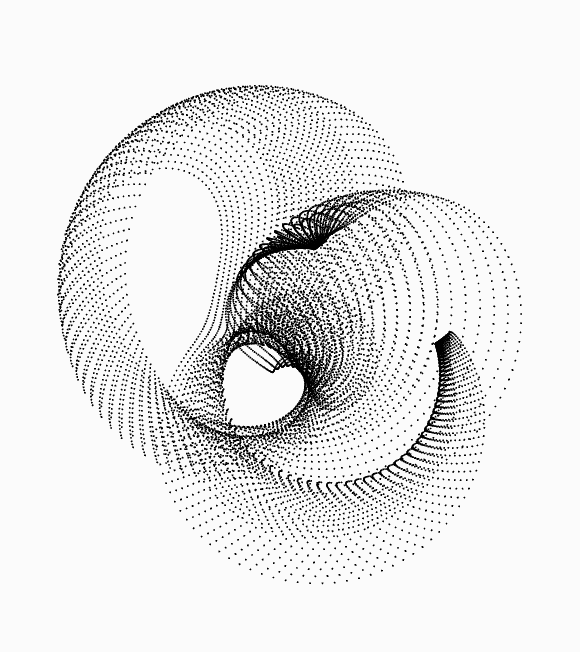
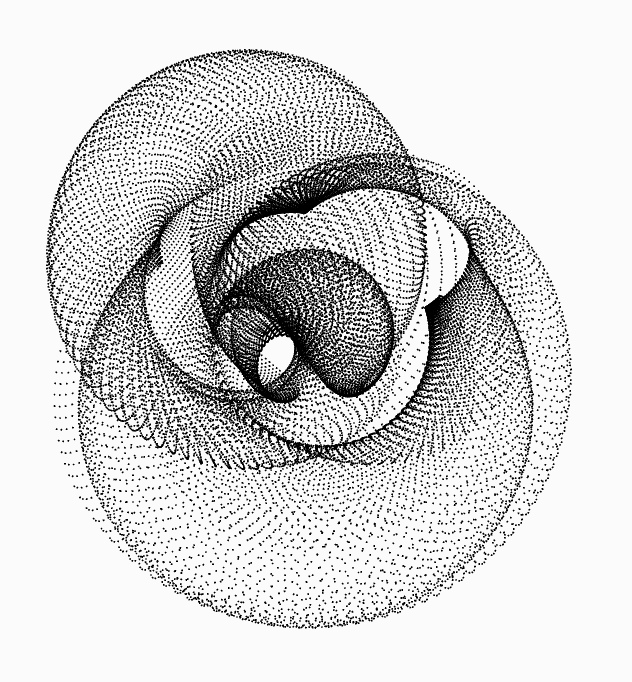
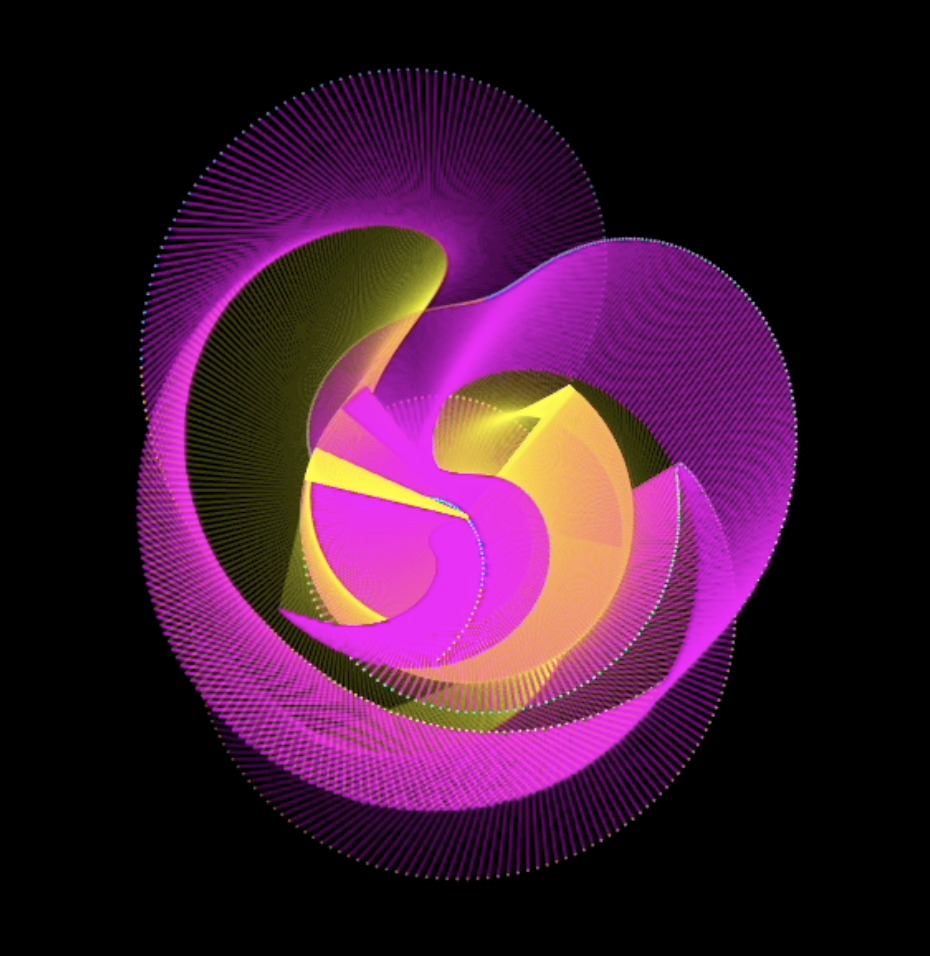
Just sharing some extra designs I have been working on:

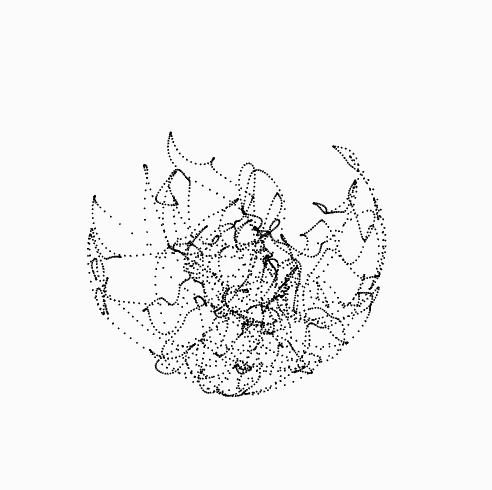
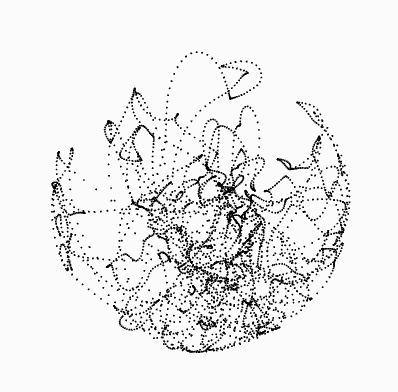
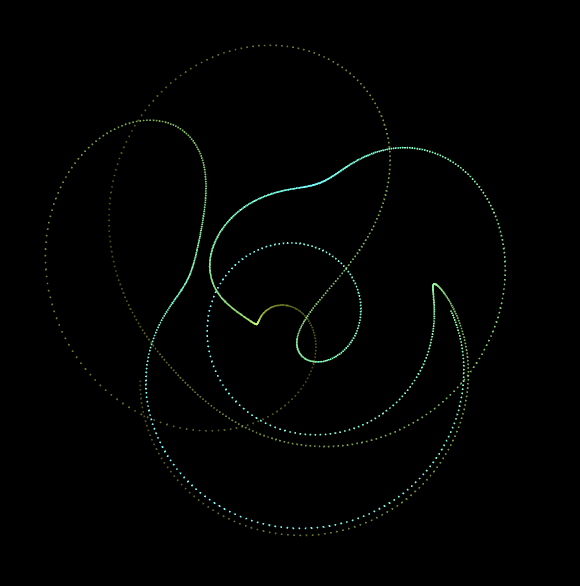
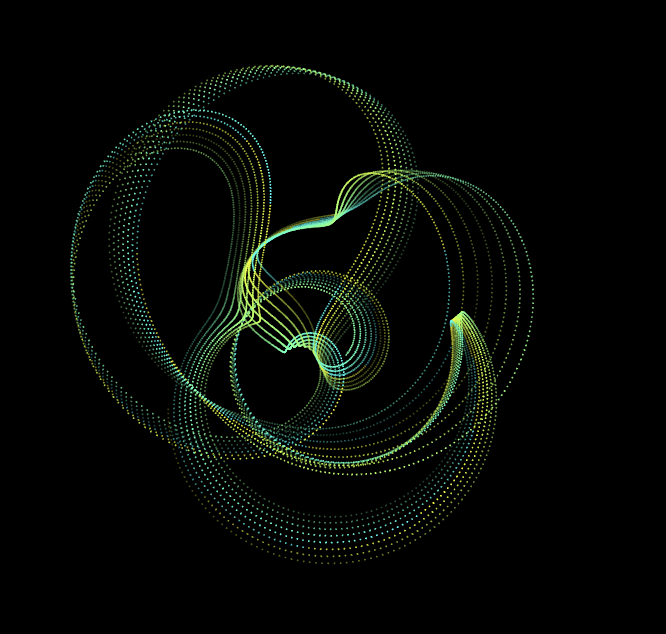
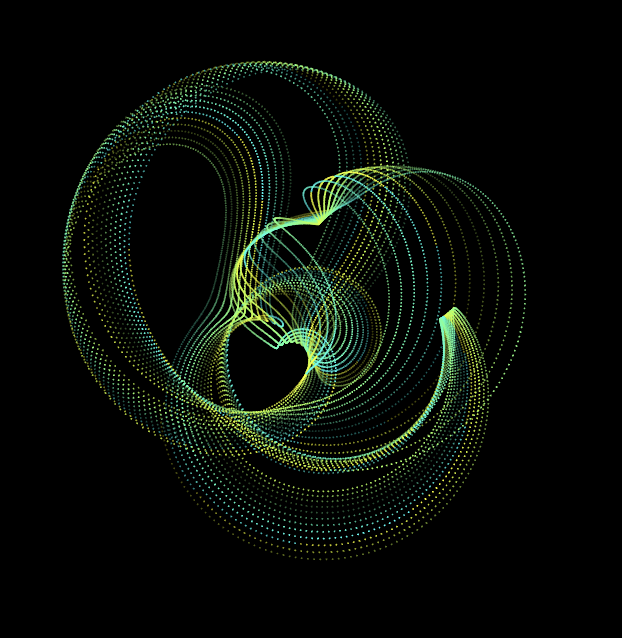
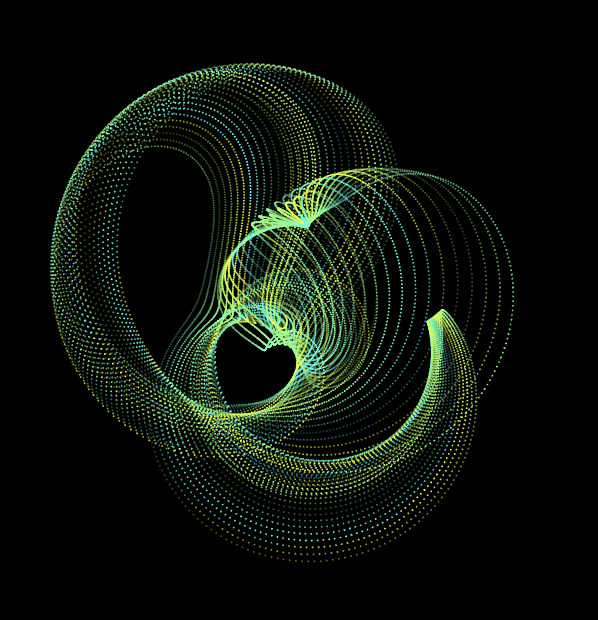
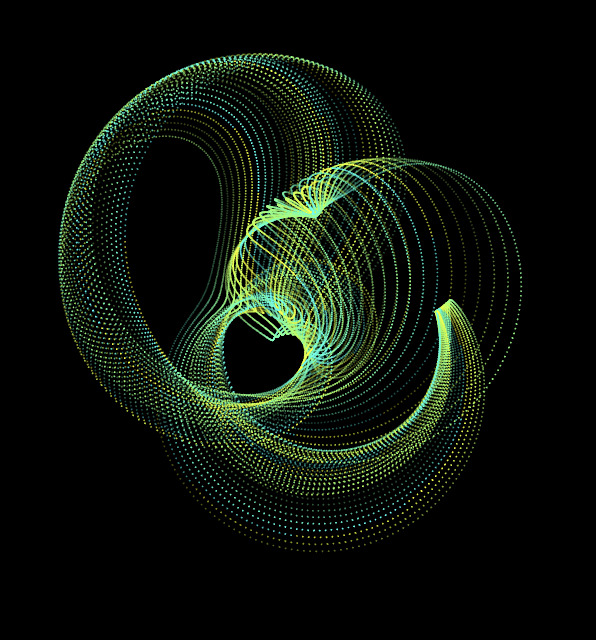
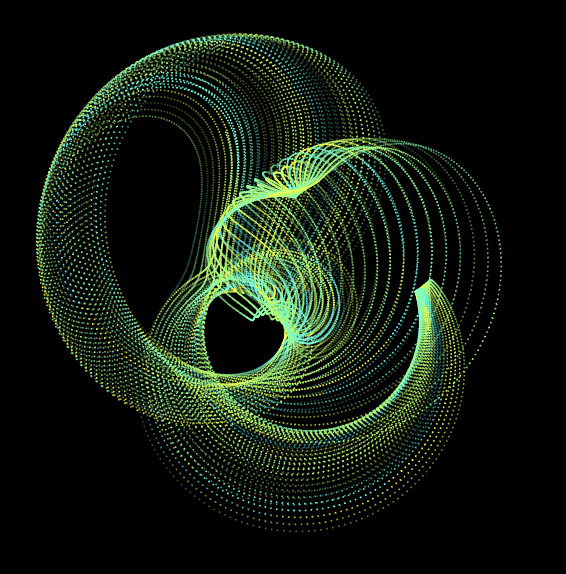
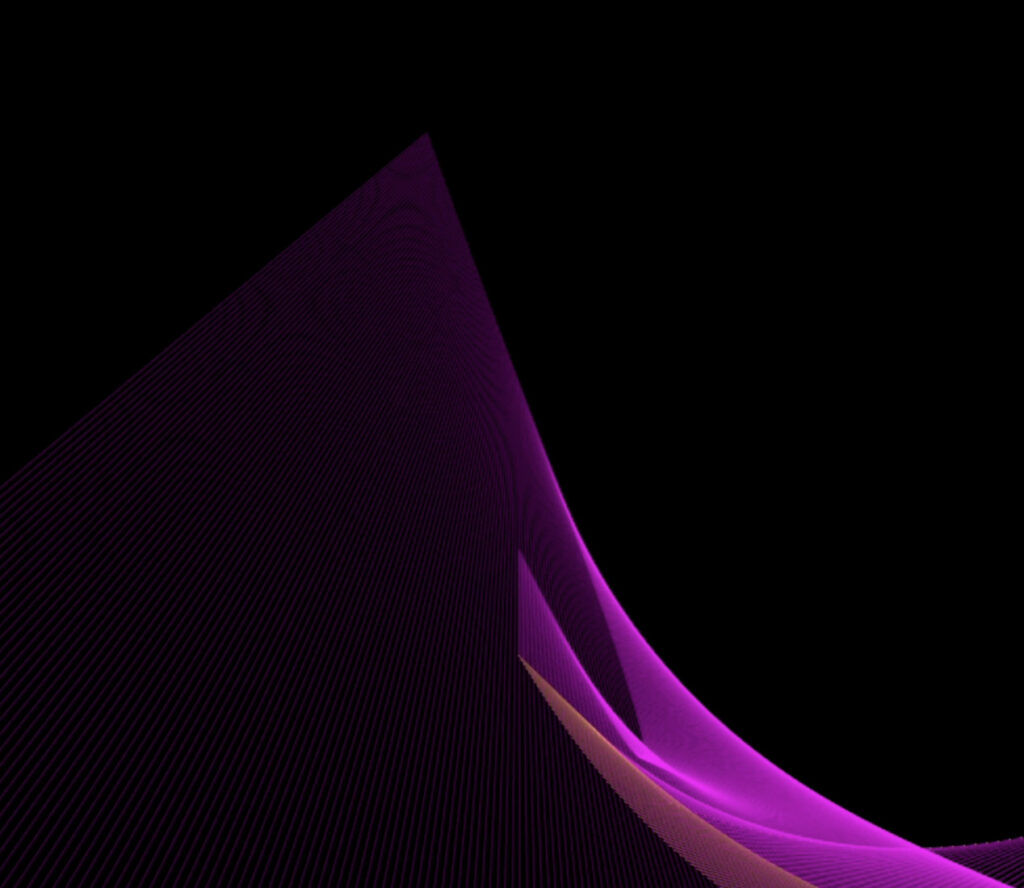
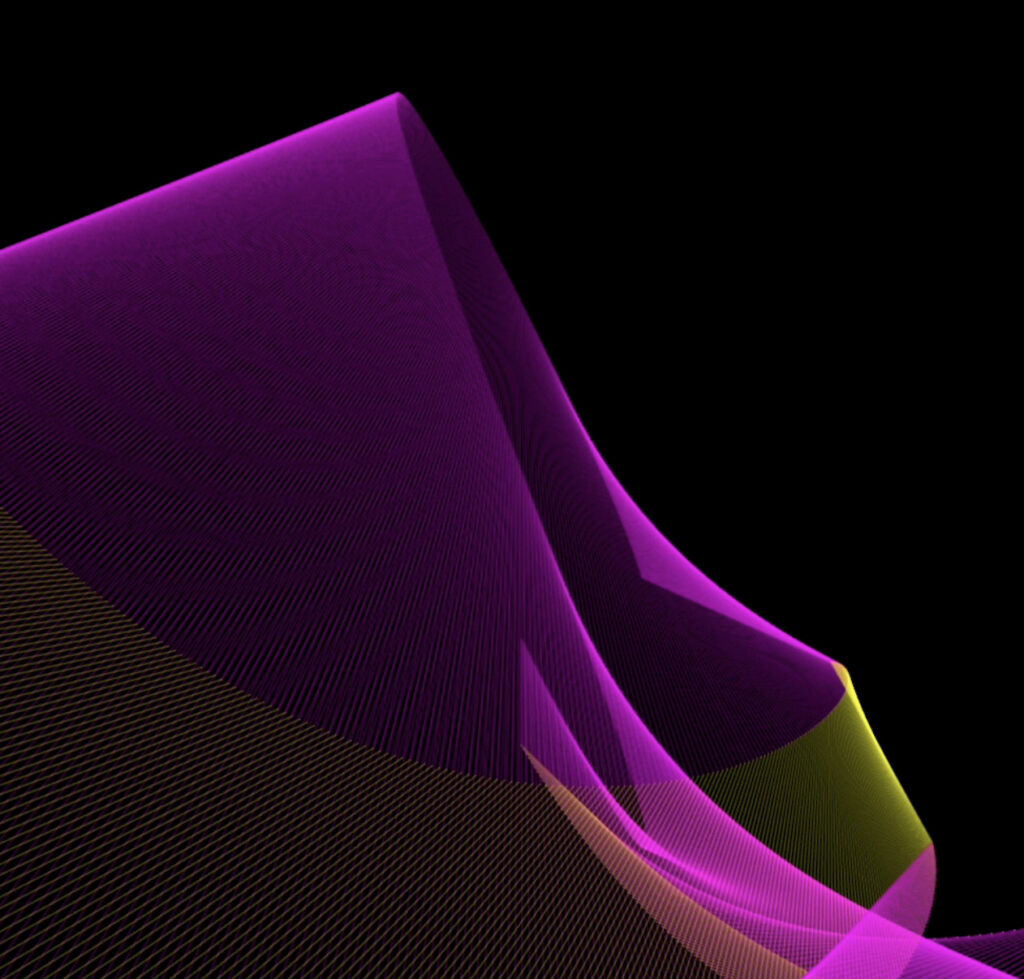
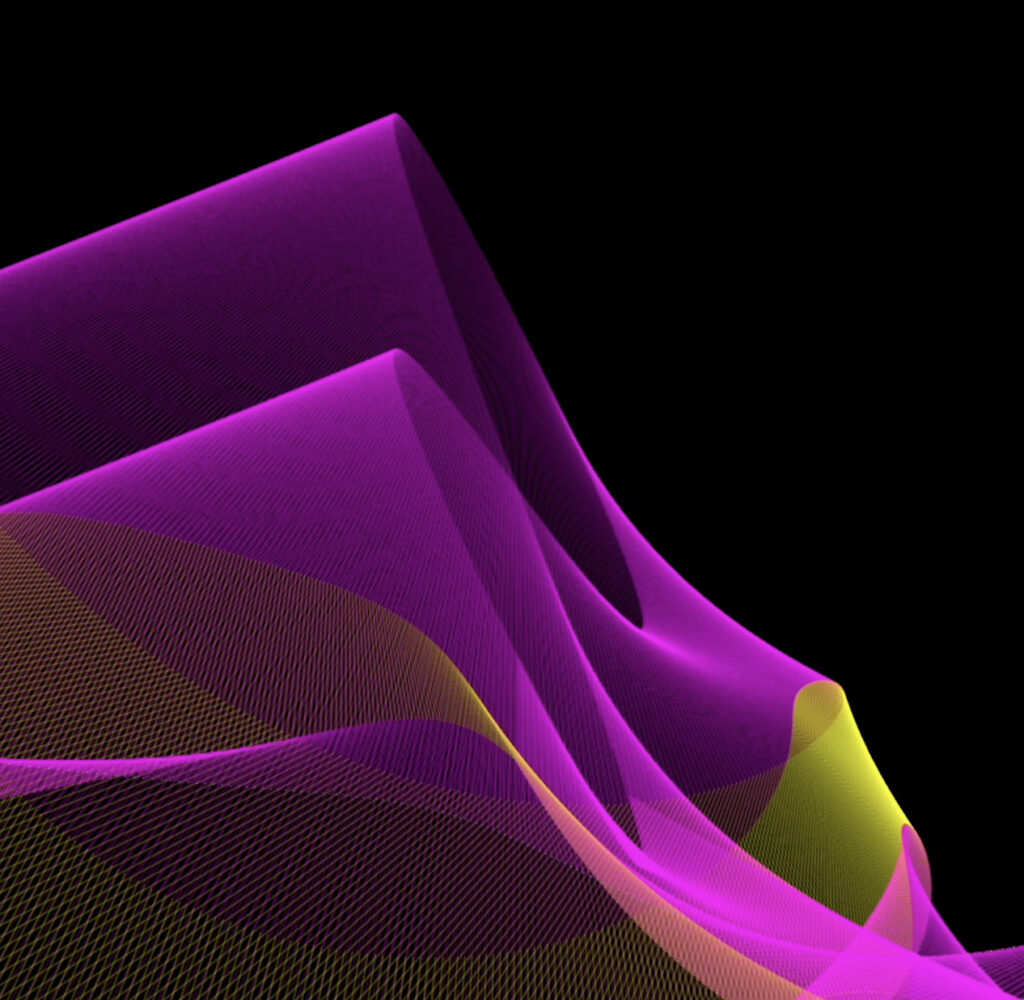
These use randomness with some variations in sin and cosine to give a repetitive but iterative pattern.

The idea is that there’s an arm which randomly rotates about an axis or a pivot point and varies in size. A point is plotted at the end of the arm which gives the desired results.

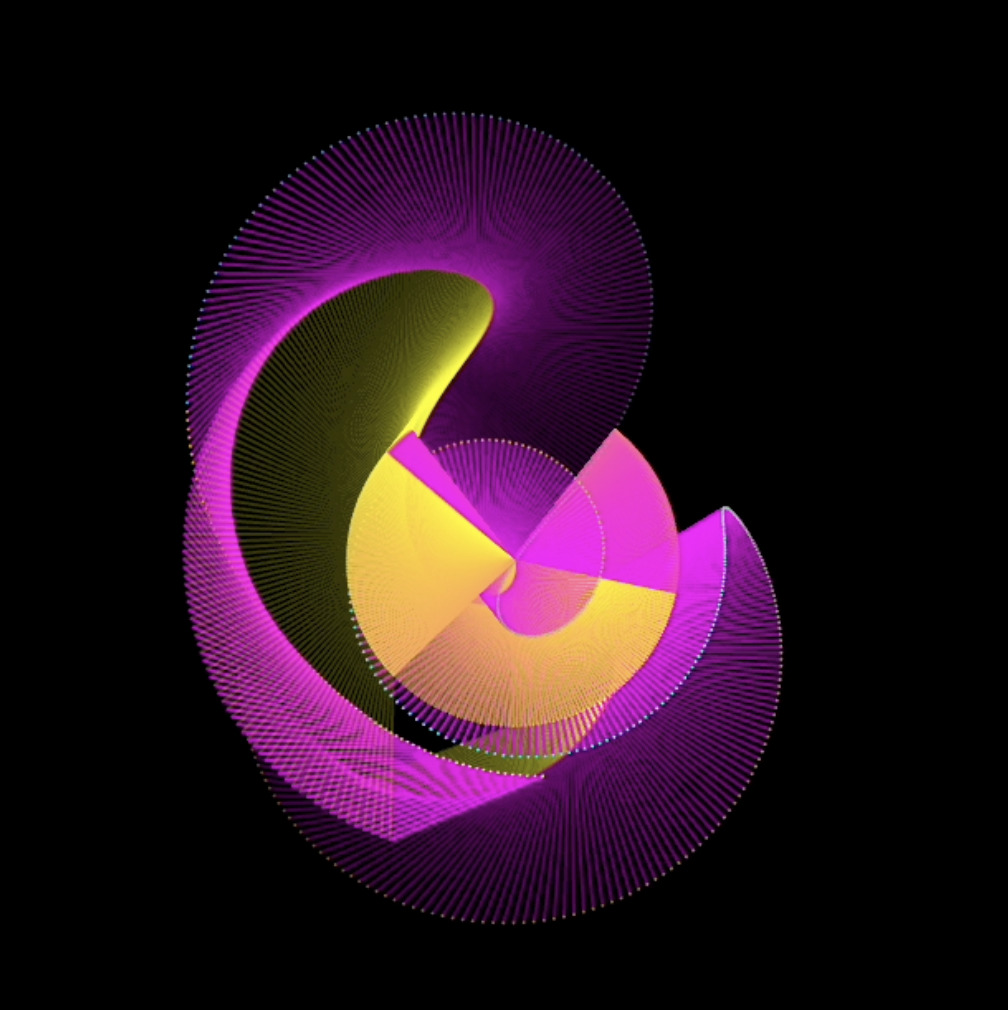
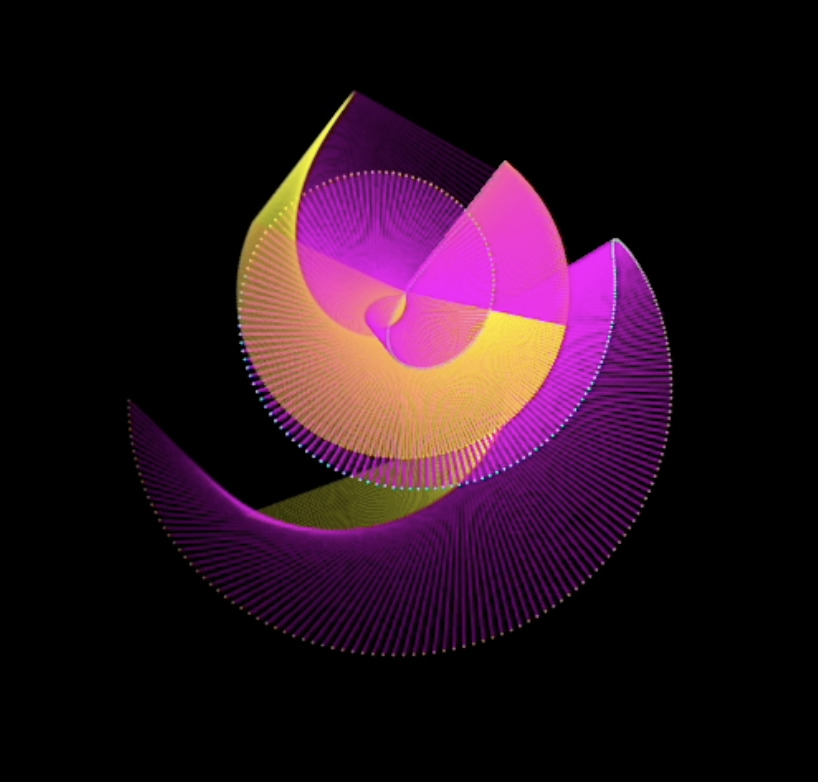
In the following design, not just the point, but the arm itself is plotted.

Week #1 – Random Walkers “with a purpose”

https://editor.p5js.org/oae233/sketches/k9Xd8e1gW

Concept

So for this assignment, my working title was Random Walker “with a purpose”. Watching my random walkers wander around the screen until i refresh my code made me aware of how each walker has a little life span, which it spends doing nothing but aimlessly wandering around, so I thought I’d give it a purpose. My idea was to have my walkers start out in a random position, with a random color on a canvas. The canvas is divided into 3 areas, each area assigned one of the primary digital colors RGB. The movers move around randomly but are also able to check their surroundings, compare the colors they see to their own colours, and move toward the colors most similar to them. Finally, I wanted the movers at any point to have an equal chance at either affecting their environment (changing the color of their surroundings) or being affected by it (changing colors based on their surroundings). In this setup, you get to watch the walkers move around the canvas transforming it into an abstract landscape with varying colors. I also used points that move around randomly in a confined space to create the walkers themselves, so that they look like they’re constantly on the move, and I also think it gives them more personality

Some Code I’m Proud Of

shapeGen() {
    // Generate shapes based on noise values
    this.prepareNoise();
    for (let i = 0; i < this.vrtcsListLength / 2; i++) {
      this.vrtcsX[i] += this.mv[i];
      this.vrtcsX[i] = constrain(this.vrtcsX[i], -5, 5);
    }
    for (let i = 0; i < this.vrtcsListLength / 2; i++) {
      this.vrtcsY[i] += this.mv[i + this.vrtcsListLength / 2];
      this.vrtcsY[i] = constrain(this.vrtcsY[i], -5, 5);
    }
  }

I’m proud of the shapegen() function because of how simple it is, yet it gives so much life to the creatures. I’m also proud of the checksurroundings() function because it took me a lot of time and effort to get right as I explain in the reflections section.

Reflection & ideas for future work 

When it came to coding the part where the movers check the pixels surrounding them, I was initially using nested for loops to do this and copying the pixel data to an array, then sorting that array using the built-in sort function. This was causing my program to become very very slow even with just two movers. I spent a really long time on this issue, trying out different solutions, and eventually, with some suggestions from chatGPT as well, I was able to fix the issue. Instead of the nested for loops and going through all the pixels in the surrounding area I used one for loop to generate only 100 random pixels from the area. Also since sorting is famously very computing intensive I switched to a function that just checks for the smallest value in a list by going through it and updating a variable called “smallestIndex” whenever it finds a number. chatGPT pointed out that it was redundant to copy pixel data to a list when I could just access the pixel array directly after loading the pixels.

My project does not work if you set the pixel density to 2, In a future version I’d love to fix that because I think the smoother motion makes it more enjoyable to watch the walkers, especially at their size. I’d also love to have the walkers be able to see each one another so maybe walkers with similar colours can come together and create more concentrated areas of colour on the canvas.

https://editor.p5js.org/oae233/sketches/k9Xd8e1gW: Week #1 – Random Walkers “with a purpose”