My inspiration comes from Memo Akten’s Simple Harmonic Motion 8-9. I wanted to build something that felt alive on screen. Waves have always fascinated me, specifically the way two simple oscillations combine into something unexpectedly complex. I used the principles of adding waves together such that: peak + peak = higher peak, trough + trough = lower trough, and peak + trough cancel each other.
Please move mouse around and click around the sketch for special effects.
I started with the simplest possible thing: a single sine wave drawn as dots across the canvas.
I added a second wave with a different frequency and a phase offset of PI, so it starts on the opposite side of the cycle from wave one. The two waves drift in and out of sync as time moves forward. Wave two has a slightly higher frequency and a smaller amplitude, so it has its own distinct character.
This is where things got interesting. I added a third wave that is the sum of the first two. When the two source waves push in the same direction, the result amplifies. When they oppose each other, they cancel out. The yellow interference wave is the visual record of that conversation between the two.
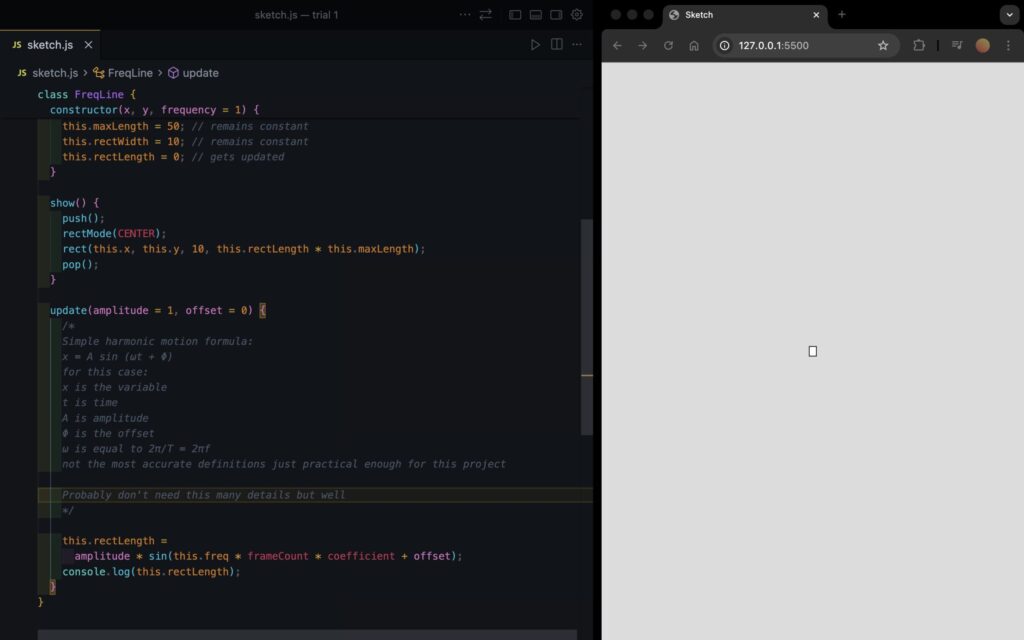
let y3 = y1 + y2;
stroke(255, 220, 80);
strokeWeight(5);
point(x, height / 2 + y3);
I replaced the solid background() call with a semi-transparent rectangle drawn each frame. The old frames fade slowly instead of disappearing instantly.
fill(10, 10, 20, 25);
noStroke();
rect(0, 0, width, height);
I replaced fixed amps with values that oscillate slowly over time using a second, slower sine function.
let amp1 = map(sin(t * 0.3), -1, 1, 40, 130);
let amp2 = map(sin(t * 0.17 + PI), -1, 1, 30, 110);
The two amplitudes breathe at different rates, so they are never in sync with each other. The interference wave gets dramatically more expressive as a result, going nearly flat at times and spiking wide at others.
I switched to HSB color mode and tied the hue and brightness of each point to its position in the wave cycle.
let hue1 = map(sin(x * 0.01 + t * 0.5), -1, 1, 160, 220);
let bright1 = map(abs(y1), 0, amp1, 60, 100);
I expanded from two base waves to four, each with its own frequency, speed, phase, and breathing amplitude. I also added two partial interference sums alongside the full sum of all four.
The frequency ratios across the four waves are close to harmonic but slightly off, so the pattern never fully repeats. There is always something new happening somewhere on the canvas.
let yA    = ys[0] + ys[1];
let yB    = ys[2] + ys[3];
let yFull = ys[0] + ys[1] + ys[2] + ys[3];
At this point the draw() loop was getting hard to read. I pulled the repeating logic into dedicated functions. All wave parameters moved into a waveDefs array of objects. I also moved the array definition inside setup().
function waveY(x, def, amp) { ... }
function breathingAmp(i) { ... }
function driftHue(x, hueMin, hueMax, freqX, freqT) { ... }
function drawWavePoint(x, y, centerY, hue, sat, maxAmp, weight, alpha) { ... }
function drawSumPoint(x, y, centerY, maxDisplace, hueMin, hueMax, sat, weight, alpha) { ... }
This is the highlight of code im proud of.
  ampPhases = [0, PI, HALF_PI, PI / 3];

  waveDefs = [
    { freqX: 0.020, freqT: 1.0, phase: 0,        ampMin: 40, ampMax: 130, hueMin: 160, hueMax: 220, weight: 3 },
    { freqX: 0.035, freqT: 1.5, phase: PI,        ampMin: 30, ampMax: 110, hueMin: 260, hueMax: 320, weight: 3 },
    { freqX: 0.055, freqT: 0.7, phase: HALF_PI,   ampMin: 20, ampMax:  80, hueMin: 100, hueMax: 160, weight: 2 },
    { freqX: 0.013, freqT: 2.0, phase: PI / 4,    ampMin: 15, ampMax:  60, hueMin:  20, hueMax:  60, weight: 2 },
  ];
}

function waveY(x, def, amp) {
  return sin(x * def.freqX + t * def.freqT + def.phase) * amp;
}

function breathingAmp(i) {
  return map(sin(t * ampSpeeds[i] + ampPhases[i]), -1, 1, waveDefs[i].ampMin, waveDefs[i].ampMax);
}

function driftHue(x, hueMin, hueMax, freqX, freqT) {
  return map(sin(x * freqX + t * freqT), -1, 1, hueMin, hueMax);
}

function drawWavePoint(x, y, hue, sat, maxAmp, weight, alpha) {
  let bright = map(abs(y), 0, maxAmp, 55, 100);
  stroke(hue, sat, bright, alpha);
  strokeWeight(weight);
  point(x, height / 2 + y);
}

function drawSumPoint(x, y, maxDisplace, hueMin, hueMax, sat, weight, alpha) {
  let hue = map(y, -maxDisplace, maxDisplace, hueMin, hueMax);
  let bright = map(abs(y), 0, maxDisplace, 60, 100);
  stroke(hue, sat, bright, alpha);
  strokeWeight(weight);
  point(x, height / 2 + y);
}
I added a mousePull() function that bends each wave point toward the cursor. The pull strength falls off with distance, reaching zero at 200 pixels away. Moving the mouse slowly across the canvas bends the waves toward it in a way that feels physical. The effect fades naturally so it never feels abrupt. The final step was a Ripple class. Clicking spawns a ring that expands outward from the click position and displaces any wave point it passes through. The ring has a bandwidth of 40 pixels. Points inside that band get displaced, everything outside it is untouched. The ripple fades as it expands and gets removed from the array once it exceeds its maximum radius. Multiple ripples can coexist and their displacements stack on top of each other.
function mousePull(x, baseY, centerY) {
  let dist = sqrt(dx * dx + dy * dy);
  let influence = constrain(map(dist, 0, 200, 60, 0), 0, 60);
  return dy * (influence / max(dist, 1)) * -1;
}


class Ripple {
  constructor(x, y) {
    this.radius = 0;
    this.speed  = 4;
    this.maxRadius = 300;
    this.strength  = 55;
  }

  influence(px, py) {
    let ring = abs(dist - this.radius);
    if (ring > 40) return 0;
    let fade    = map(this.radius, 0, this.maxRadius, 1, 0);
    let falloff = map(ring, 0, 40, 1, 0);
    return sin(ring * 0.3) * this.strength * fade * falloff;
  }
}
For future improvements, I want to make the waves responsive to music/notes. I think this can be done by using Fast Fourier Transform which I’ve used and written a paper about before in one of my
INTRO TO IM projects. it would work by processing the whole audio file once then storing the data in a queue and mapping each frequency band to an intersection between waves. I really wanna try this but it seems a little bit challenging so I didnt implement it in this sketch.


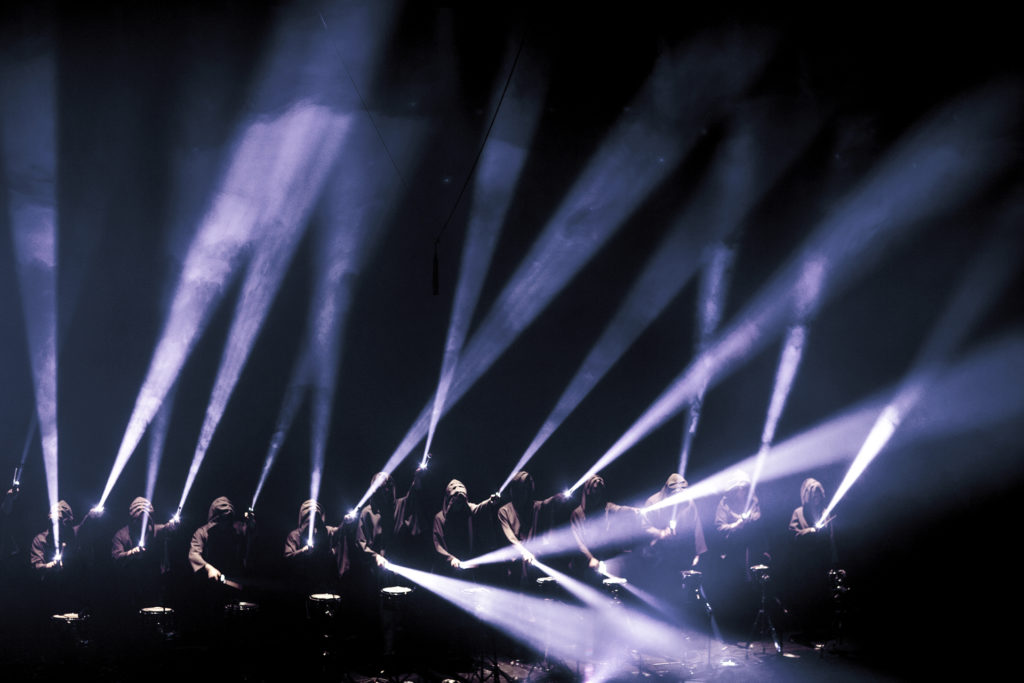 Memo Akten’s Simple Harmonic Motion #6 Performance proof of concept (2011)